Storage inspiration for every room – with smart solutions that combine style and function. Create a home where every surface becomes a storage opportunity.
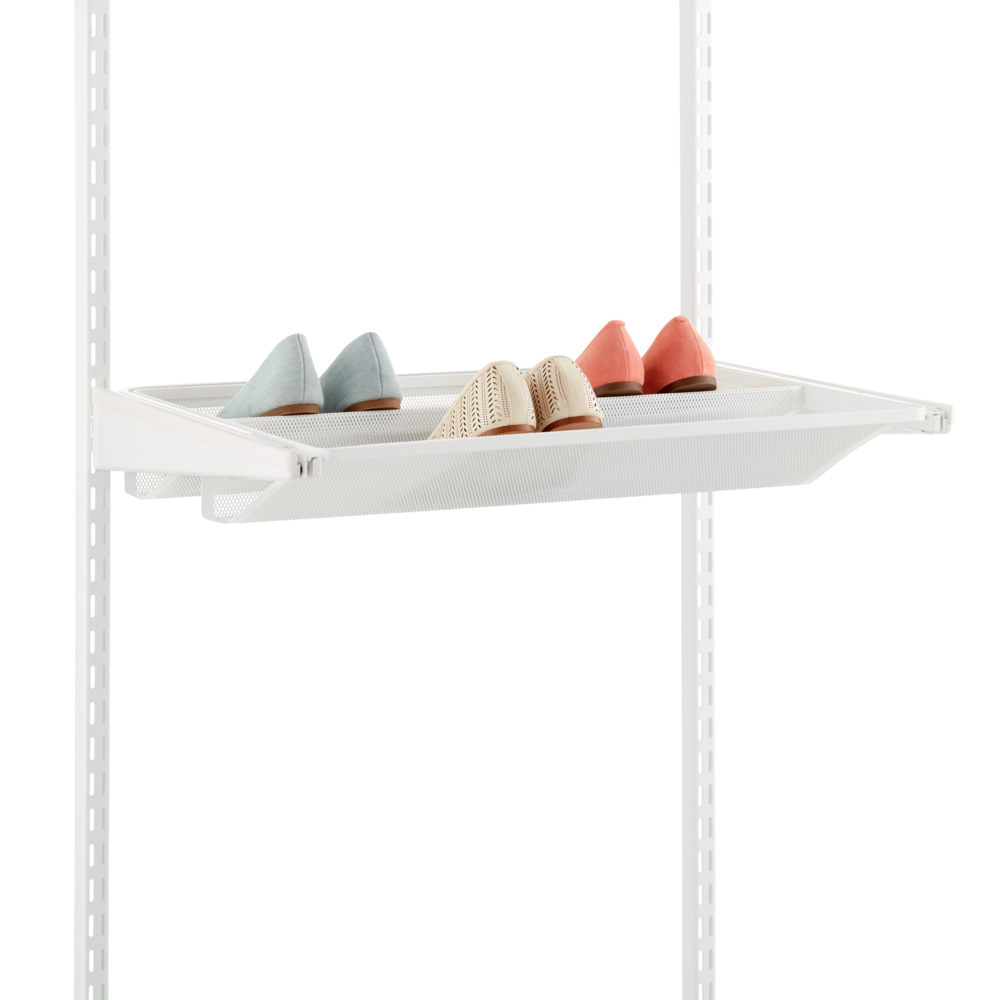
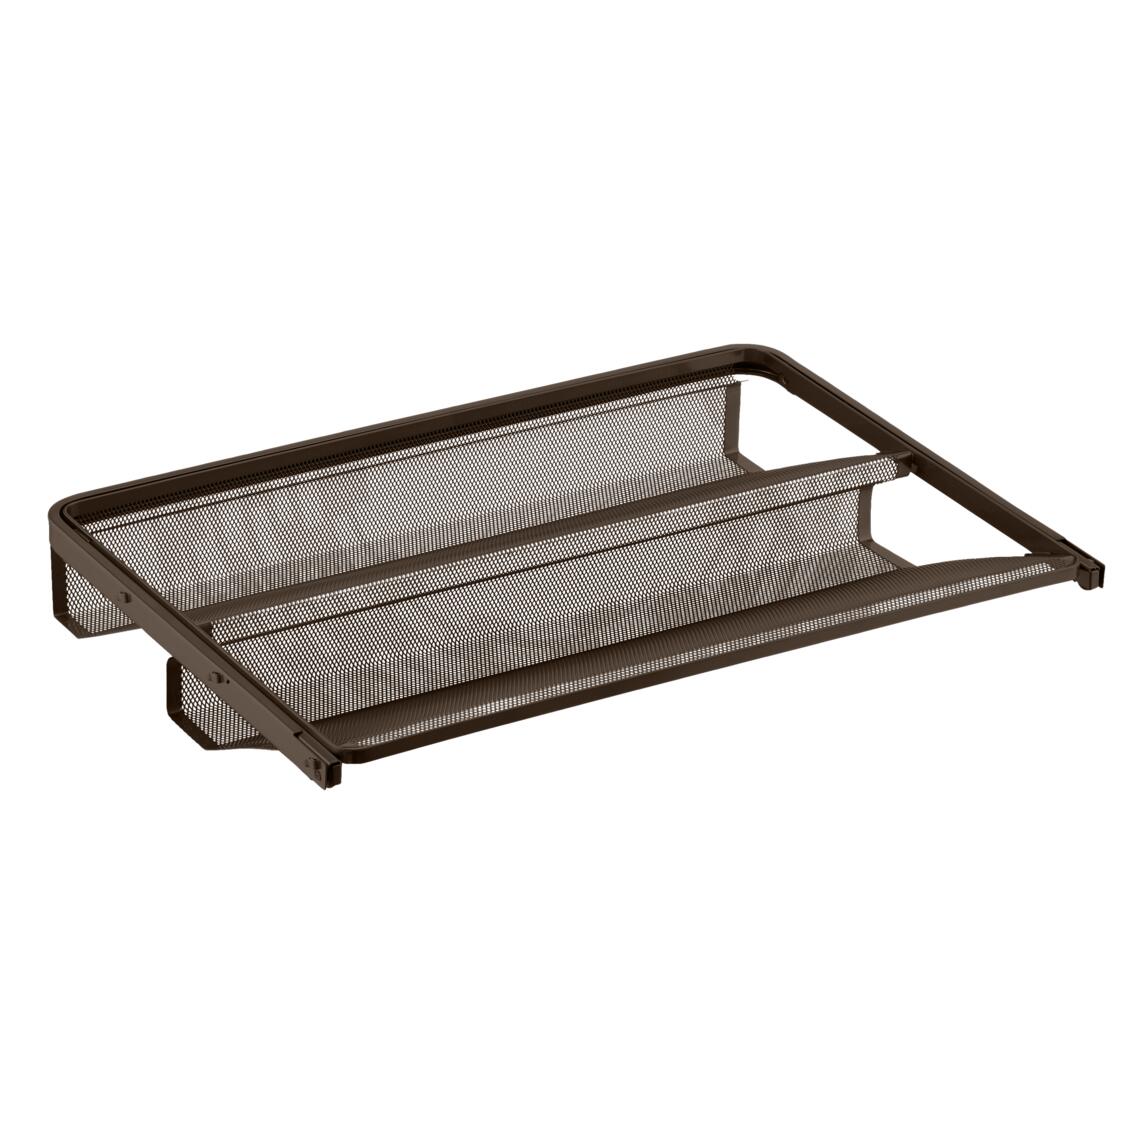
Upgrade your shoe storage with our gliding shoe shelf, designed to provide a clear overview and easy access to your footwear collection. It's equally suitable for flat-soled shoes and shoes with heels, thereby accommodating a variety of shoe types. Mount easily between two bracket click-ins D: 40. Available in two widths.
Designed for storing all types of shoes and creates a good overview and easy access. It easily clicks into place between two bracket click-in D:40, with no tools needed.
Equally suitable for shoes with flat soles and heels. Available in different widths.
Made from a durable epoxy-bonded steel construction.
2 metal colours:
White, close to NCS S 0300-N, gloss around 85
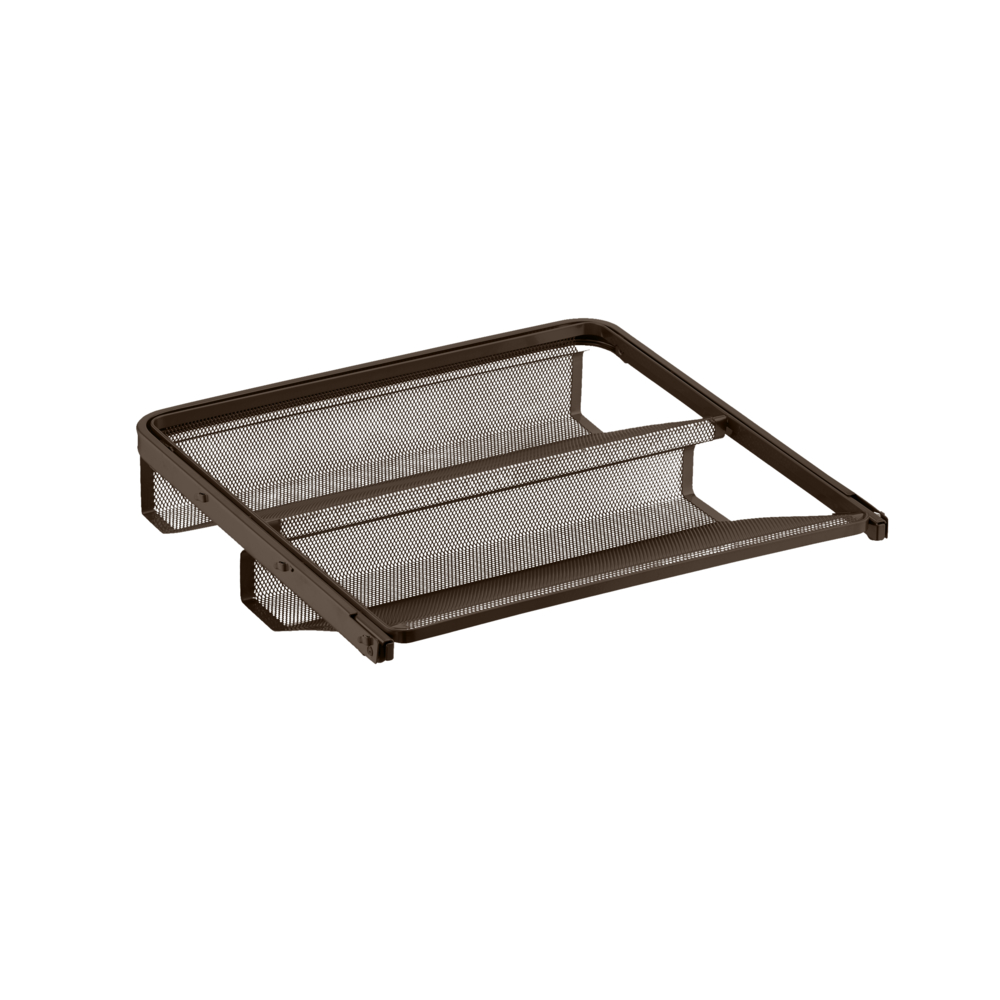
“Graphite”, a unique finish close to NCS S 8000-N, gloss around 50
Note: as our finishes are metallic/mixed powder, the NCS codes/gloss aren’t exact.
Planning rules
<
Planning rules
The gliding shoe shelf can hold up to 6 (W:60) or 4 (W:45) pairs of shoes.
Multiple gliding shoe shelves can be placed next to eachother, sharing the same bracket, but can not be placed next to products that require 1 slot (such as angled shelf, storing board etc.).
When planning shelves above eachother, leave at least 4 pairs of free slots between them in order to have sufficient space for your shoes.
Also, leave sufficient space in front of a solution containing gliding functions. A D:40 gliding function requires 290 mm additional free space in front of it, in order to be able to extend fully. Total solution depth for a click-in system with fully extended gliding functions D:40 is 740 mm from the back wall.
Safety and care
<
Safety and care
Safety
Maximum load capacity per section: 200 kg (Classic by Elfa, click-in top-hung system) and 240 kg (Garage+/Décor+).
Avoid overloading individual storage components and distribute the weight evenly across the system. Different products have different recommended maximum load capacities. For more information, please refer to the Product Information section for each product, as well as Measure & Plan.
Before installation, check the wall material and condition. Elfa's product range is generally designed for normal use in residential indoor environments.
Care
Wipe clean with a cloth dampered with a mild cleaner. Wipe dry with a clean cloth.
Assembly Instructions
<
Assembly Instructions
Before you start: Mount the brackets.
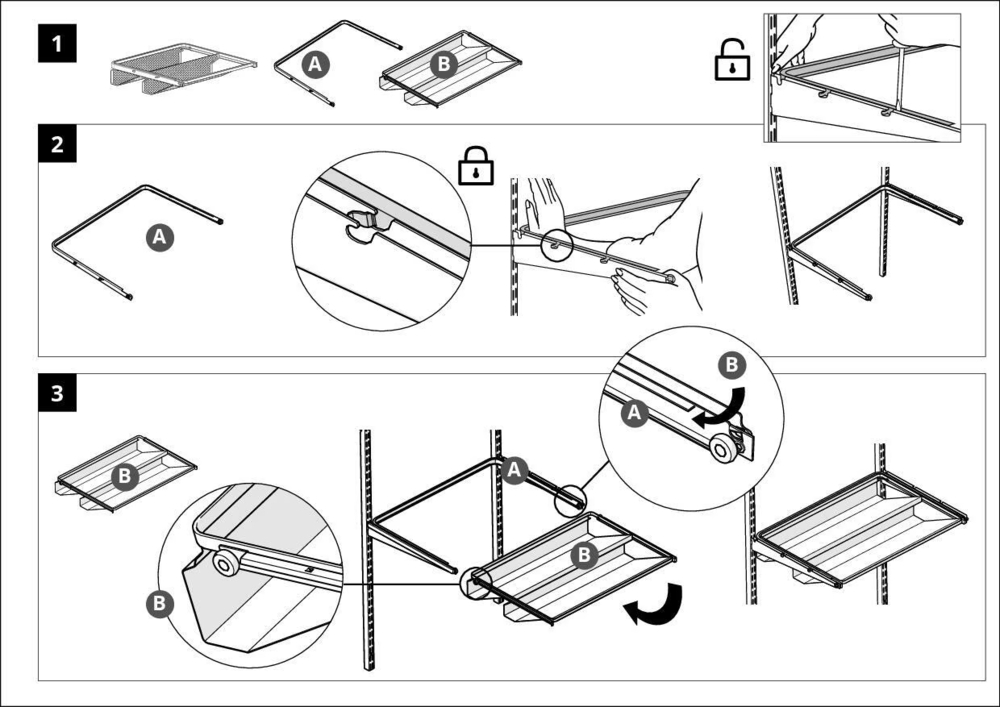
Step 1: The gliding shoe shelf consists of a U-shaped part (A) and a gliding part (B). Begin by separating the two parts from eachother.
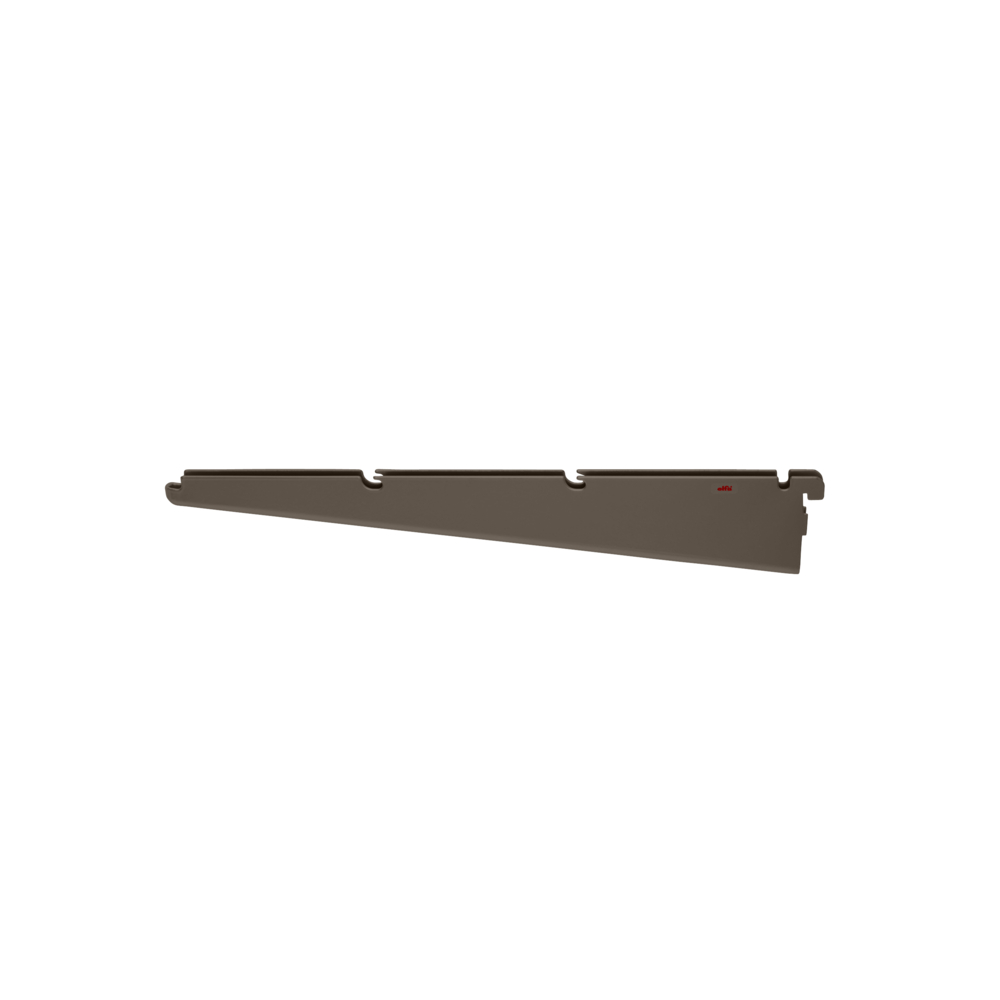
Step 2: The U-shaped part has three metal tabs and a metal knob on each side (located at the top) that locks the U-shaped part into the bracket click-in.
Begin with the left bracket click in. Align the metal tabs on the U-shaped part with the cut-out notches of the bracket click-in. When aligned, hold the front of the bracket and press on the frame at the back rounded corner until you hear it lock into place.
Repeat on the right side.
To reposition the U-shaped part: it is not necessary to remove the frame from the brackets. Simply tilt up the front of both brackets and remove them from the hang standards. Place in the desired location.
Step 3: When the U-shaped part is mounted, insert the gliding part with the shoe rack. Align the rollers on each side of the frame with the openings in the U-shaped part. Slide the shoe shelf part of the frame into the U-shaped part.
NOTE: To remove the U-shaped part from the brackets: insert and twist a small/flat object (for example a bracket cover, no metal) between the bracket and the frame in front of the knob holding the frame in place. At the same time, place one hand at the back of the frame. With your thumb on the hang standard, gently push the frame forward with your fingers. The frame should now pop out of the bracket. Repeat on the other side.
Recommended price (Prices may vary between retailers)
200,00
Upgrade your shoe storage with our gliding shoe shelf, designed to provide a clear overview and easy access to your footwear collection. It's equally suitable for flat-soled shoes and shoes with heels, thereby accommodating a variety of shoe types. Mount easily between two bracket click-ins D: 40. Available in two widths.
Suitable for all shoe types, including flat-soled shoes and heels.
Upgrade your shoe storage with our gliding shoe shelf, designed to provide a clear overview and easy access to your footwear collection. It's equally suitable for flat-soled shoes and shoes with heels, thereby accommodating a variety of shoe types. Mount easily between two bracket click-ins D: 40. Available in two widths.
Designed for storing all types of shoes and creates a good overview and easy access. It easily clicks into place between two bracket click-in D:40, with no tools needed.
Equally suitable for shoes with flat soles and heels. Available in different widths.
Made from a durable epoxy-bonded steel construction.
2 metal colours:
White, close to NCS S 0300-N, gloss around 85
“Graphite”, a unique finish close to NCS S 8000-N, gloss around 50
Note: as our finishes are metallic/mixed powder, the NCS codes/gloss aren’t exact.
Planning rules
<
Planning rules
The gliding shoe shelf can hold up to 6 (W:60) or 4 (W:45) pairs of shoes.
Multiple gliding shoe shelves can be placed next to eachother, sharing the same bracket, but can not be placed next to products that require 1 slot (such as angled shelf, storing board etc.).
When planning shelves above eachother, leave at least 4 pairs of free slots between them in order to have sufficient space for your shoes.
Also, leave sufficient space in front of a solution containing gliding functions. A D:40 gliding function requires 290 mm additional free space in front of it, in order to be able to extend fully. Total solution depth for a click-in system with fully extended gliding functions D:40 is 740 mm from the back wall.
Safety and care
<
Safety and care
Safety
Maximum load capacity per section: 200 kg (Classic by Elfa, click-in top-hung system) and 240 kg (Garage+/Décor+).
Avoid overloading individual storage components and distribute the weight evenly across the system. Different products have different recommended maximum load capacities. For more information, please refer to the Product Information section for each product, as well as Measure & Plan.
Before installation, check the wall material and condition. Elfa's product range is generally designed for normal use in residential indoor environments.
Care
Wipe clean with a cloth dampered with a mild cleaner. Wipe dry with a clean cloth.
Assembly Instructions
<
Assembly Instructions
Before you start: Mount the brackets.
Step 1: The gliding shoe shelf consists of a U-shaped part (A) and a gliding part (B). Begin by separating the two parts from eachother.
Step 2: The U-shaped part has three metal tabs and a metal knob on each side (located at the top) that locks the U-shaped part into the bracket click-in.
Begin with the left bracket click in. Align the metal tabs on the U-shaped part with the cut-out notches of the bracket click-in. When aligned, hold the front of the bracket and press on the frame at the back rounded corner until you hear it lock into place.
Repeat on the right side.
To reposition the U-shaped part: it is not necessary to remove the frame from the brackets. Simply tilt up the front of both brackets and remove them from the hang standards. Place in the desired location.
Step 3: When the U-shaped part is mounted, insert the gliding part with the shoe rack. Align the rollers on each side of the frame with the openings in the U-shaped part. Slide the shoe shelf part of the frame into the U-shaped part.
NOTE: To remove the U-shaped part from the brackets: insert and twist a small/flat object (for example a bracket cover, no metal) between the bracket and the frame in front of the knob holding the frame in place. At the same time, place one hand at the back of the frame. With your thumb on the hang standard, gently push the frame forward with your fingers. The frame should now pop out of the bracket. Repeat on the other side.