Products
Functional storage makes your everyday life easier. Elfa has different product lines adapted to different storage needs.
Note! Do not place Elfa products in direct contact with water.
Wipe clean with a cloth dampered with a mild cleaner. Wipe dry with a clean cloth.

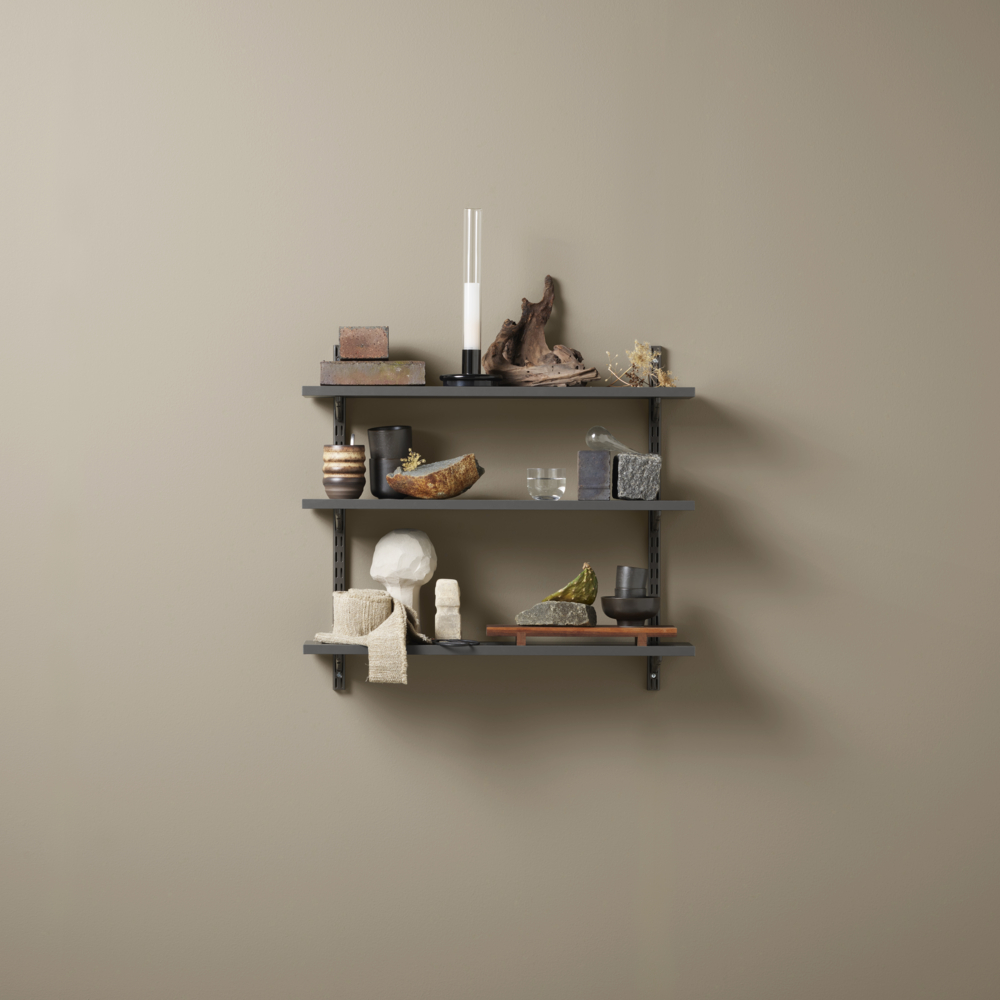
Assembly instruction: Shelving system plug-in 700mm
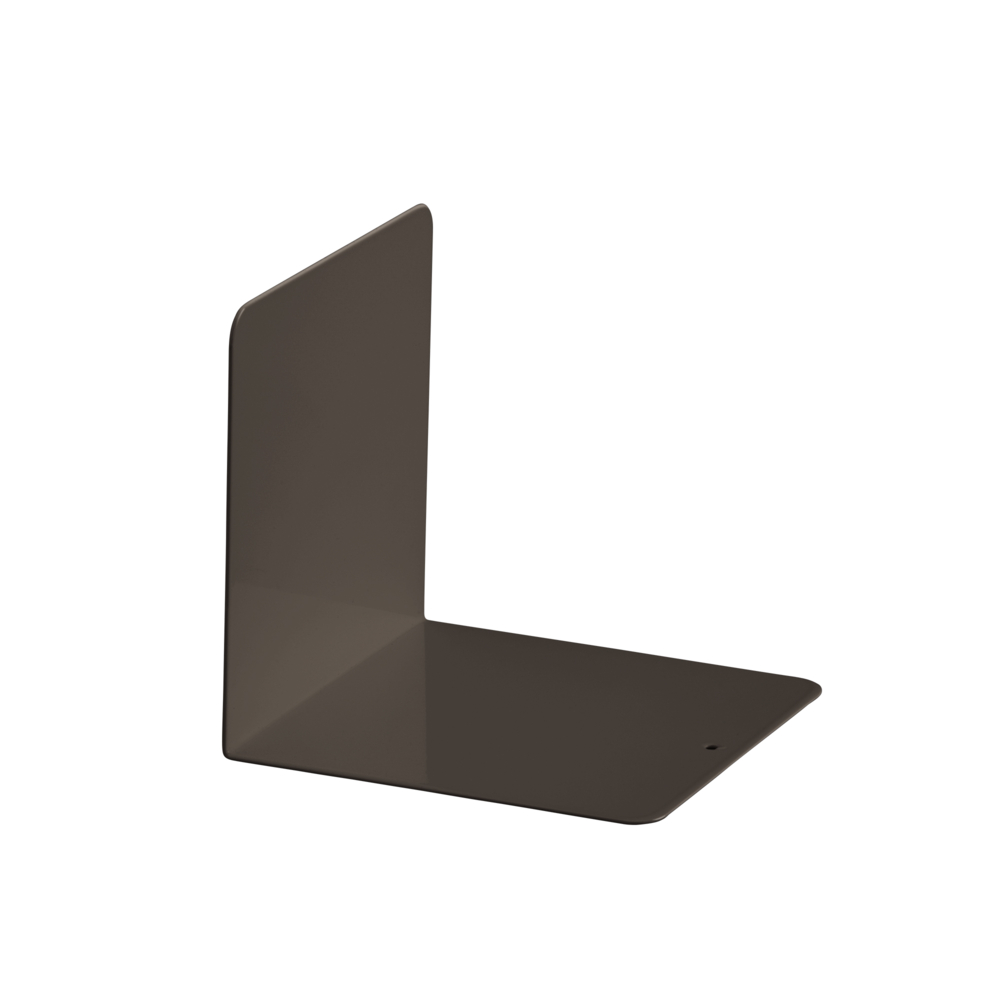
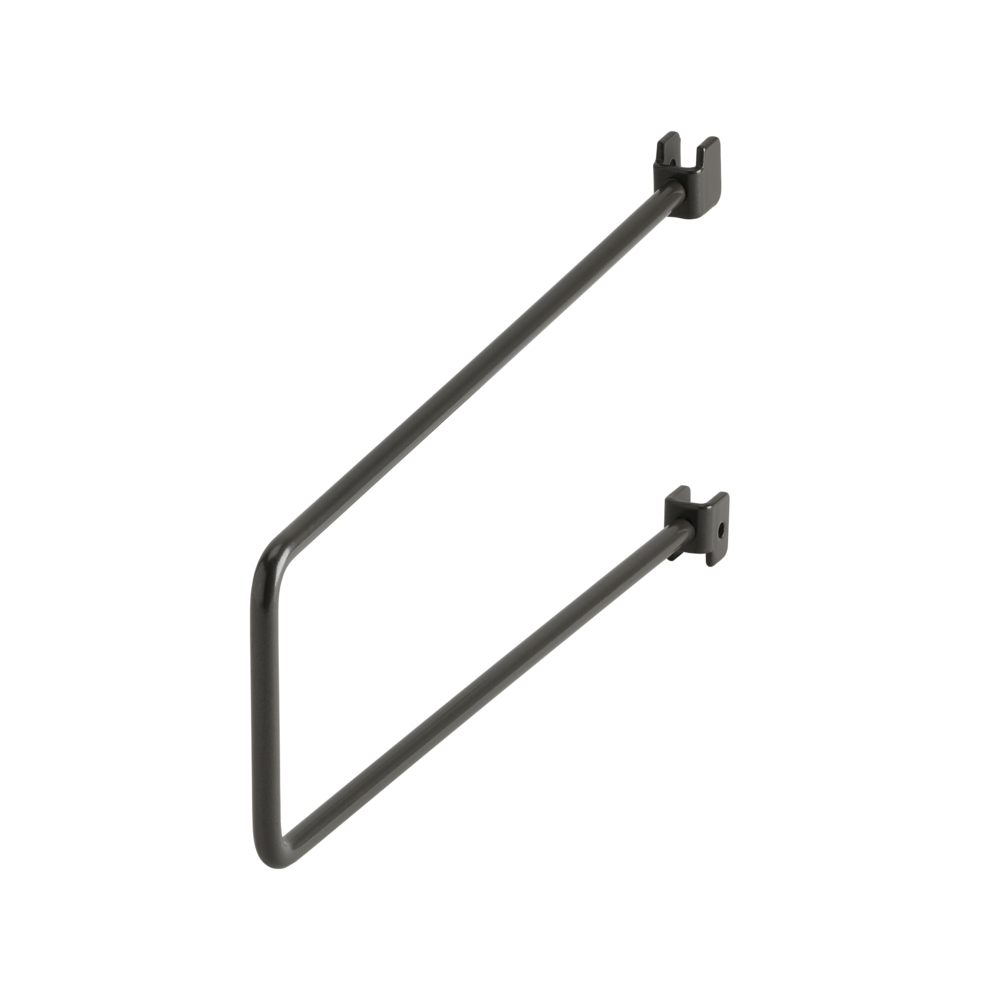
Create a bookshelf with ease using our shelving plug-in kit solution, complete with wallbands, brackets, plugs and pre-plugged melamine shelves. The patented plug-in technology and the hole pattern in the wallbands makes installation easy. Detailed step-by-step assembly instructions are included in the kit.
Color
Size
Width (mm): 780
Depth (mm): 218
Height: 700
113,40
Needs To Have
Classic by Elfa
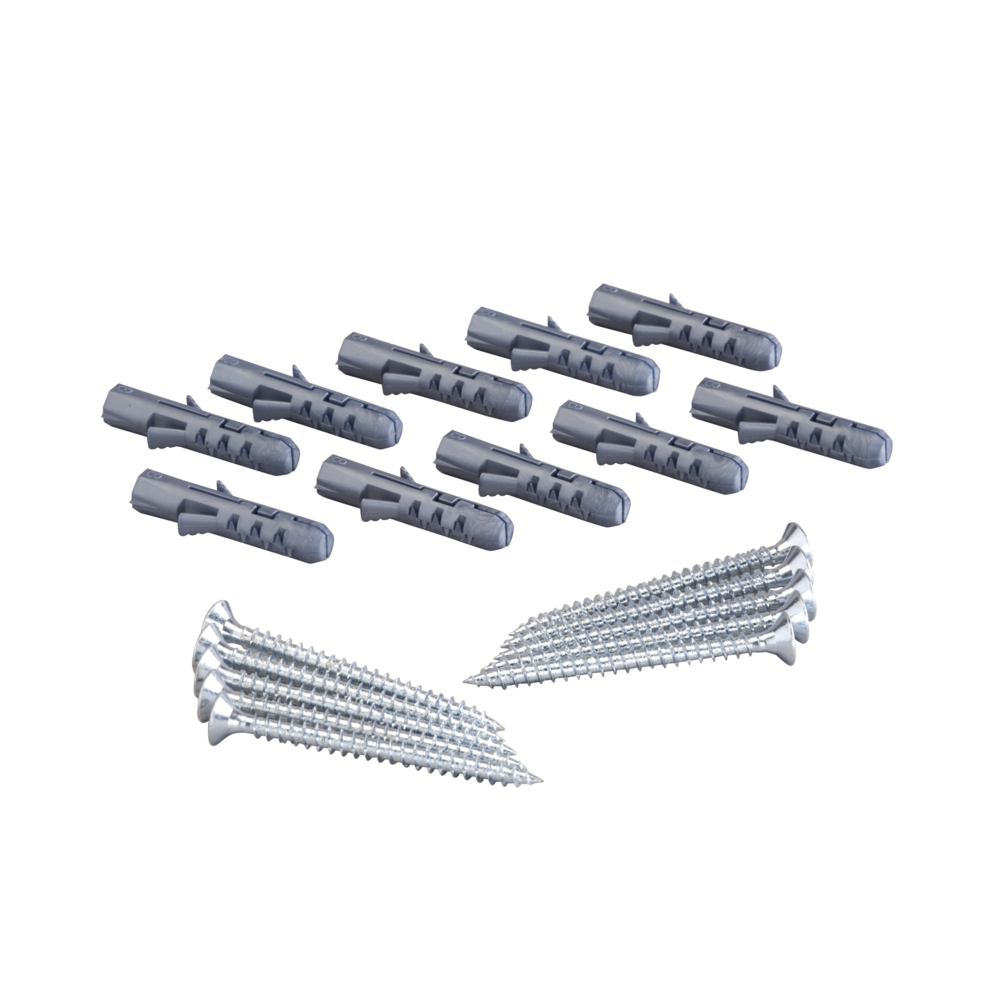
Screw and Plug, set of 10
6,60
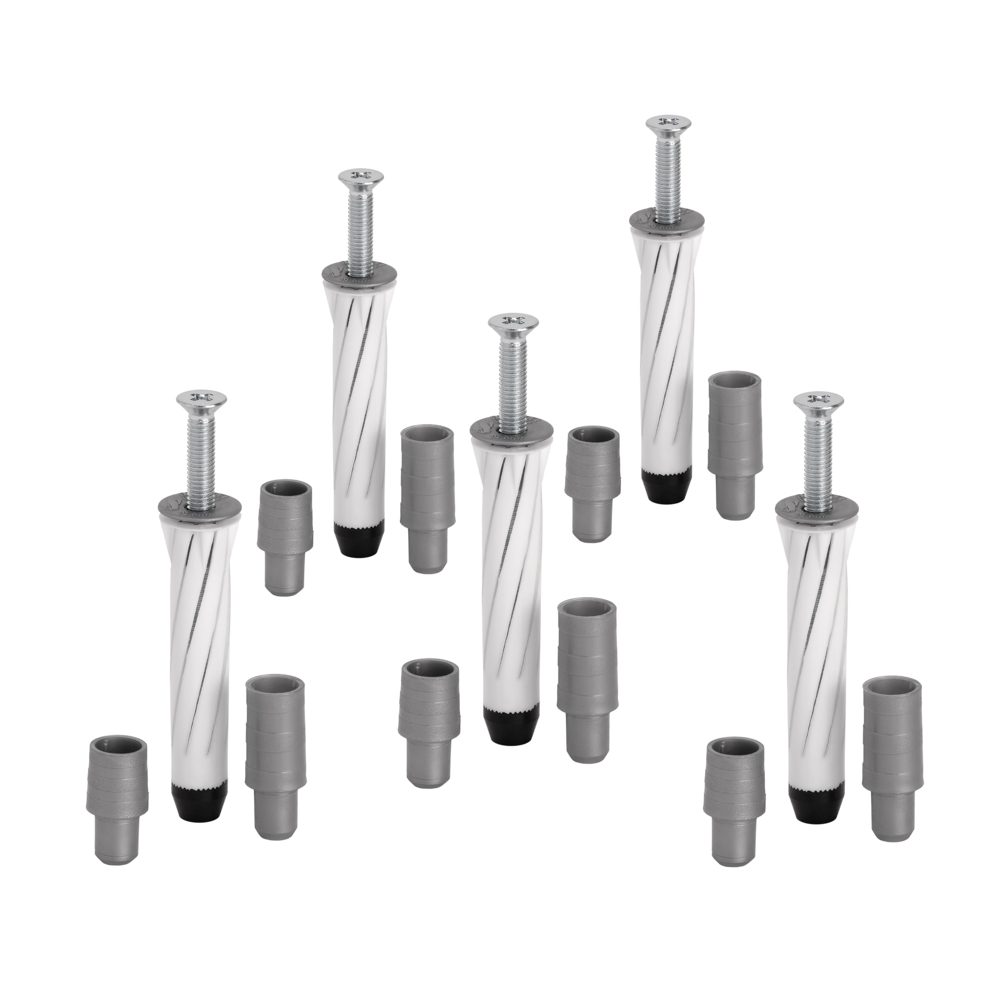
Classic by Elfa
Drywall Anchor pkg/5 Updated
9,00
Note! Do not place Elfa products in direct contact with water.
Wipe clean with a cloth dampered with a mild cleaner. Wipe dry with a clean cloth.
Assembly instruction: Shelving system plug-in 700mm