Products
Functional storage makes your everyday life easier. Elfa has different product lines adapted to different storage needs.


Note! Do not place Elfa products in direct contact with water.
Wipe clean with a cloth dampered with a mild cleaner. Wipe dry with a clean cloth.
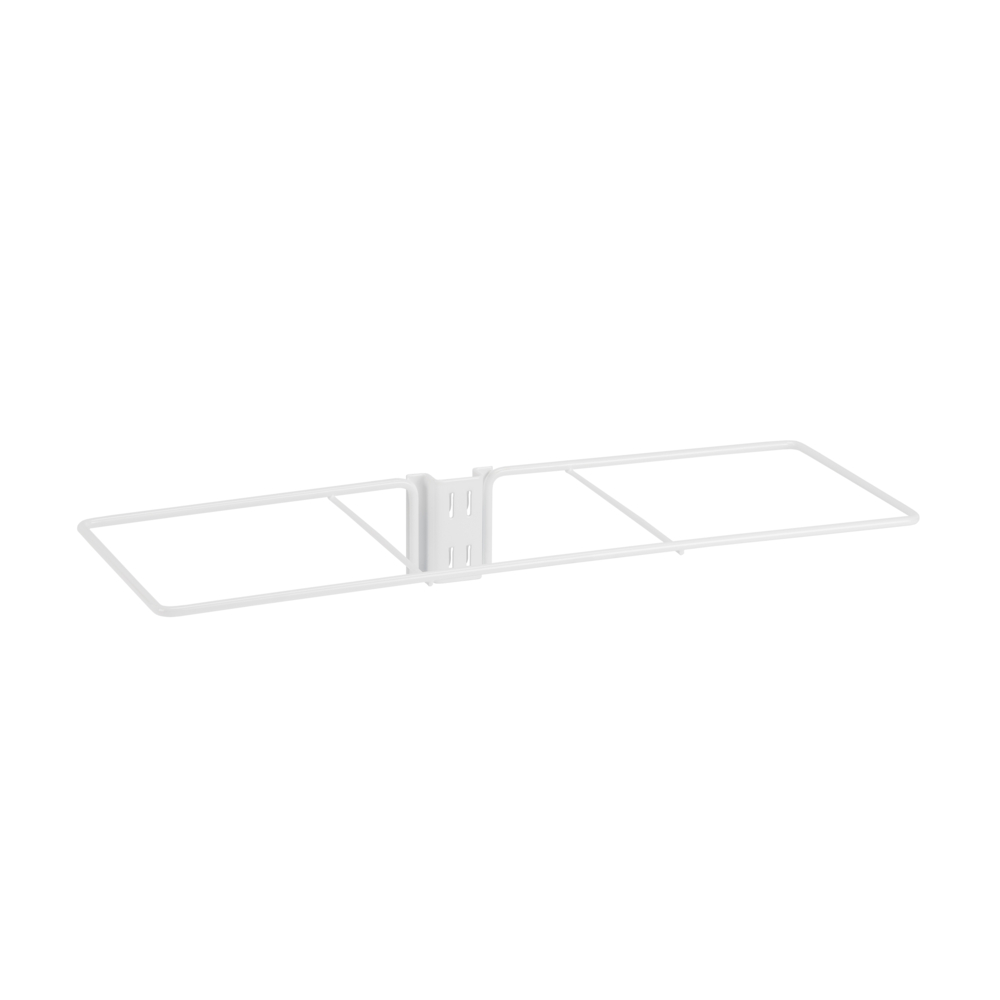
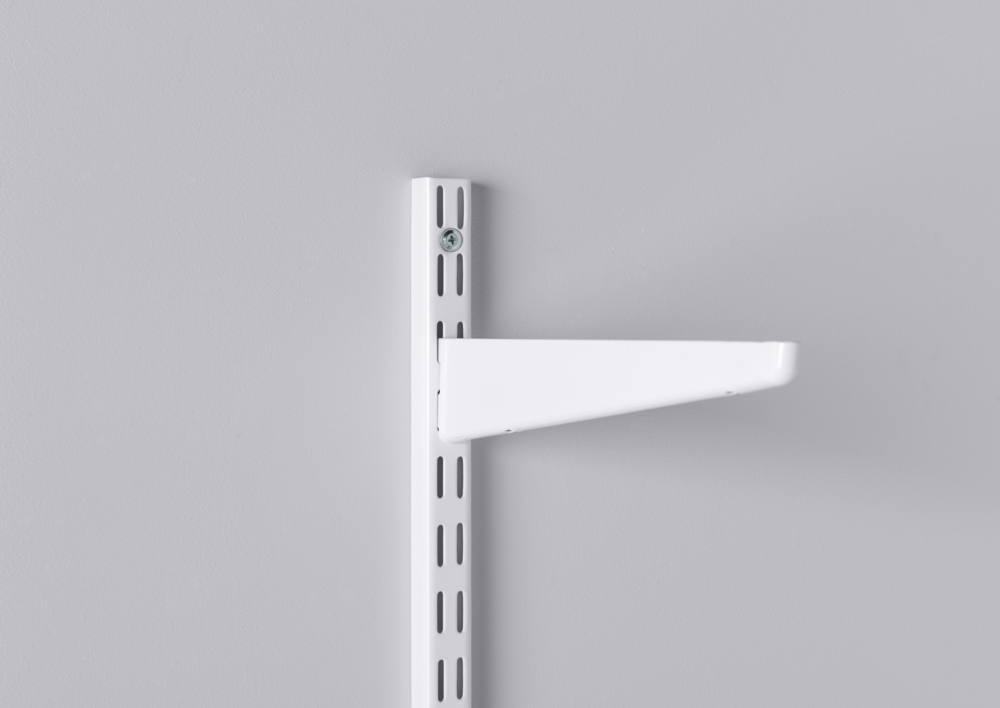
Discover the iconic Original Wallband from 1964 designed by Birger Sparring. Easily customize storage for any space, including sloping ceilings and tight corners. Screw directly to the wall and supplement with storage features such as Solid shelf bracket and Solid shelves. The placement of the screwholes also enables an easy assembly together with our Plug-in melamine shelves.
Color
Size

Width (mm): 25
Depth (mm): 16
Height: 316
5,20
Width (mm): 25
Depth (mm): 16
Height: 700
7,80

Width (mm): 25
Depth (mm): 16
Height: 1340
12,90

Width (mm): 25
Depth (mm): 16
Height: 1980
17,40

Width (mm): 25
Depth (mm): 16
Height: 2396
19,90
Needs To Have
Classic by Elfa
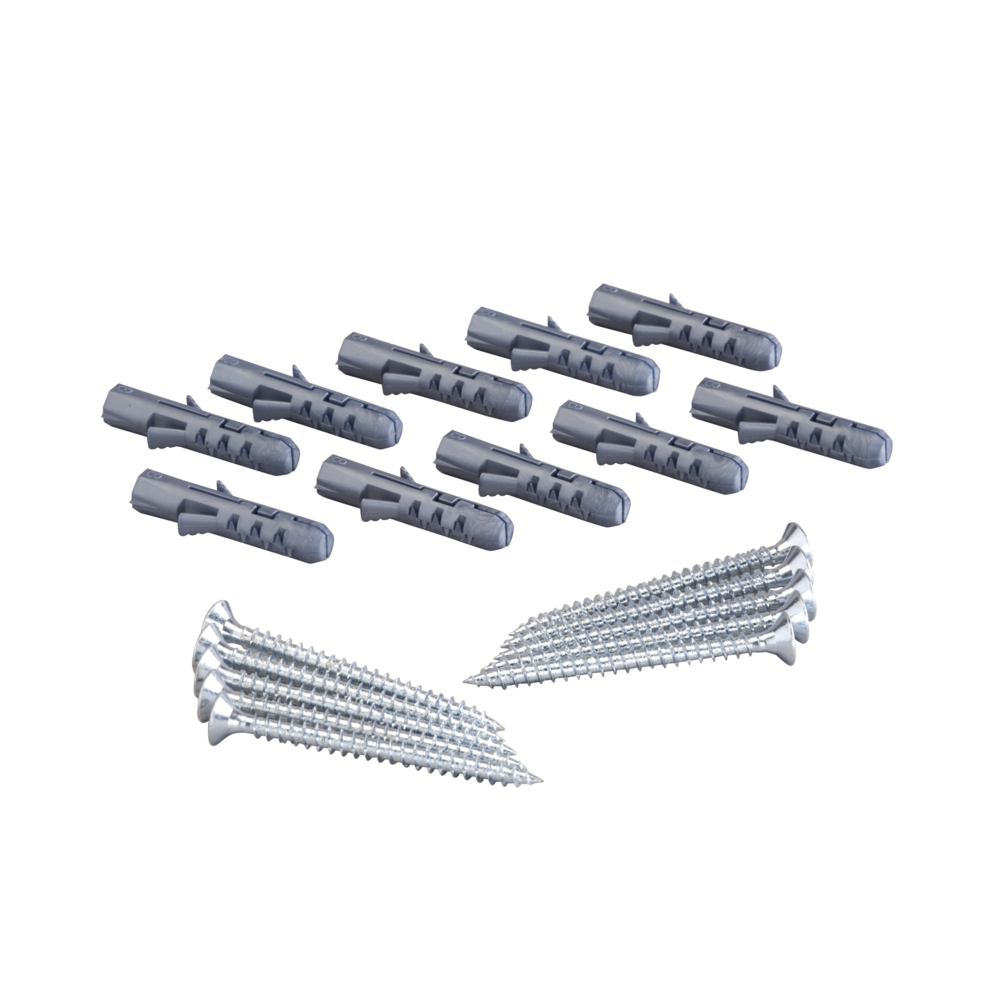
Screw and Plug, set of 10
6,60
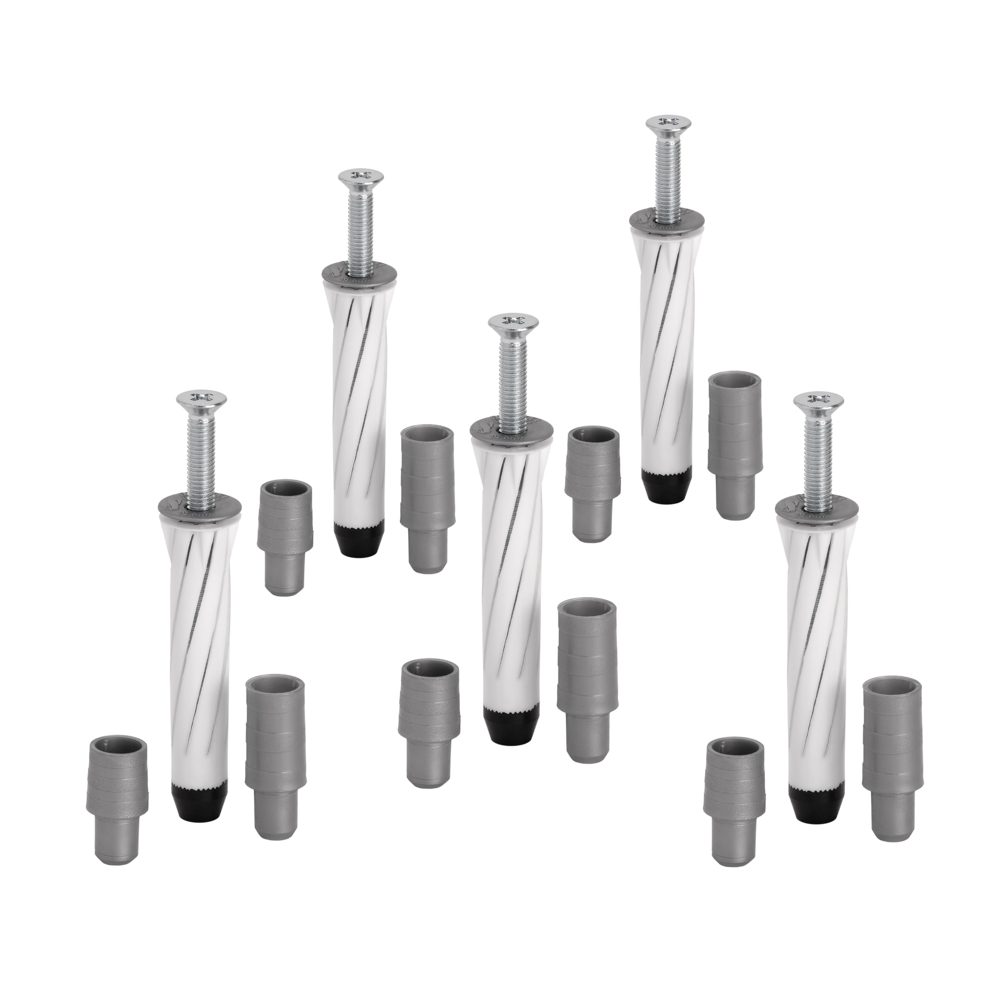
Classic by Elfa
Drywall Anchor pkg/5 Updated
9,00
Note! Do not place Elfa products in direct contact with water.
Wipe clean with a cloth dampered with a mild cleaner. Wipe dry with a clean cloth.