
Products
Functional storage makes your everyday life easier. Elfa has different product lines adapted to different storage needs.
Note! Do not place Elfa products in direct contact with water.
Wipe clean with a cloth dampered with a mild cleaner. Wipe dry with a clean cloth.
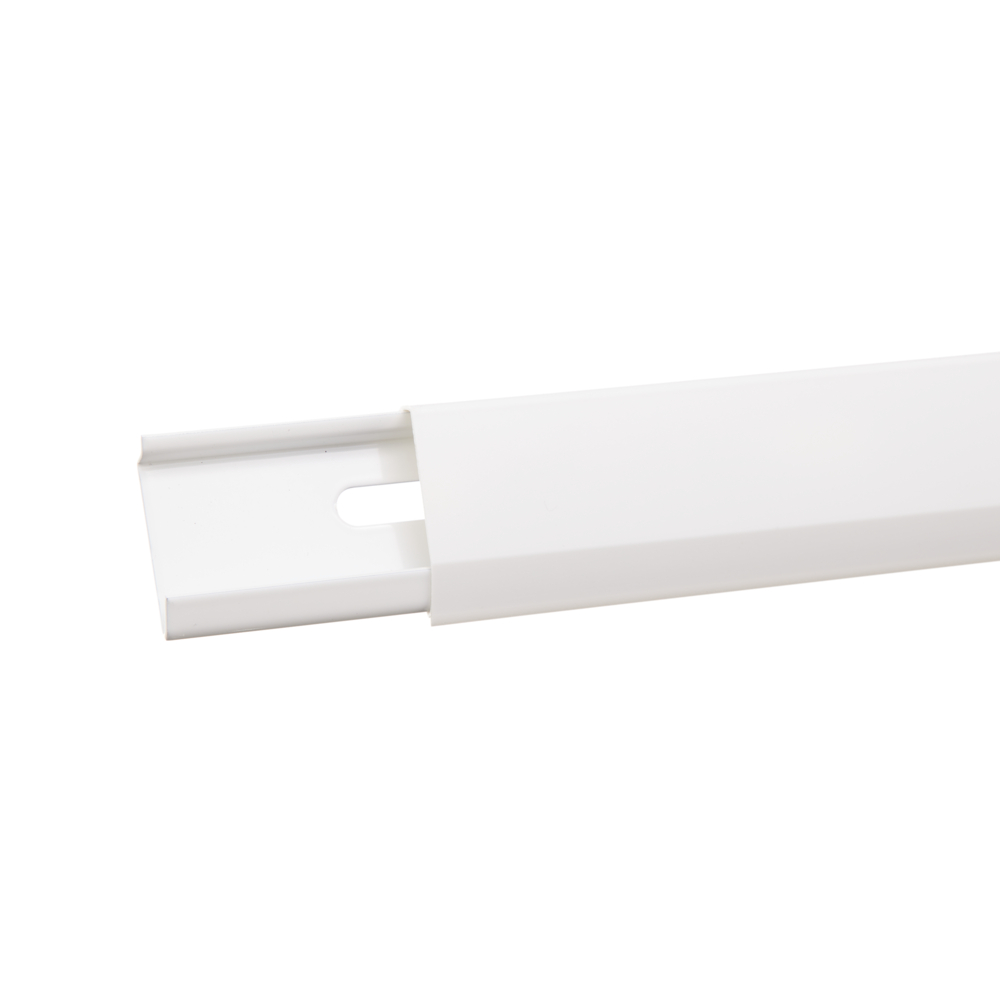
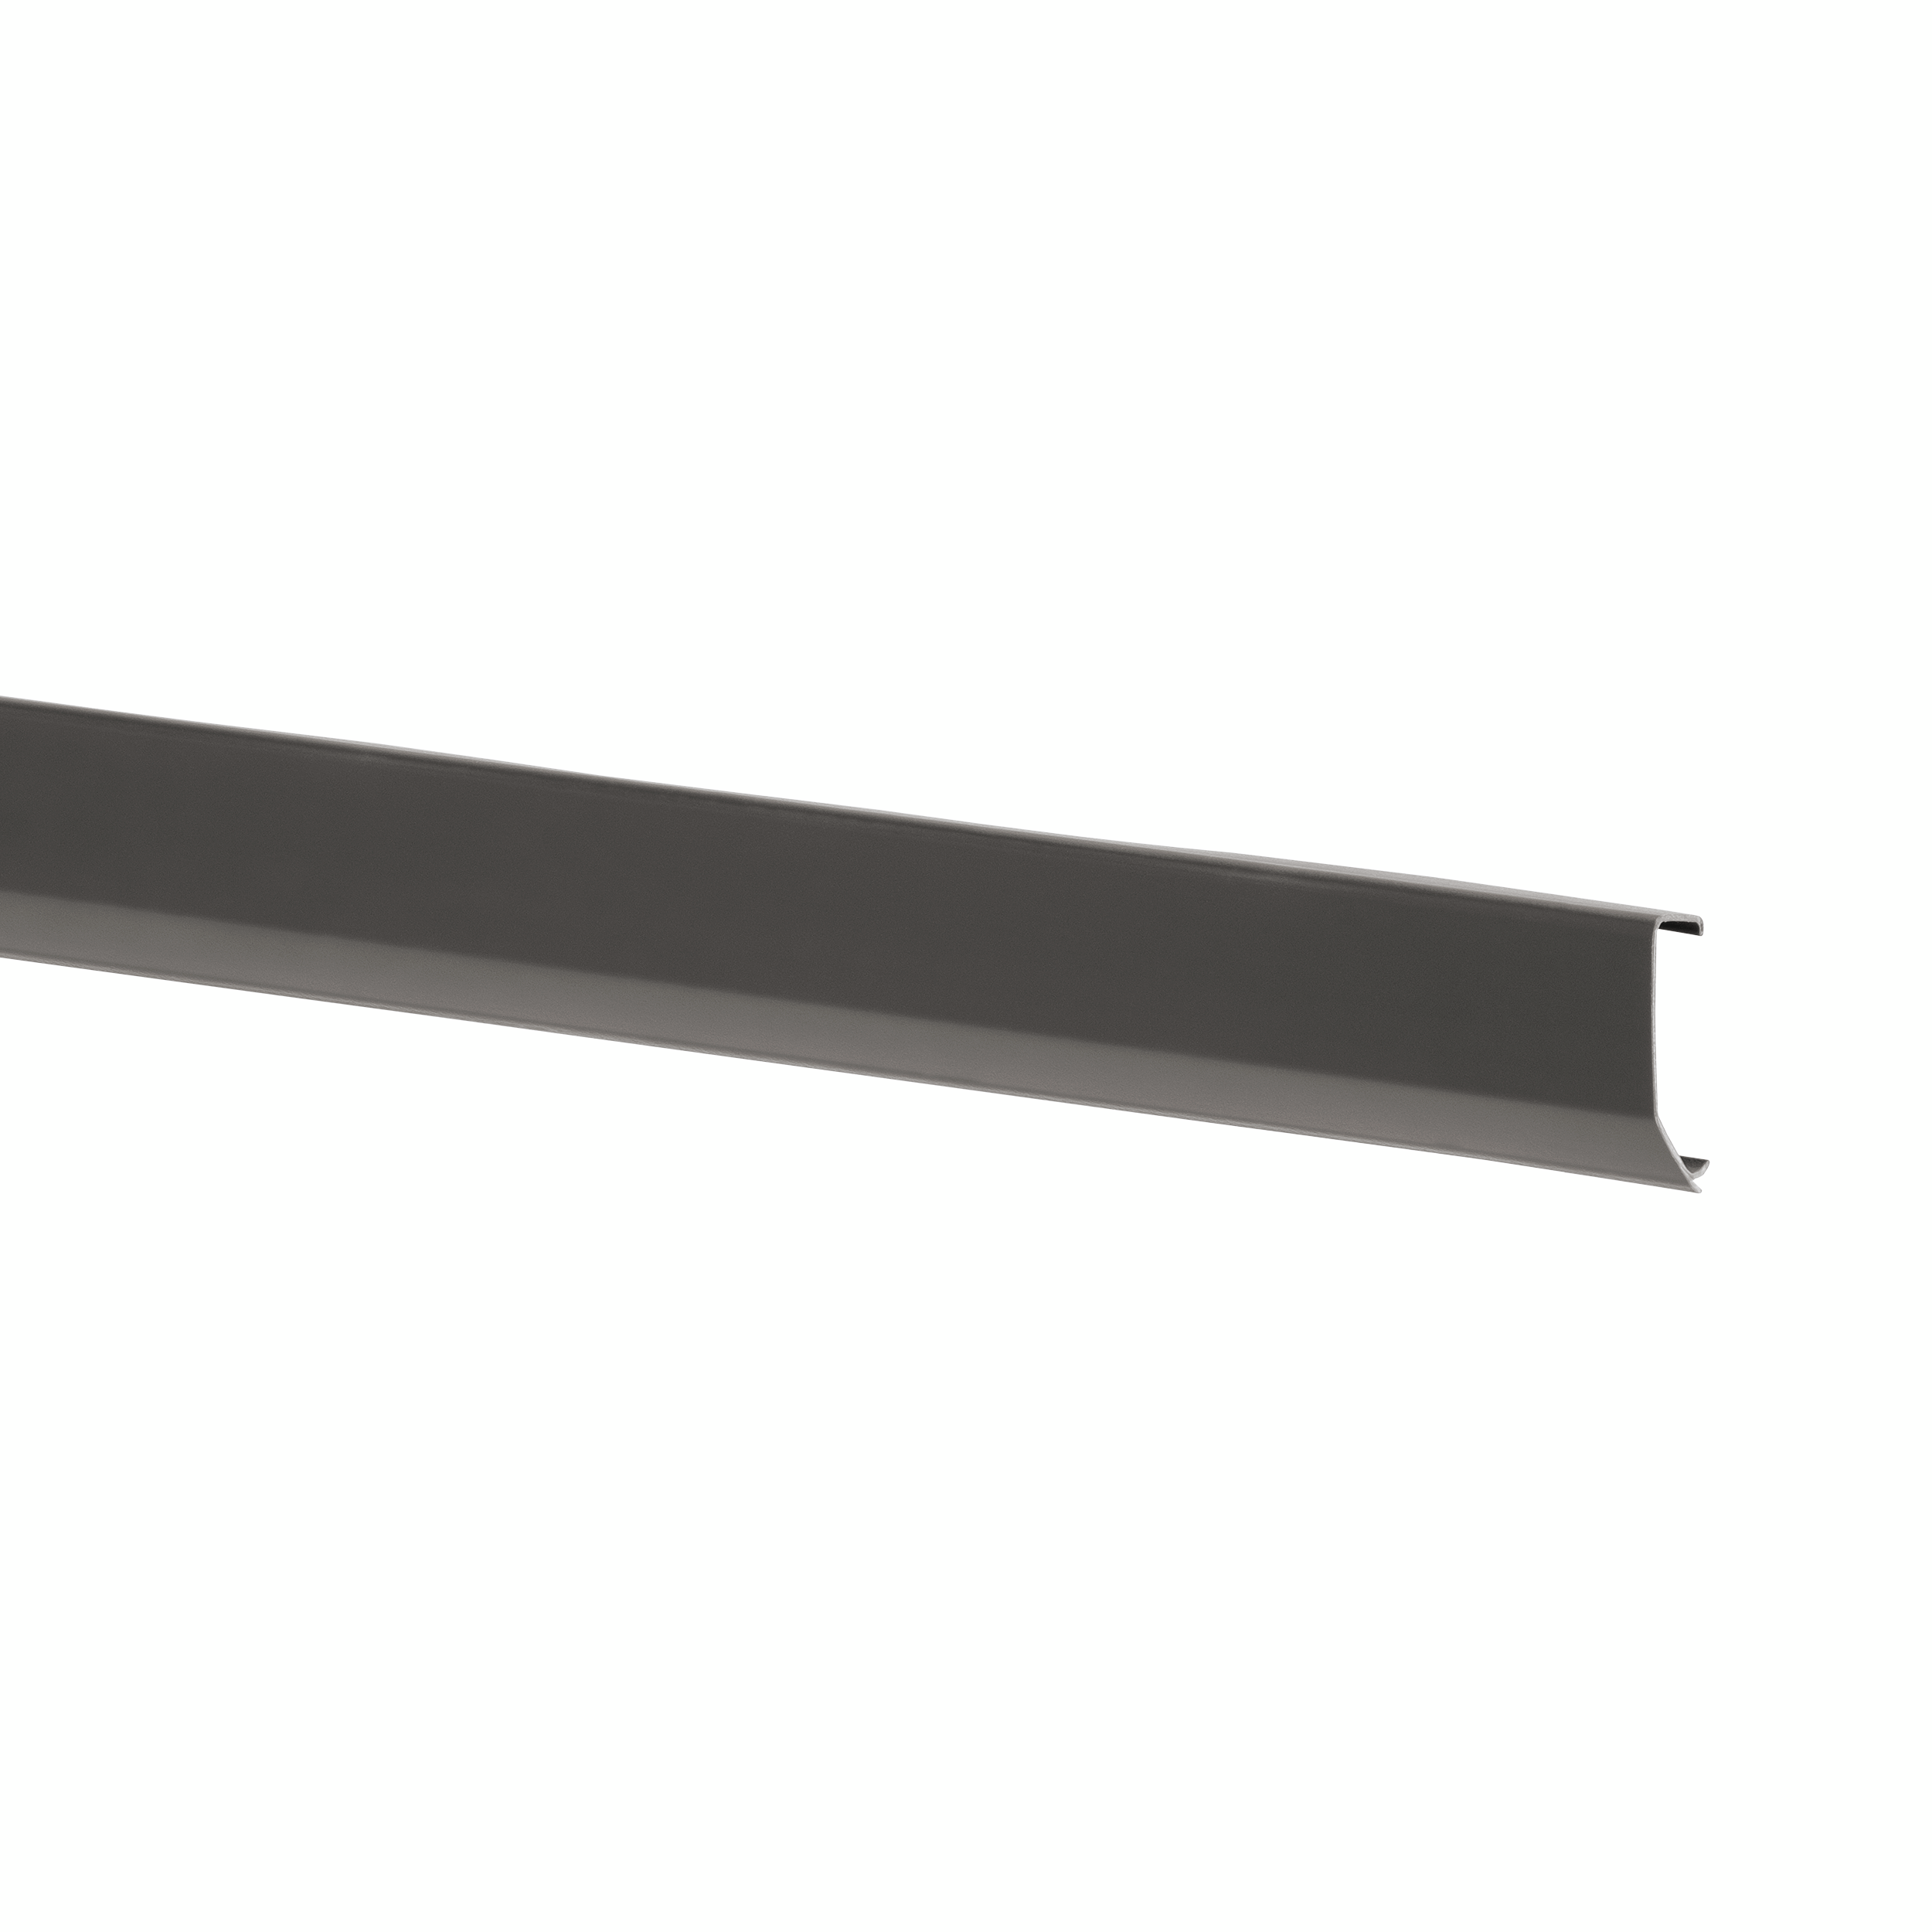
Add a touch of style to your storage system with the decorative top track cover. Designed to conceal screws and holes, this cover ensures a polished and seamless appearance. Elevate your organization while maintaining a clean and attractive look.
Color
Size
Width (mm): 581
Depth (mm): 11
Height: 40
2,90
Needs To Have
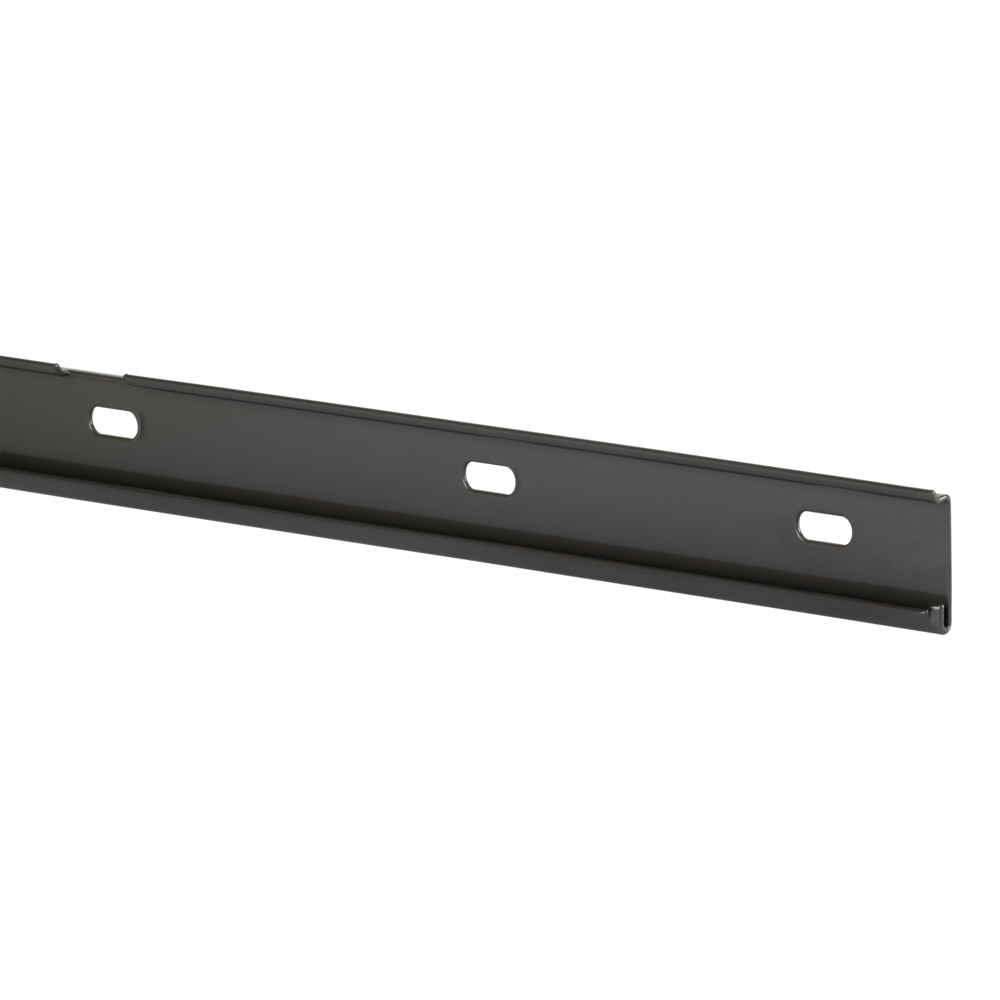
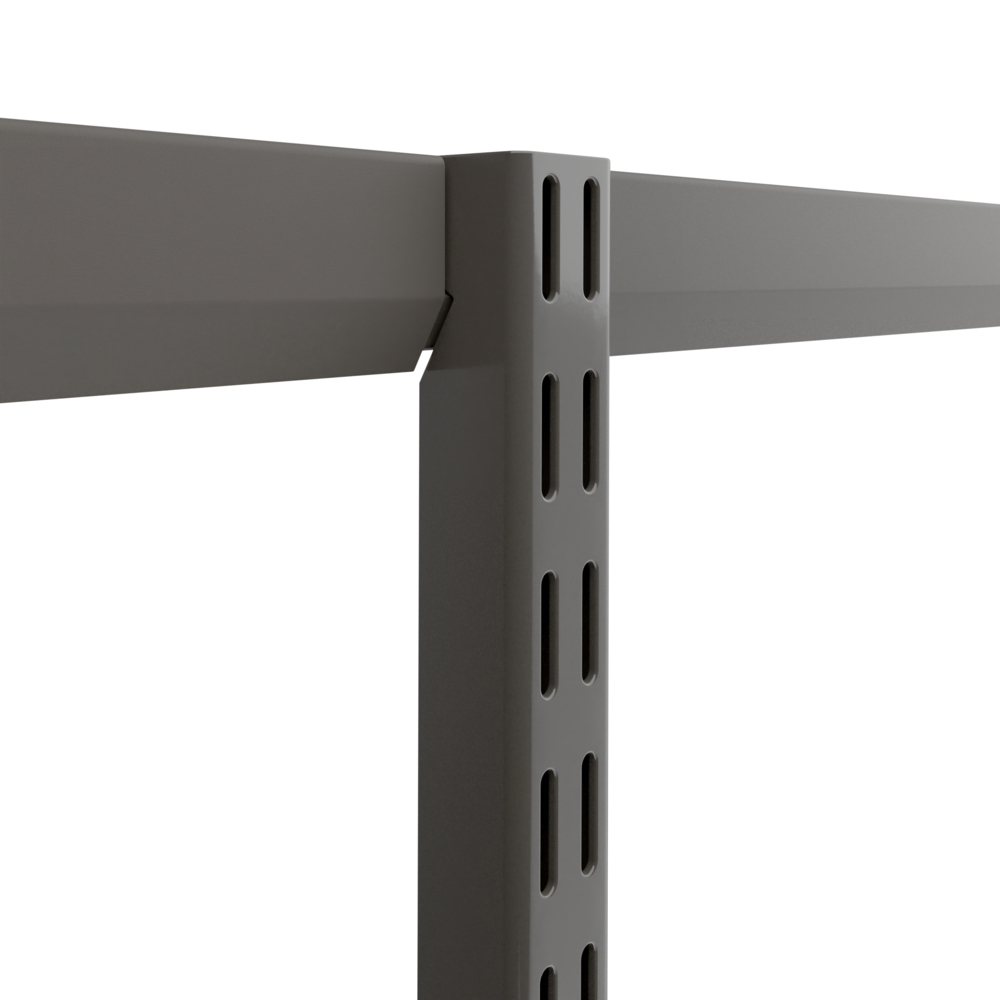
Classic by Elfa
Top track
Price from 17,20
Note! Do not place Elfa products in direct contact with water.
Wipe clean with a cloth dampered with a mild cleaner. Wipe dry with a clean cloth.