Storage inspiration for every room – with smart solutions that combine style and function. Create a home where every surface becomes a storage opportunity.
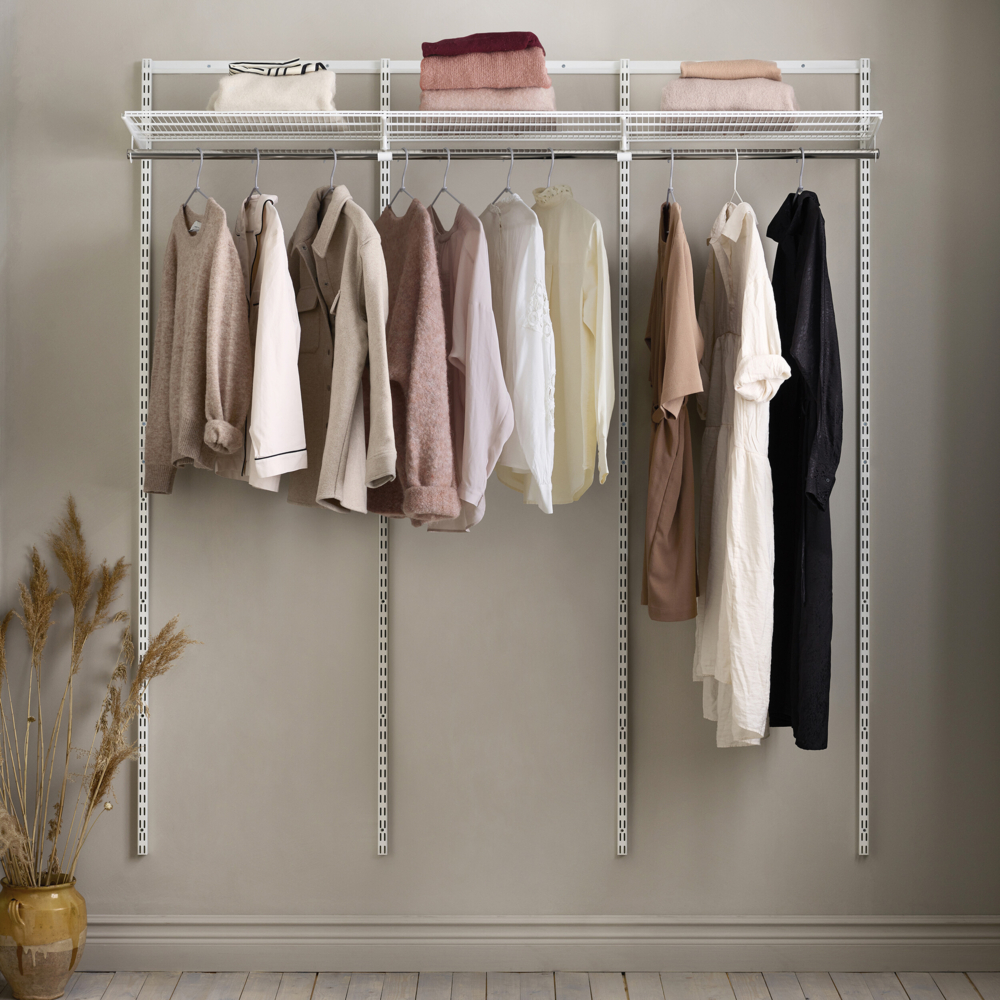
Pre-packed storage solution, Click-in Top hang, suitable for e.g. closet or laundry storage. Based on three 60-width sections and includes Top track, Hang standards, Extension standards, Adapter, Click-in brackets, Wire shelf, and Closet rod. Can be combined with other storage products in 60-width to create a solution tailored to your needs. Fits behind sliding door solution with Elfa Original Standard sliding doors (2 pcs, width 938 mm).
The kit includes:
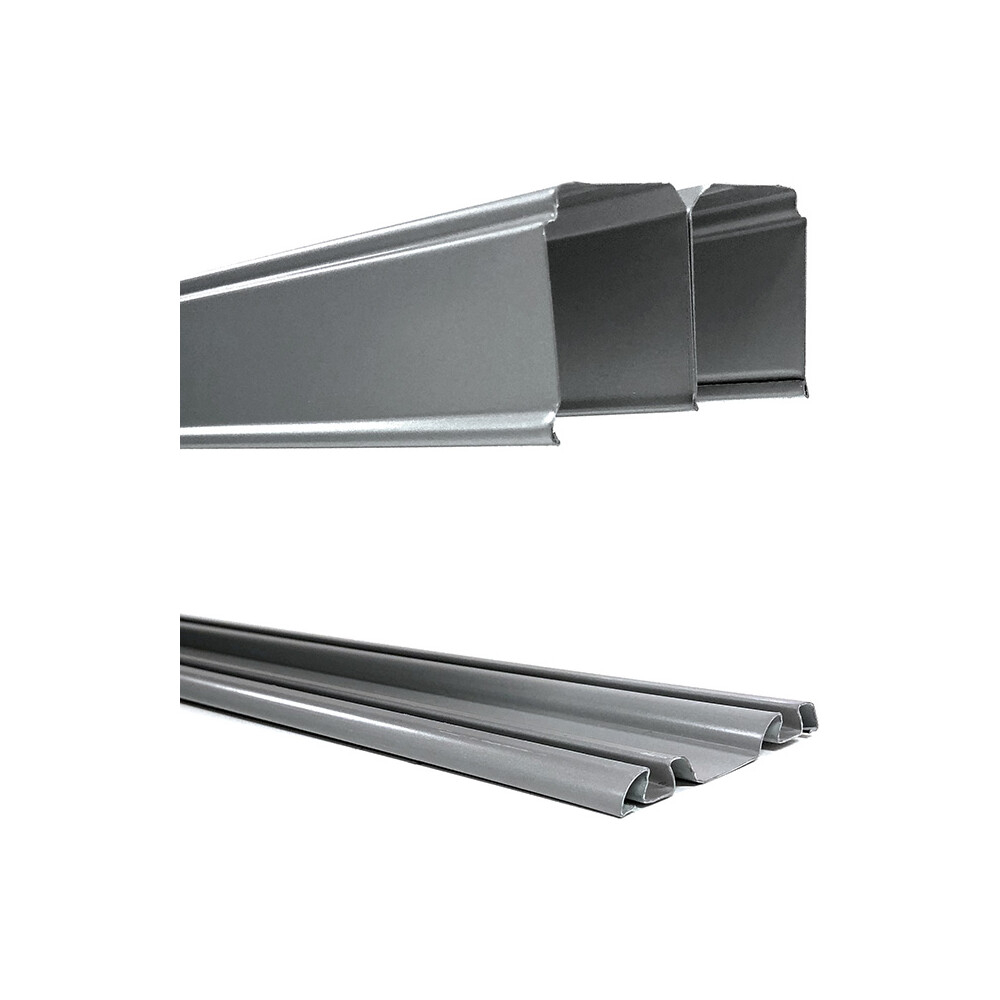
* 1 Top track 1855 mm
* 4 Hang standards 988 mm
* 4 Extension hang standard 1148 mm (to be joined with hang standards)
* 4 Extension hang standard adapter (joining hang standards and extension hang standards)
* 4 Bracket click-in D: 40
* 1 Wire shelf W: 120 D: 40
* 1 Wire shelf W: 60 D: 40
* 4 Closet rod holders (2 for the middle, 2 for the outer ends)
* 1 Closet rod 1850 mm
* 1 set of Closet rod end caps
The bore holes in the top track are oval - width 20 mm (6/8”) and height 7,2 mm (2/8”) for easier positioning towards studs etc.
Metal colour:
White, close to NCS S 0300-N, gloss around 85
Note: as the finish is a mixed powder, the NCS code/gloss isn’t exact.
Planning rules
<
Planning rules
The minimum placement of the top track from the ceiling is 15 mm, to ensure that there is sufficient space to be able to hang in hang standards.
Maximum load per section is 200 kg. Do not store too much on each interior product and distribute the weight evenly across the system. Ensure the material and condition of the wall.
Safety and care
<
Safety and care
Safety
Note! Do not place Elfa products in direct contact with water.
Care
Wipe clean with a cloth dampered with a mild cleaner. Wipe dry with a clean cloth.
Assembly Instructions
<
Assembly Instructions
You need the following to assemble: Screwdriver/drilling machine, metal saw (if adding top tracks and/or adjusting top track widths), leveller.
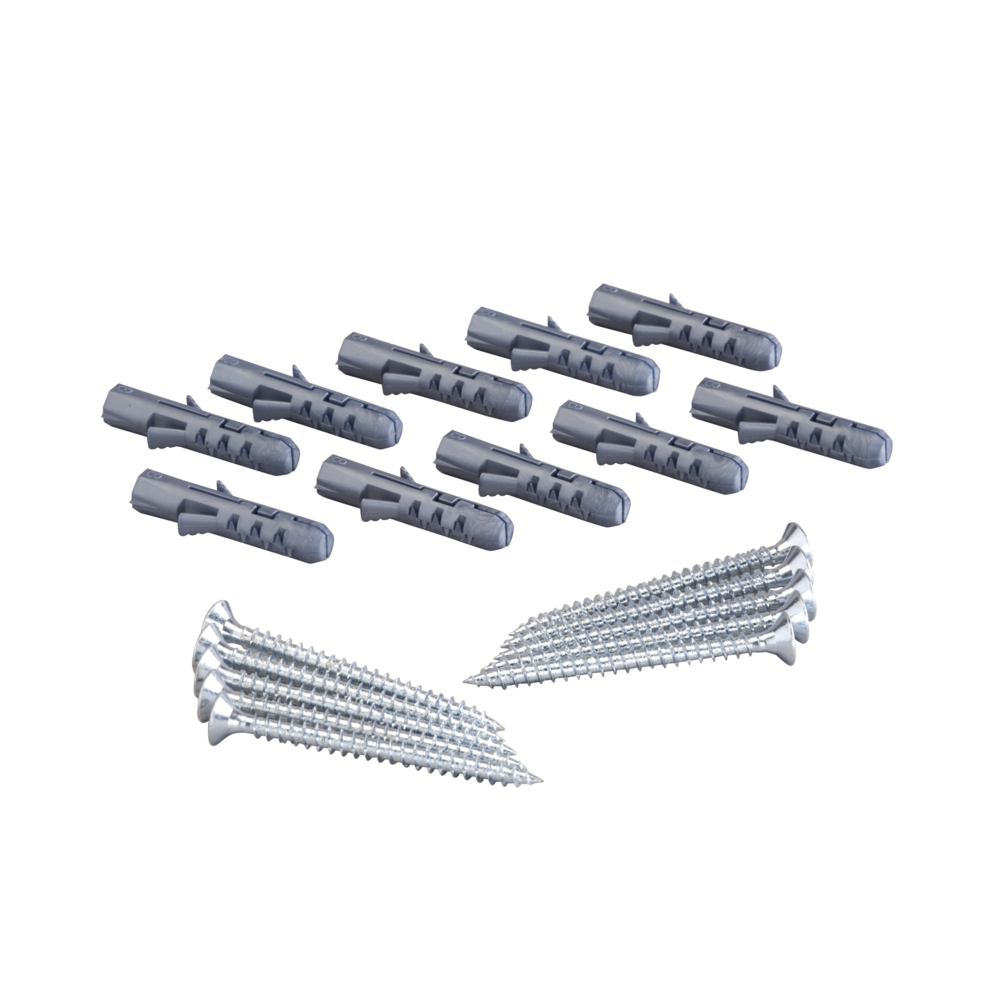
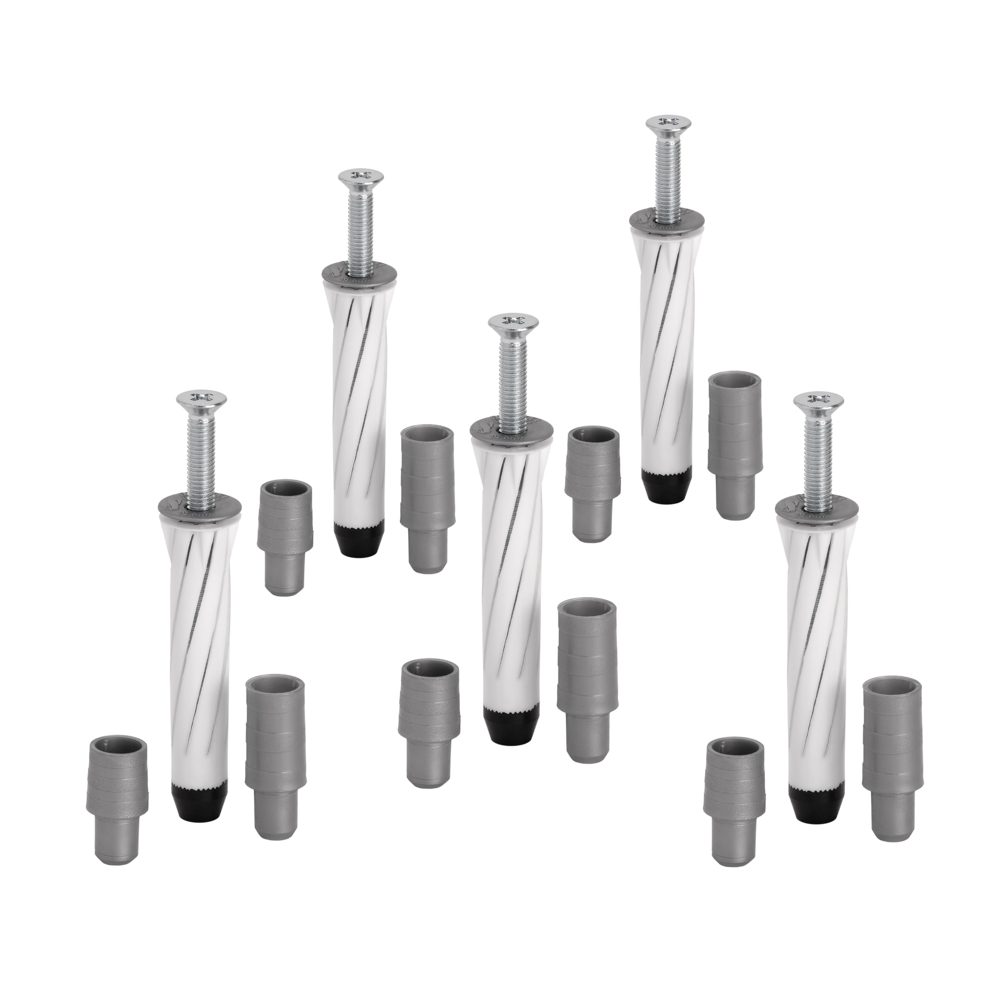
Before you start: Make sure you have chosen the right screw/plug for your wall type.The recommendation, when mounting the top track, is to use Elfa hardware. We recommended that a screw should be placed in every hole, for maximum saftey. The screw holes in the top track are shaped oval, in order to increase the probability to find studs to mount in.
Important NOTE: Be careful not to drill into any electrical wires, ductwork, plumbing or other damagable components. If you have any questions on the locations of these wires or lines, please contact a professional electrician or plumber before drilling.
Step 1 (Mounting the top track): Place the top track at the desired height and mark one hole in the middle. Begin drilling the marked hole with a 3mm drill bit. If you hit a stud, continue drilling the entire length of the bit. If you hit the hollow part of the wall, enlarge the hole with a 10mm drill bit for anchors. Fasten the top track with a screw and tighten it enough to hold the top track against the wall. Place a leveller on the top of the top track and adjust it as required. Mark all remaining holes.
Step 2 (Hang in the hang standards): Hang in the hang standards onto the bottom ""lip"" of the top track. In order to fit in the hang standards into the top track, aim for an entry point where there is a cut-out on the upper lip of the top track. Slide the hang standards to their approximate position on the top track. With the end stop at the outer edges of the top track, the hang standard can be placed at the far end of the track.
Step 3 (Adding the extension hang standards): Separate out the screws from the extension hang standard adapter. Bend out the hang standard slightly from the wall and slide the top part of the extension standard adapter into the standard from underneath. Fasten the adapter with one of the screws by using a screwdriver. Slide the small, colour-matching, plastic piece and the extension standard onto the adapter. Fasten with the remaining screw .
Step 4 (Mounting the brackets): Assemble the brackets into the hang standard by leaning the ""nose"" of the bracket upwards and attaching the upper ""teeth"" of the backside of the bracket into the slots. Then let the bracket come down.
Step 5 (Mounting the wire shelf): A wire shelf has a top and a bottom. The middle support wire is connected to the bottom of the shelf. Place the bottom of the wire shelf over the notches in the bracket. Install the shelf with end wires inside the brackets. Lock the shelf into place by pressing down on the middle of the shelf and pushing toward the wall.
* To reposition a wire shelf after it’s been attached to the brackets: hold by the brackets, and lift the front of the shelf toward the ceiling and outward to release the entire unit from the hang standards.
* Demount: To remove a wire shelf from a bracket while on the hang standards: hold the hang standard steady with one hand. Place the other hand at the back of the shelf. Pull up and forward to release.
Step 6 (Mounting the closet rod): Insert the closet rod holders into the slot underneath the bracket, by leaning the bottom of the holder slightly upwards and inserting the upper ""tooth"" of the holder into the slot. The two ""flat"" closet rod holders are meant to be mounted into the outer brackets. Let the holders come down into place. Once the closet rod holders are mounted, firmly press the end caps into the outer ends of the closet rod. Then snap the closet rod into the closet rod holders.
Pre-packed storage solution, Click-in Top hang, suitable for e.g. closet or laundry storage. Based on three 60-width sections and includes Top track, Hang standards, Extension standards, Adapter, Click-in brackets, Wire shelf, and Closet rod. Can be combined with other storage products in 60-width to create a solution tailored to your needs. Fits behind sliding door solution with Elfa Original Standard sliding doors (2 pcs, width 938 mm).
A great start to your storage – gathered in a practical package.
Quick and easy to mount on the wall.
Complete with additional storage, such as wire shelves or pull-out mesh baskets.
Pre-packed storage solution, Click-in Top hang, suitable for e.g. closet or laundry storage. Based on three 60-width sections and includes Top track, Hang standards, Extension standards, Adapter, Click-in brackets, Wire shelf, and Closet rod. Can be combined with other storage products in 60-width to create a solution tailored to your needs. Fits behind sliding door solution with Elfa Original Standard sliding doors (2 pcs, width 938 mm).
The kit includes:
* 1 Top track 1855 mm
* 4 Hang standards 988 mm
* 4 Extension hang standard 1148 mm (to be joined with hang standards)
* 4 Extension hang standard adapter (joining hang standards and extension hang standards)
* 4 Bracket click-in D: 40
* 1 Wire shelf W: 120 D: 40
* 1 Wire shelf W: 60 D: 40
* 4 Closet rod holders (2 for the middle, 2 for the outer ends)
* 1 Closet rod 1850 mm
* 1 set of Closet rod end caps
The bore holes in the top track are oval - width 20 mm (6/8”) and height 7,2 mm (2/8”) for easier positioning towards studs etc.
Metal colour:
White, close to NCS S 0300-N, gloss around 85
Note: as the finish is a mixed powder, the NCS code/gloss isn’t exact.
Planning rules
<
Planning rules
The minimum placement of the top track from the ceiling is 15 mm, to ensure that there is sufficient space to be able to hang in hang standards.
Maximum load per section is 200 kg. Do not store too much on each interior product and distribute the weight evenly across the system. Ensure the material and condition of the wall.
Safety and care
<
Safety and care
Safety
Note! Do not place Elfa products in direct contact with water.
Care
Wipe clean with a cloth dampered with a mild cleaner. Wipe dry with a clean cloth.
Assembly Instructions
<
Assembly Instructions
You need the following to assemble: Screwdriver/drilling machine, metal saw (if adding top tracks and/or adjusting top track widths), leveller.
Before you start: Make sure you have chosen the right screw/plug for your wall type.The recommendation, when mounting the top track, is to use Elfa hardware. We recommended that a screw should be placed in every hole, for maximum saftey. The screw holes in the top track are shaped oval, in order to increase the probability to find studs to mount in.
Important NOTE: Be careful not to drill into any electrical wires, ductwork, plumbing or other damagable components. If you have any questions on the locations of these wires or lines, please contact a professional electrician or plumber before drilling.
Step 1 (Mounting the top track): Place the top track at the desired height and mark one hole in the middle. Begin drilling the marked hole with a 3mm drill bit. If you hit a stud, continue drilling the entire length of the bit. If you hit the hollow part of the wall, enlarge the hole with a 10mm drill bit for anchors. Fasten the top track with a screw and tighten it enough to hold the top track against the wall. Place a leveller on the top of the top track and adjust it as required. Mark all remaining holes.
Step 2 (Hang in the hang standards): Hang in the hang standards onto the bottom ""lip"" of the top track. In order to fit in the hang standards into the top track, aim for an entry point where there is a cut-out on the upper lip of the top track. Slide the hang standards to their approximate position on the top track. With the end stop at the outer edges of the top track, the hang standard can be placed at the far end of the track.
Step 3 (Adding the extension hang standards): Separate out the screws from the extension hang standard adapter. Bend out the hang standard slightly from the wall and slide the top part of the extension standard adapter into the standard from underneath. Fasten the adapter with one of the screws by using a screwdriver. Slide the small, colour-matching, plastic piece and the extension standard onto the adapter. Fasten with the remaining screw .
Step 4 (Mounting the brackets): Assemble the brackets into the hang standard by leaning the ""nose"" of the bracket upwards and attaching the upper ""teeth"" of the backside of the bracket into the slots. Then let the bracket come down.
Step 5 (Mounting the wire shelf): A wire shelf has a top and a bottom. The middle support wire is connected to the bottom of the shelf. Place the bottom of the wire shelf over the notches in the bracket. Install the shelf with end wires inside the brackets. Lock the shelf into place by pressing down on the middle of the shelf and pushing toward the wall.
* To reposition a wire shelf after it’s been attached to the brackets: hold by the brackets, and lift the front of the shelf toward the ceiling and outward to release the entire unit from the hang standards.
* Demount: To remove a wire shelf from a bracket while on the hang standards: hold the hang standard steady with one hand. Place the other hand at the back of the shelf. Pull up and forward to release.
Step 6 (Mounting the closet rod): Insert the closet rod holders into the slot underneath the bracket, by leaning the bottom of the holder slightly upwards and inserting the upper ""tooth"" of the holder into the slot. The two ""flat"" closet rod holders are meant to be mounted into the outer brackets. Let the holders come down into place. Once the closet rod holders are mounted, firmly press the end caps into the outer ends of the closet rod. Then snap the closet rod into the closet rod holders.
Complete your Original fixed sliding doors with the track set that matches the overall width of your wardrobe. Track set 1240 mm fits two Original door leaves 623x2350 mm.
Configured price
Garage+
Door blade original 938x2350 mm
Make it easy to build a sliding door wardrobe with our fixed sliding doors.
Configured price
Classic by Elfa
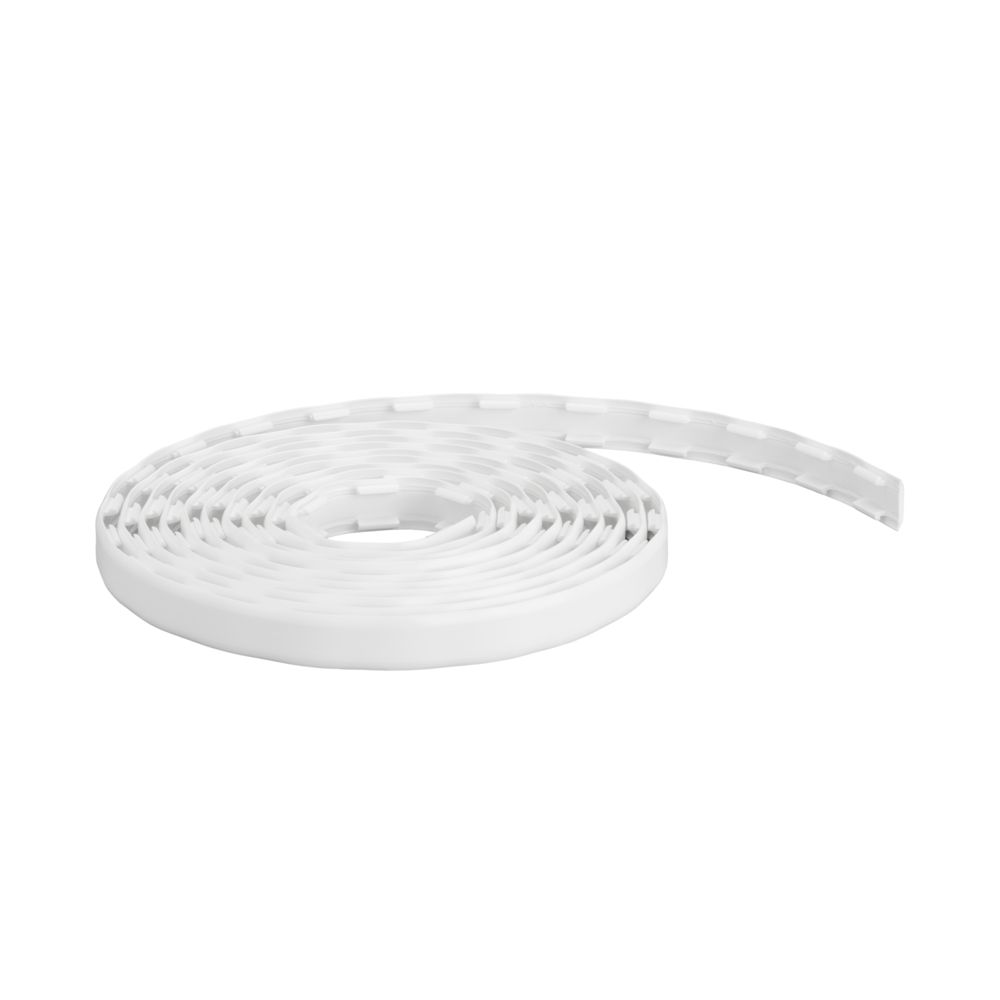
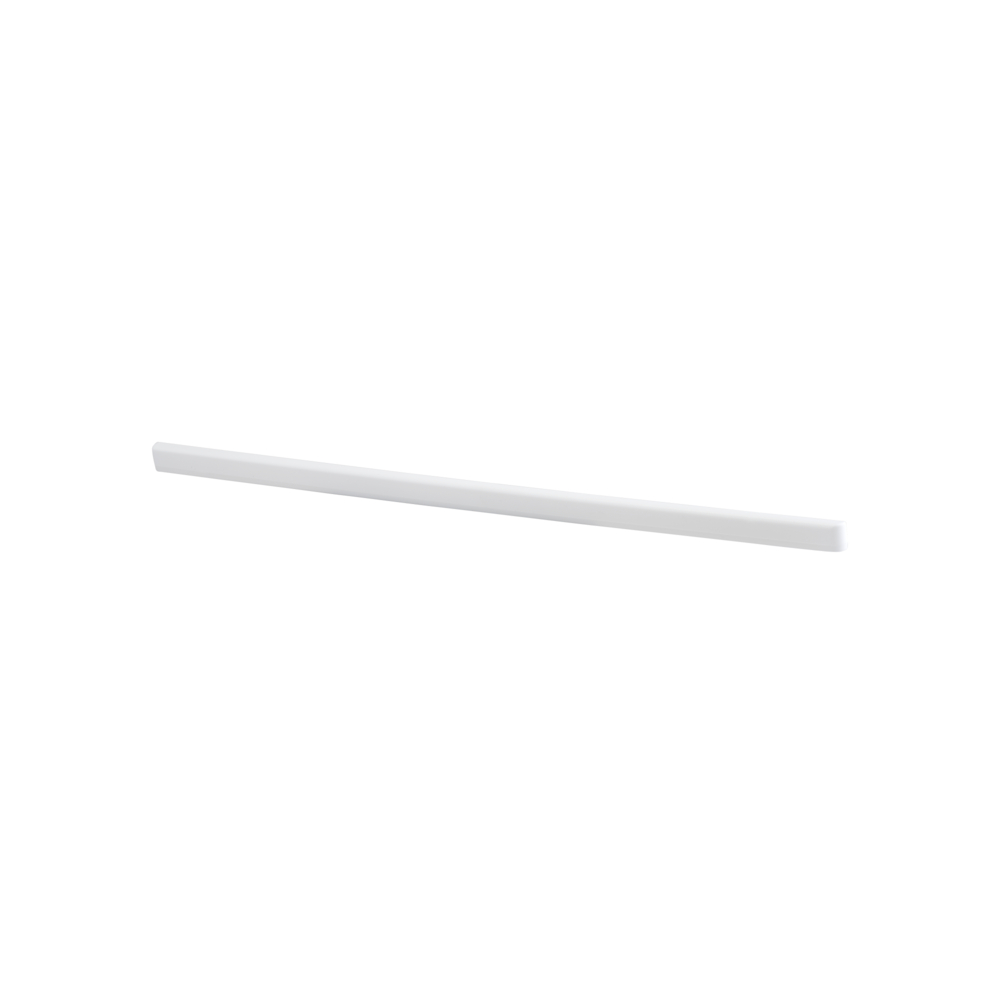
Standard cover
Plastic cover strip that clips into the Wallband or Hang standard. Gives a streamlined solid look by covering the mounting recesses. Comes in a roll and can be cut to the desired height.
Price from
20,20
Classic by Elfa
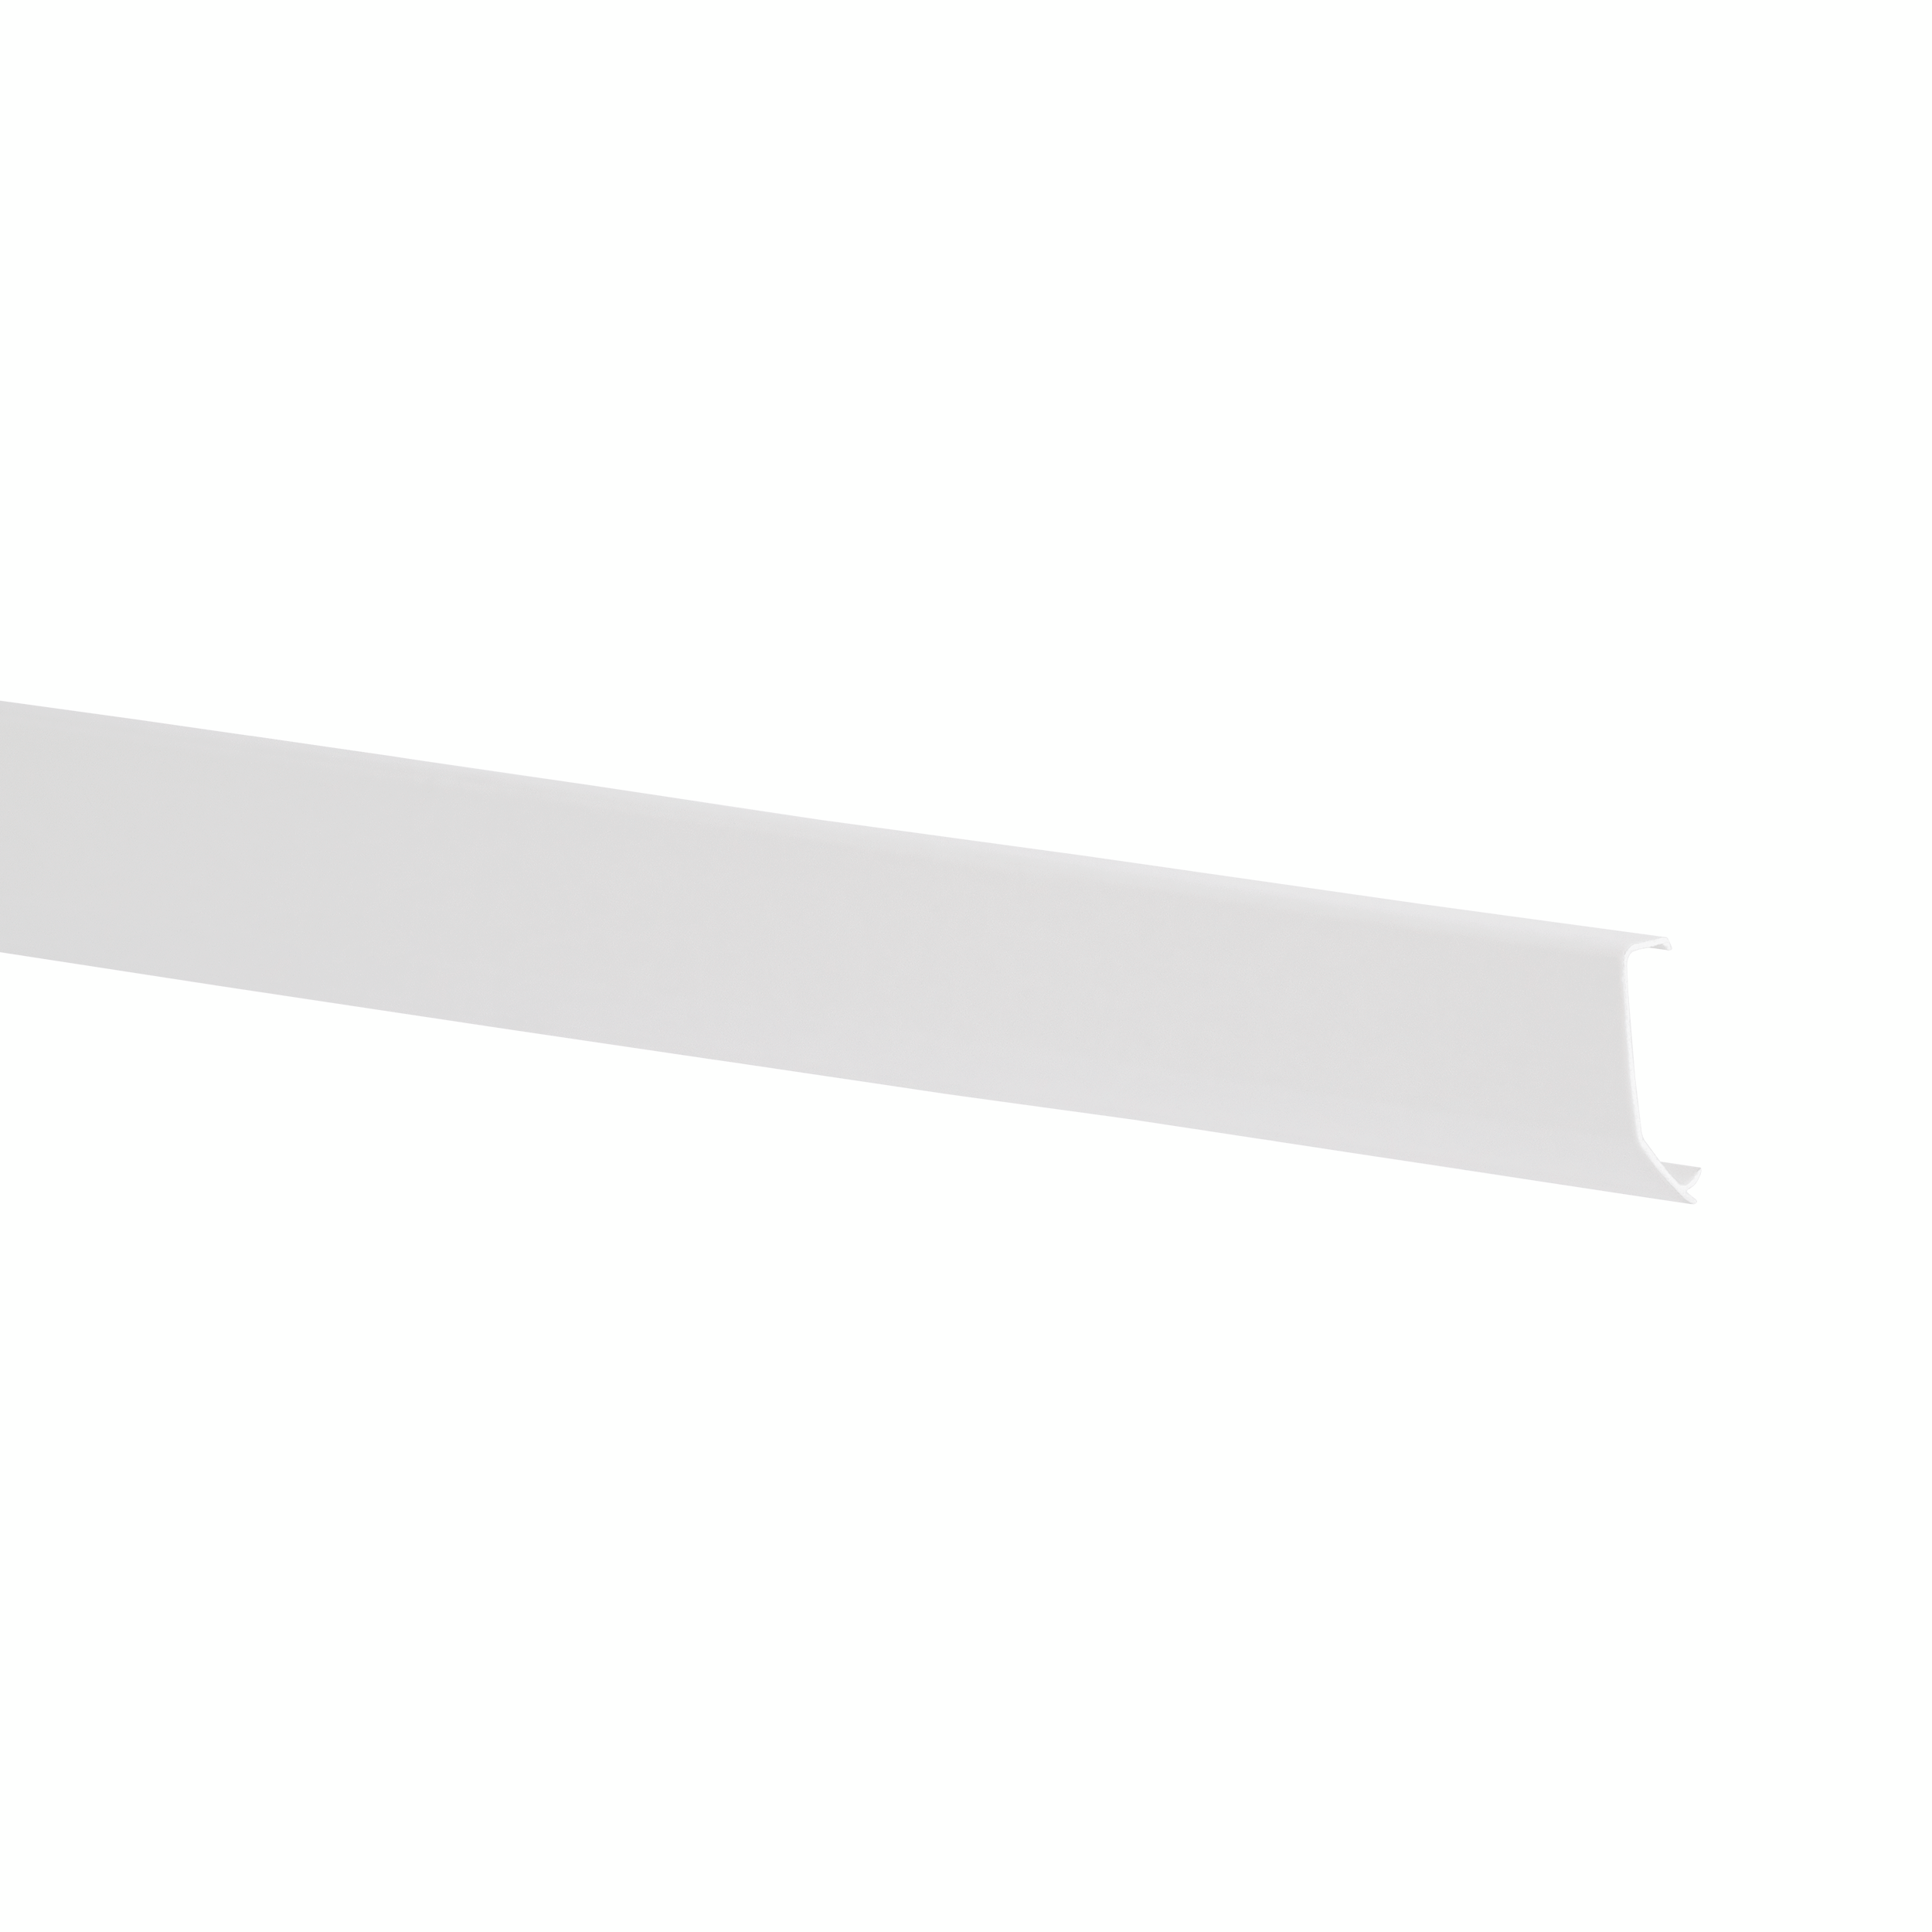
Top track cover
Elevate your system with the decorative top track cover. Conceals screws and holes for a polished finish.
Price from
2,80
Classic by Elfa
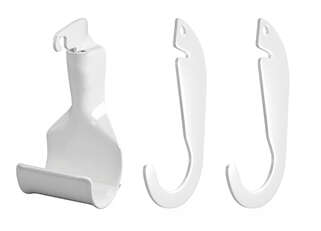
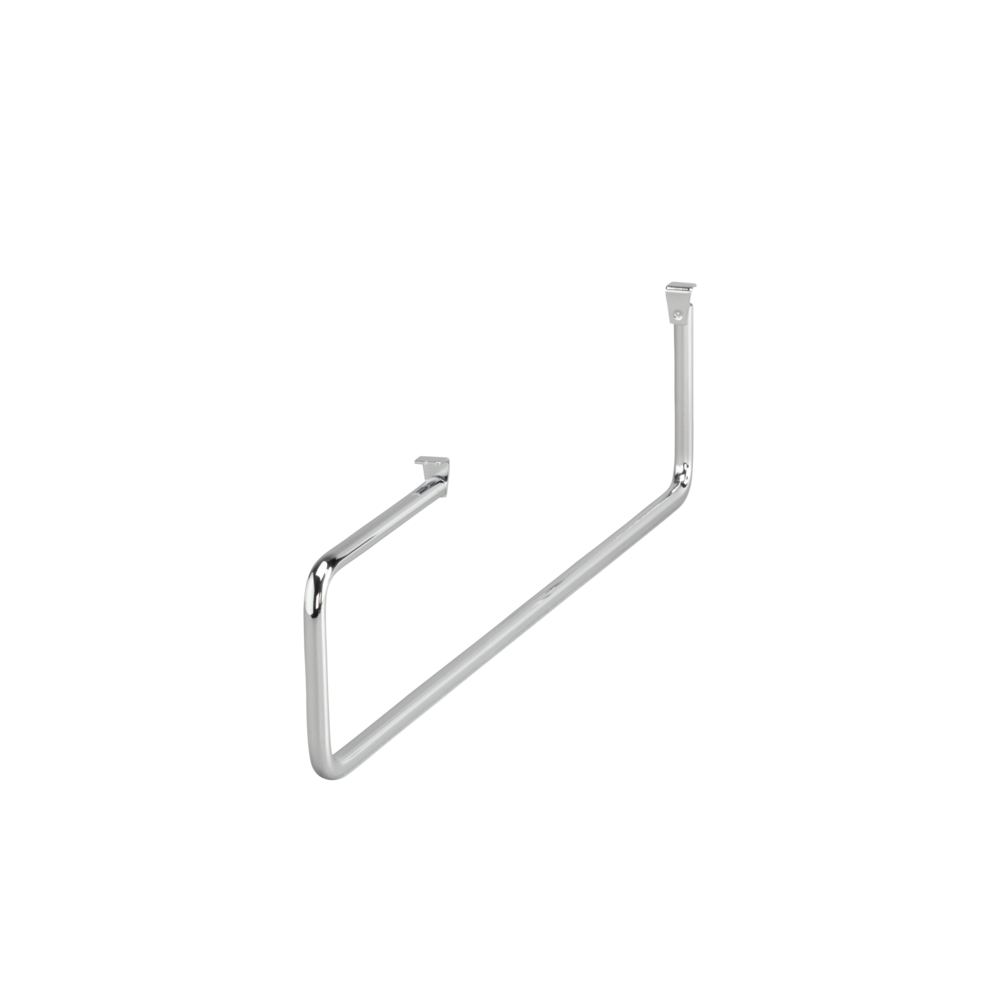
Closet rod holder set for starter kit
Add more hanging space to your Elfa 2-Section Starter Kit. Holders are designed to fit within the width of a 2-section wardrobe solution with Elfa standard doors.
Price from
10,20
Classic by Elfa
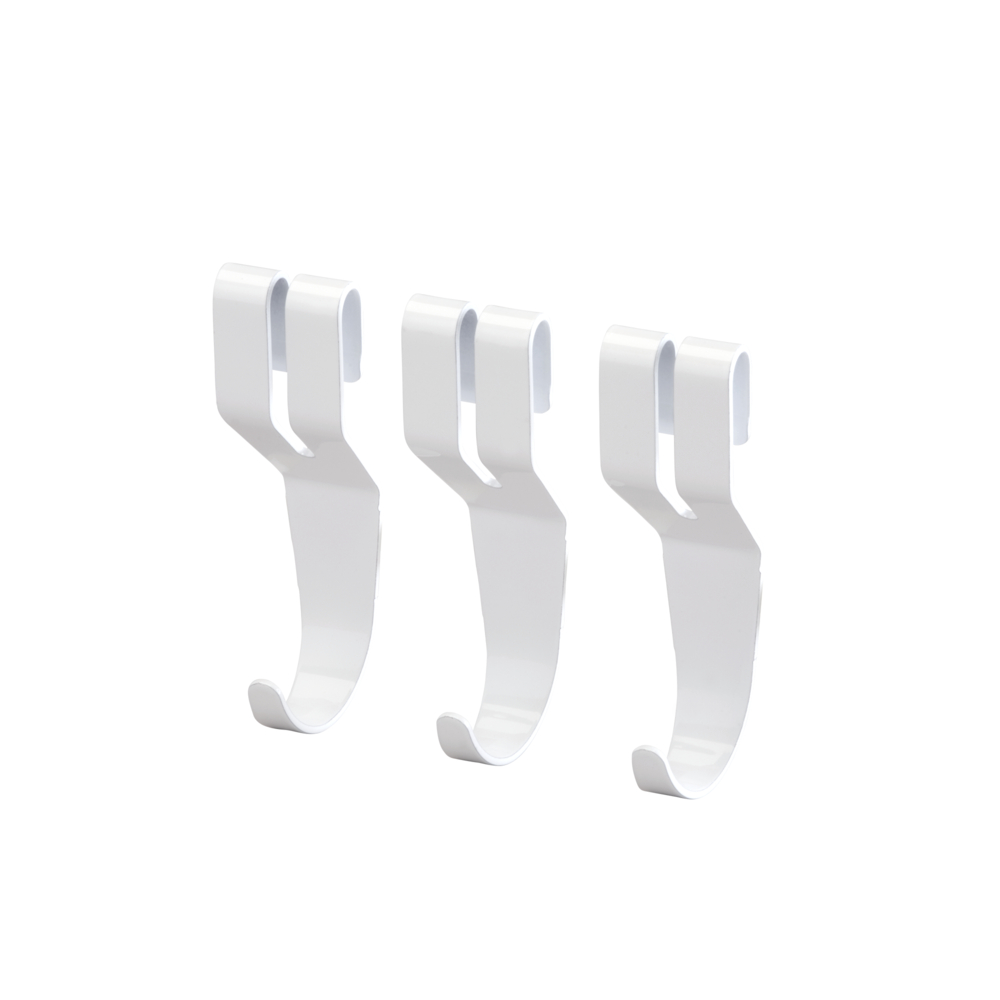
Shelf hook
Optimize storage with our versatile shelf hooks. Ideal for hanging various accessories, like bags.
Price from
13,40
Classic by Elfa
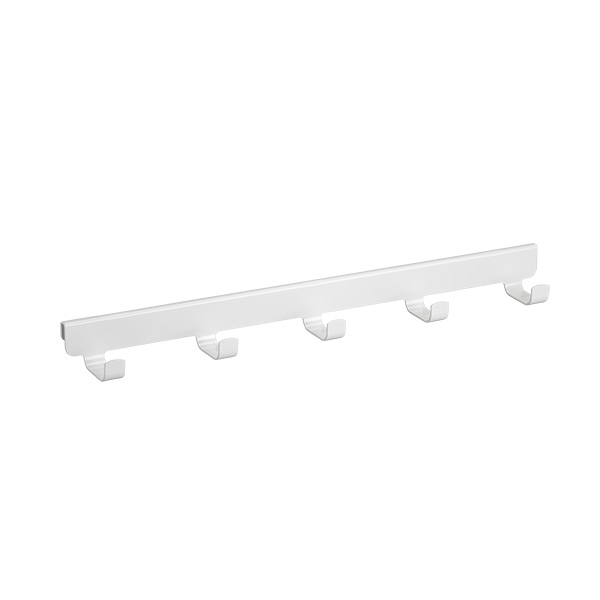
Bracket hook rack
Avaliable in 2 sizes
Discover new storage opportunities with our hook rack. Provides easy access and extra hanging options, when mounted on the side of a bracket click-in in corresponding depth.
Price from
12,50
Classic by Elfa
Bracket cover click-in
Avaliable in 3 sizes
Enhance your system with bracket cover. Clean look, protection.
Price from
3,40
Classic by Elfa
Valet rod
Avaliable in 2 sizes
Make the most of limited-depth spaces. Allows you to hang your clothes efficiently, with hangers placed behind each other. Mount under a wire shelf or a wire shelf basket in corresponding depth.
Price from
20,30
Side panel
Avaliable in 3 sizes
Complete your sliding doors with frame sides to create an end piece or freestanding wardrobe.