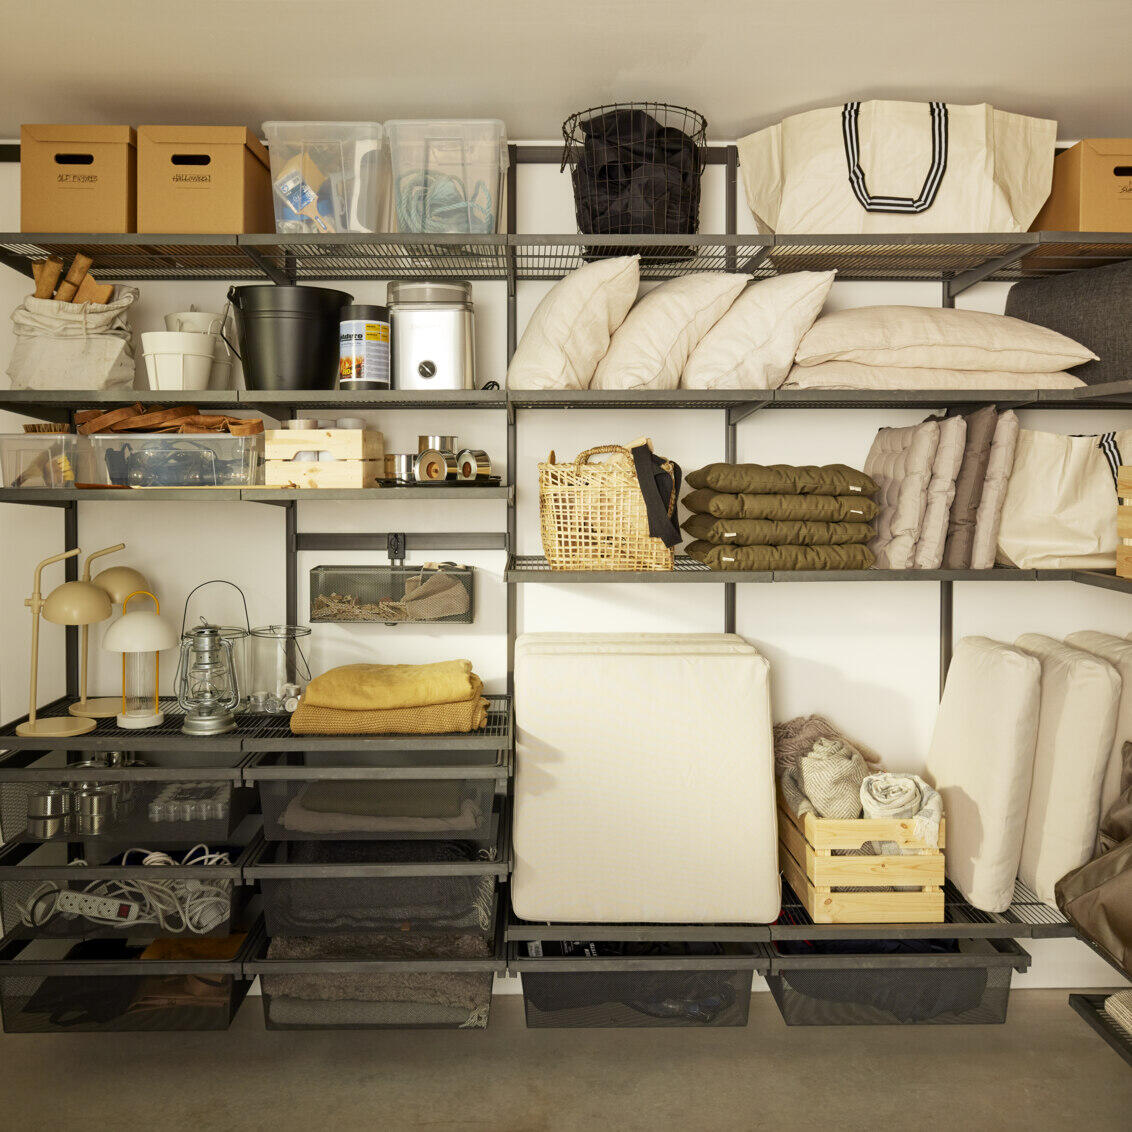
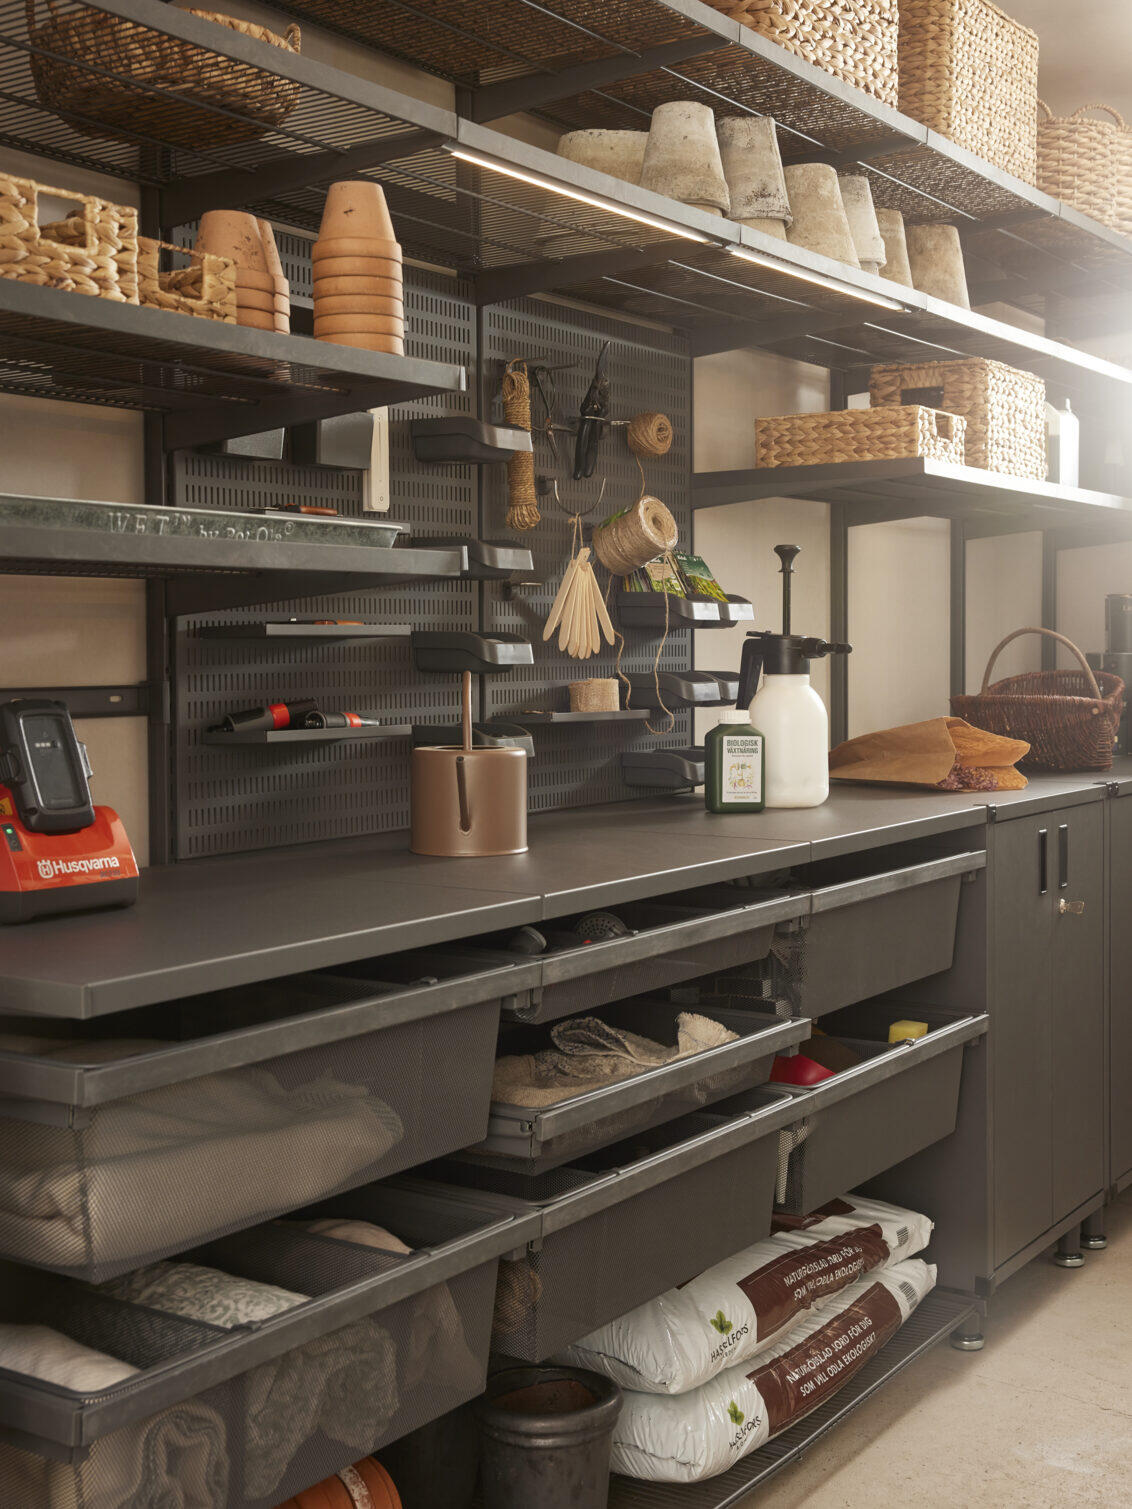
Products
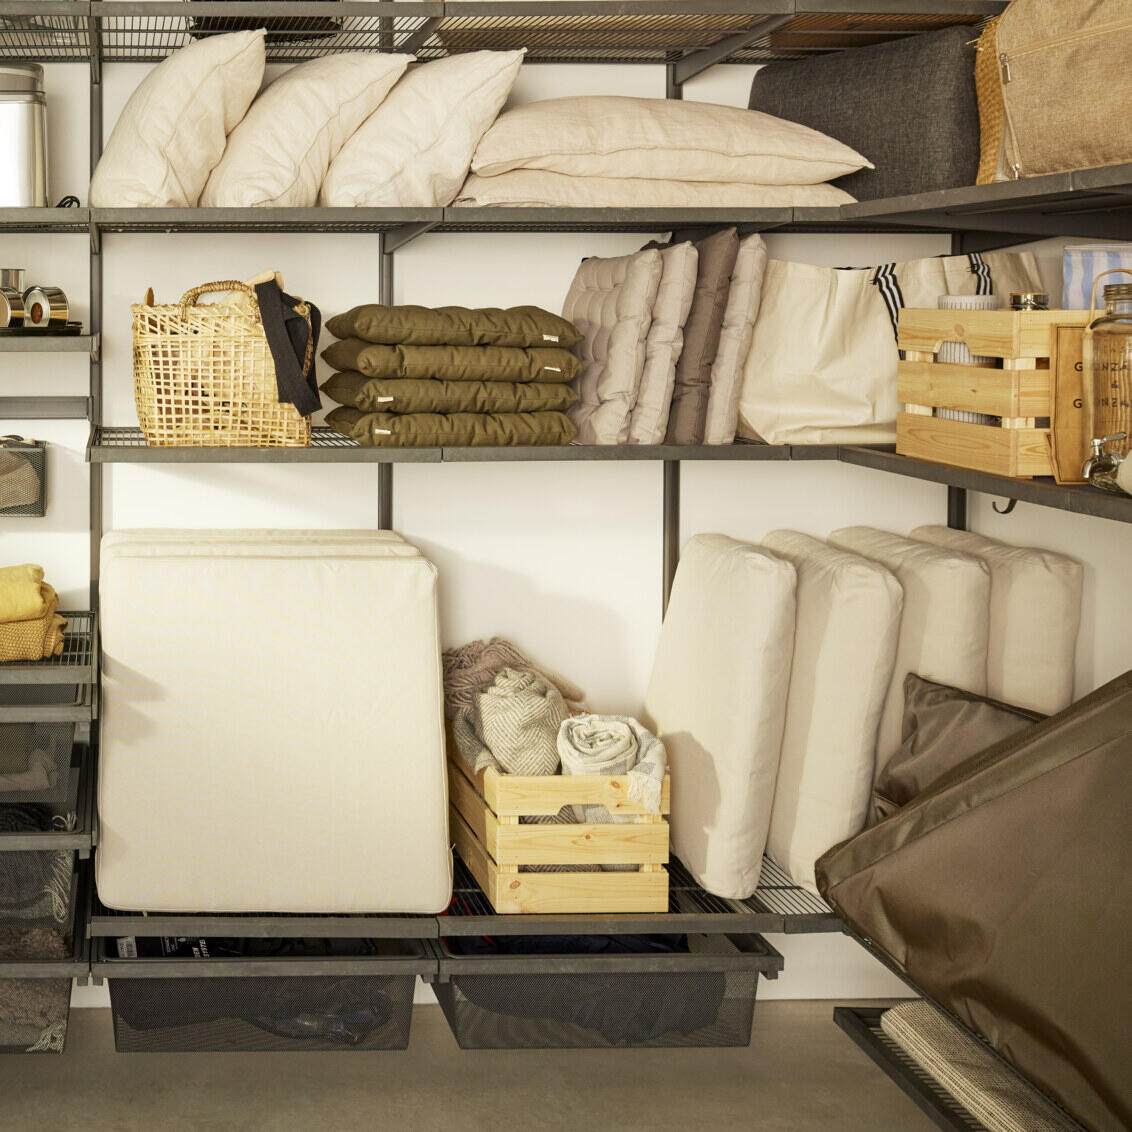
Functional storage makes your everyday life easier. Elfa has different product lines adapted to different storage needs.
Note! Do not place Elfa products in direct contact with water.
Wipe clean with a cloth dampered with a mild cleaner. Wipe dry with a clean cloth.
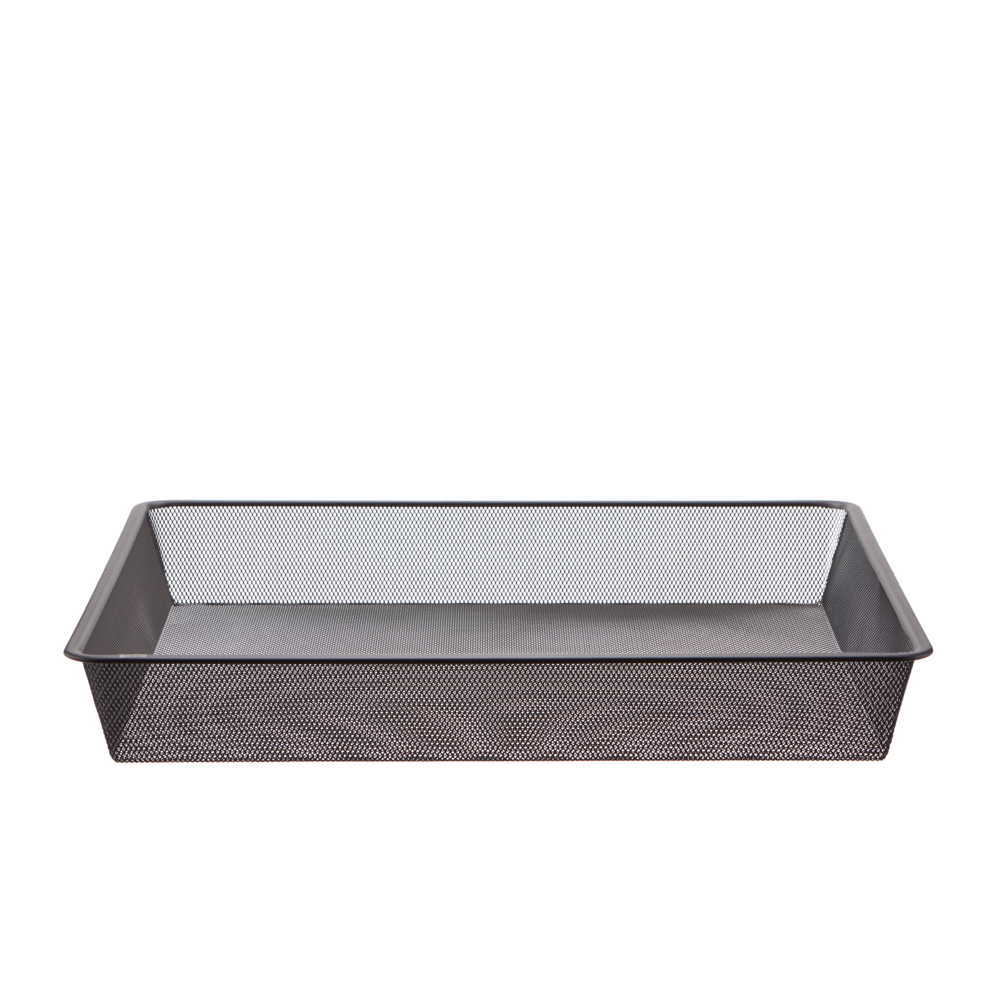
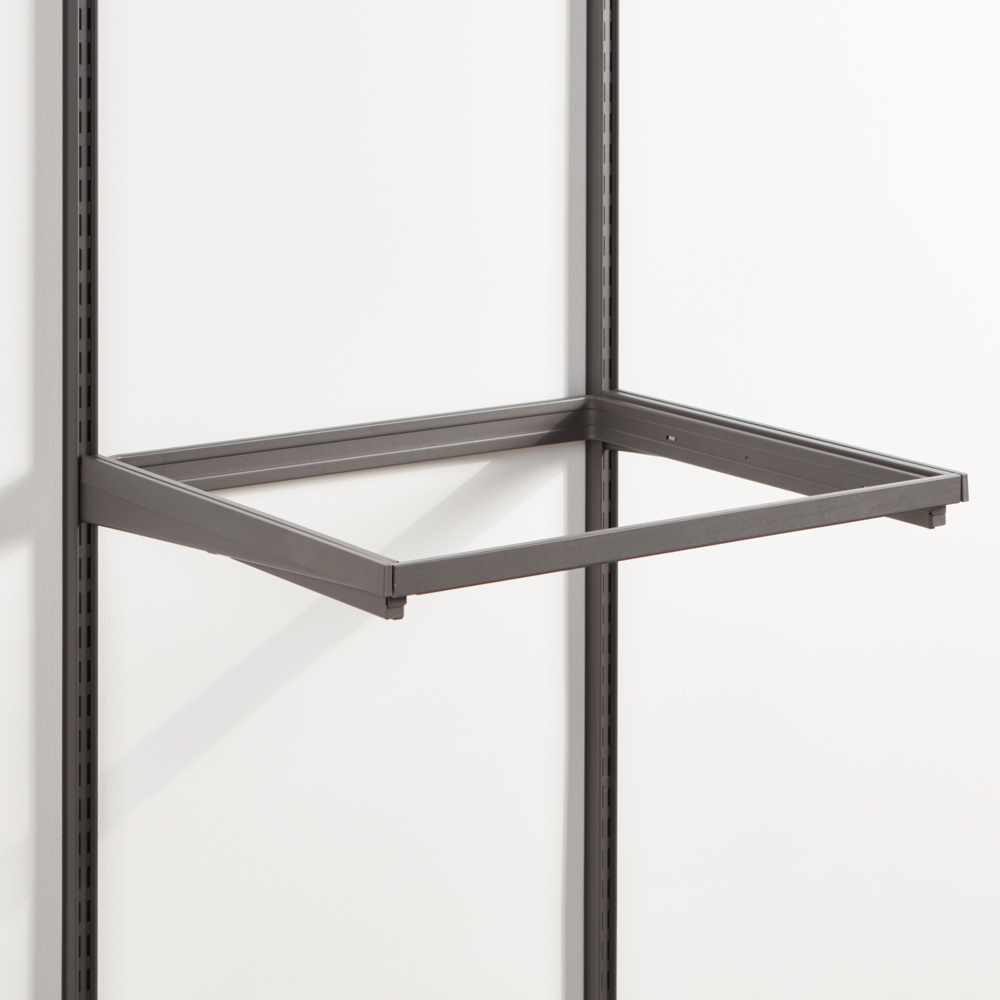
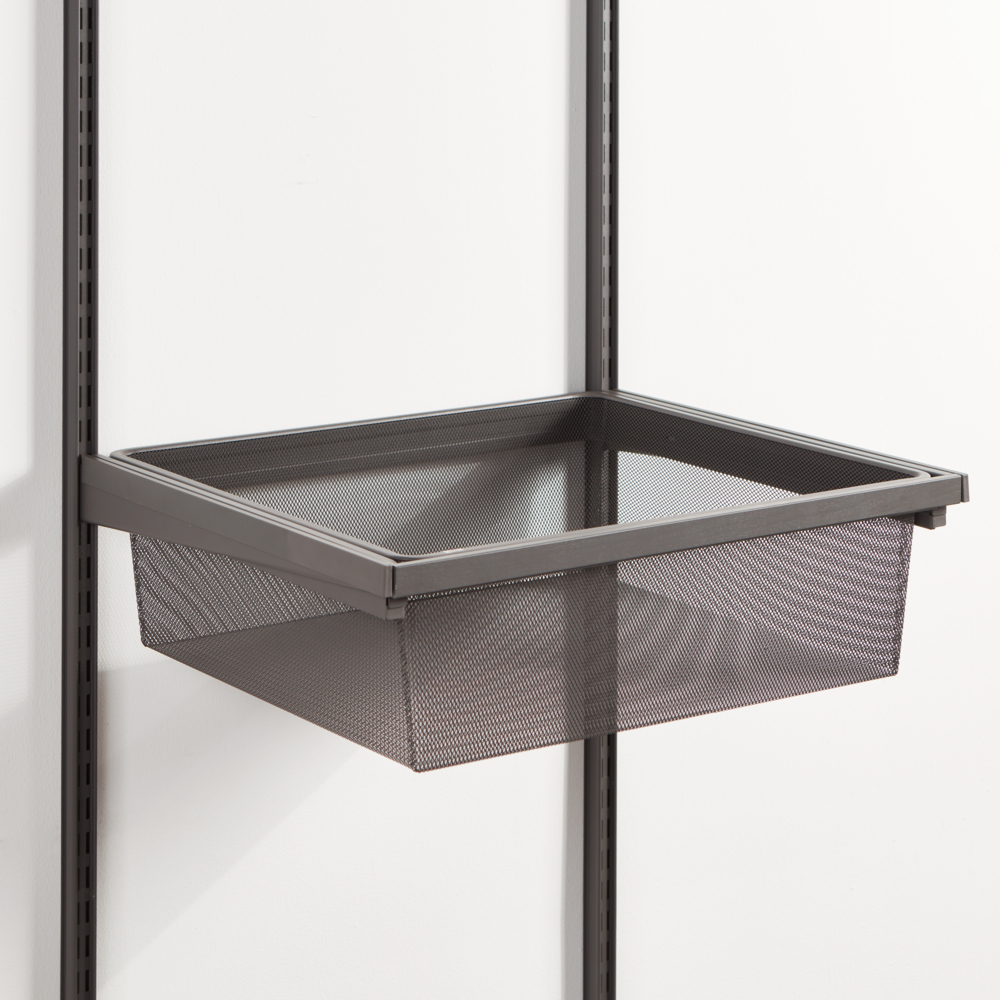
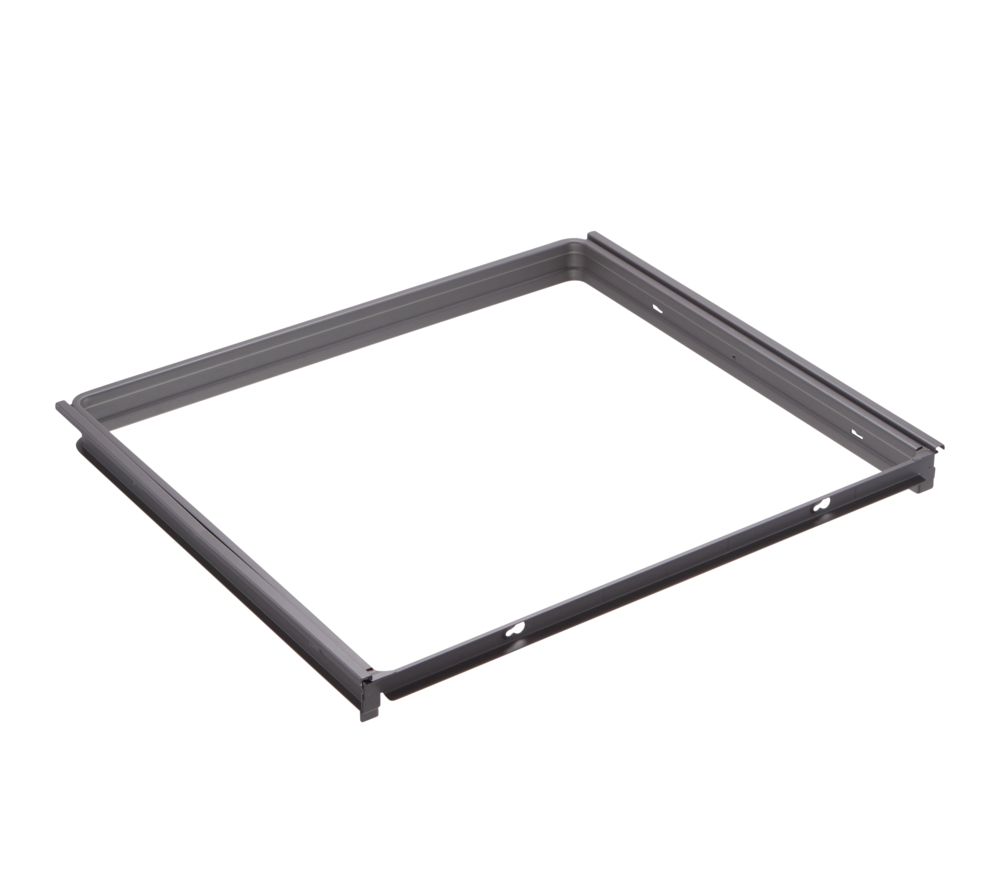
Upgrade your storage with Garage+ gliding frame. Includes full-extension and soft-close features. No tools required – just click it between two brackets. The frame also includes a composite trim made from a unique durable composite mix, adding a natural, yet heavy-duty, look to your gliding frame. Combine the gliding frame with mesh baskets of your choice.
Color
Size
Width (mm): 604
Depth (mm): 535
Height: 50
106,40
Needs To Have
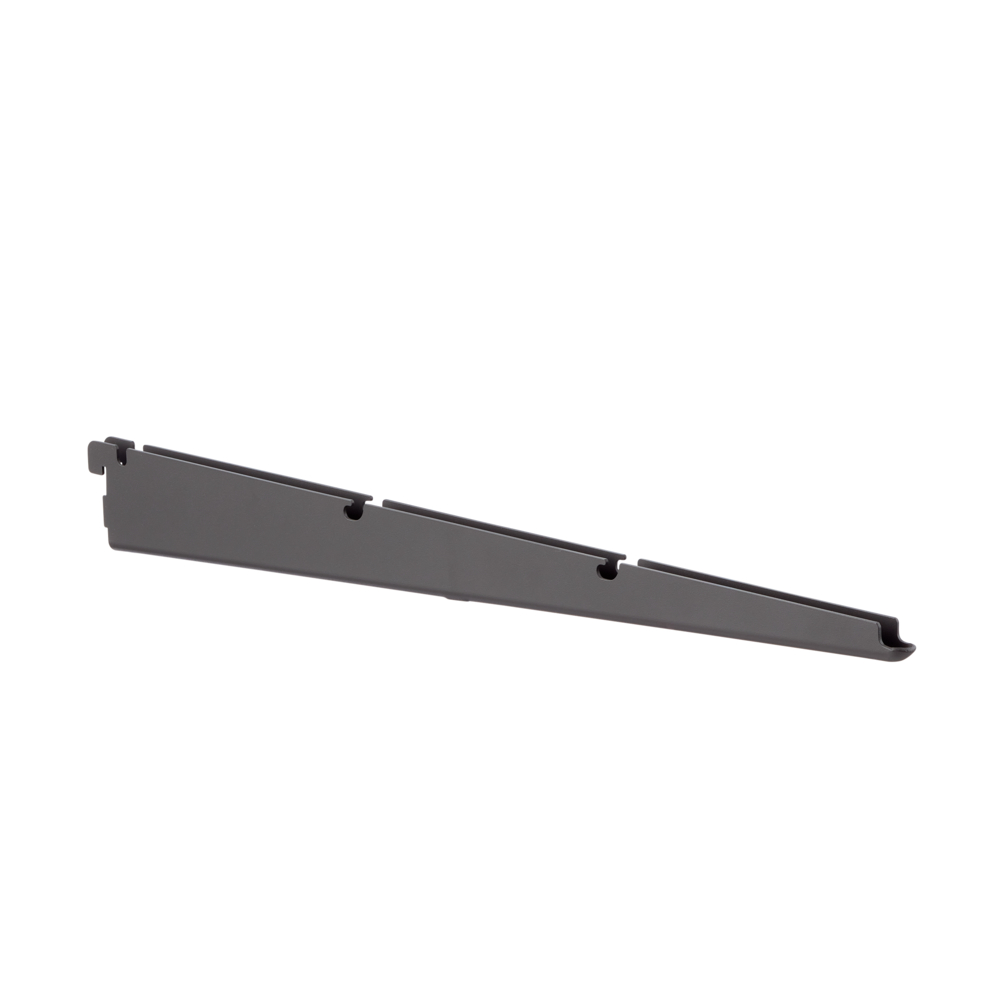
Garage+
Bracket 52 mattegrey
11,10
Note! Do not place Elfa products in direct contact with water.
Wipe clean with a cloth dampered with a mild cleaner. Wipe dry with a clean cloth.