Products
Functional storage makes your everyday life easier. Elfa has different product lines adapted to different storage needs.


Note! Do not place Elfa products in direct contact with water.
Wipe clean with a cloth dampered with a mild cleaner. Wipe dry with a clean cloth.

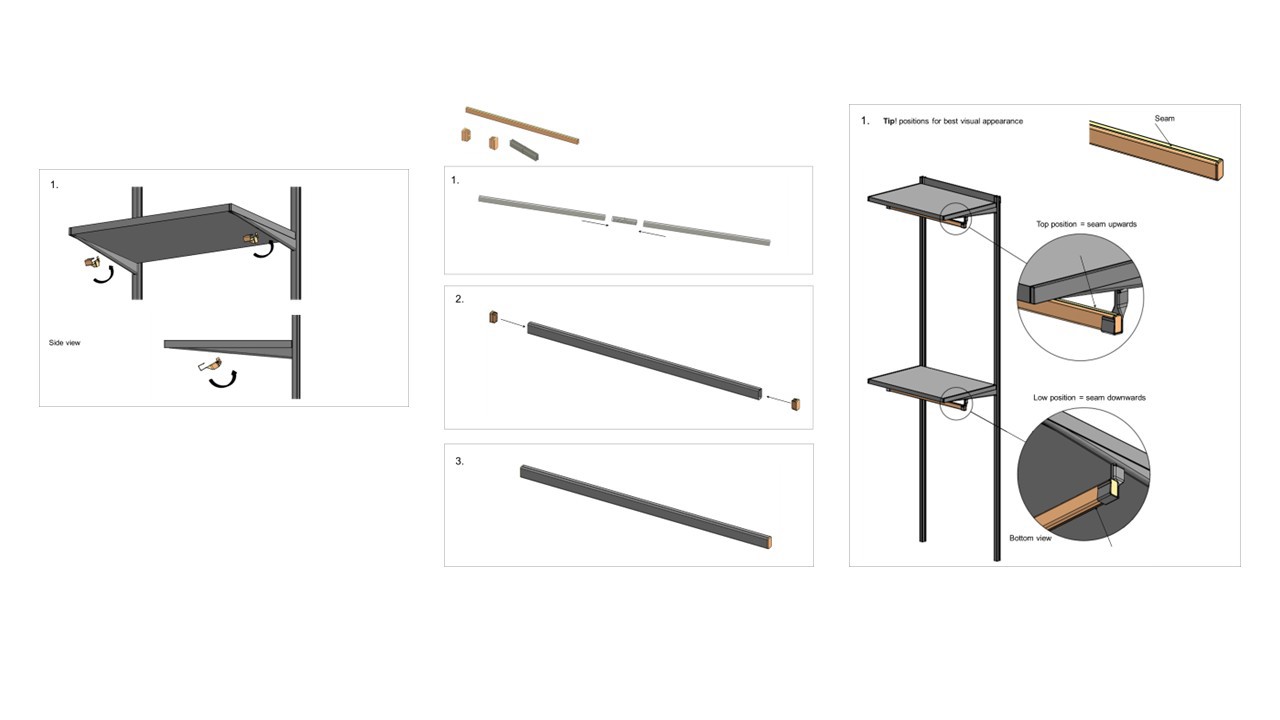
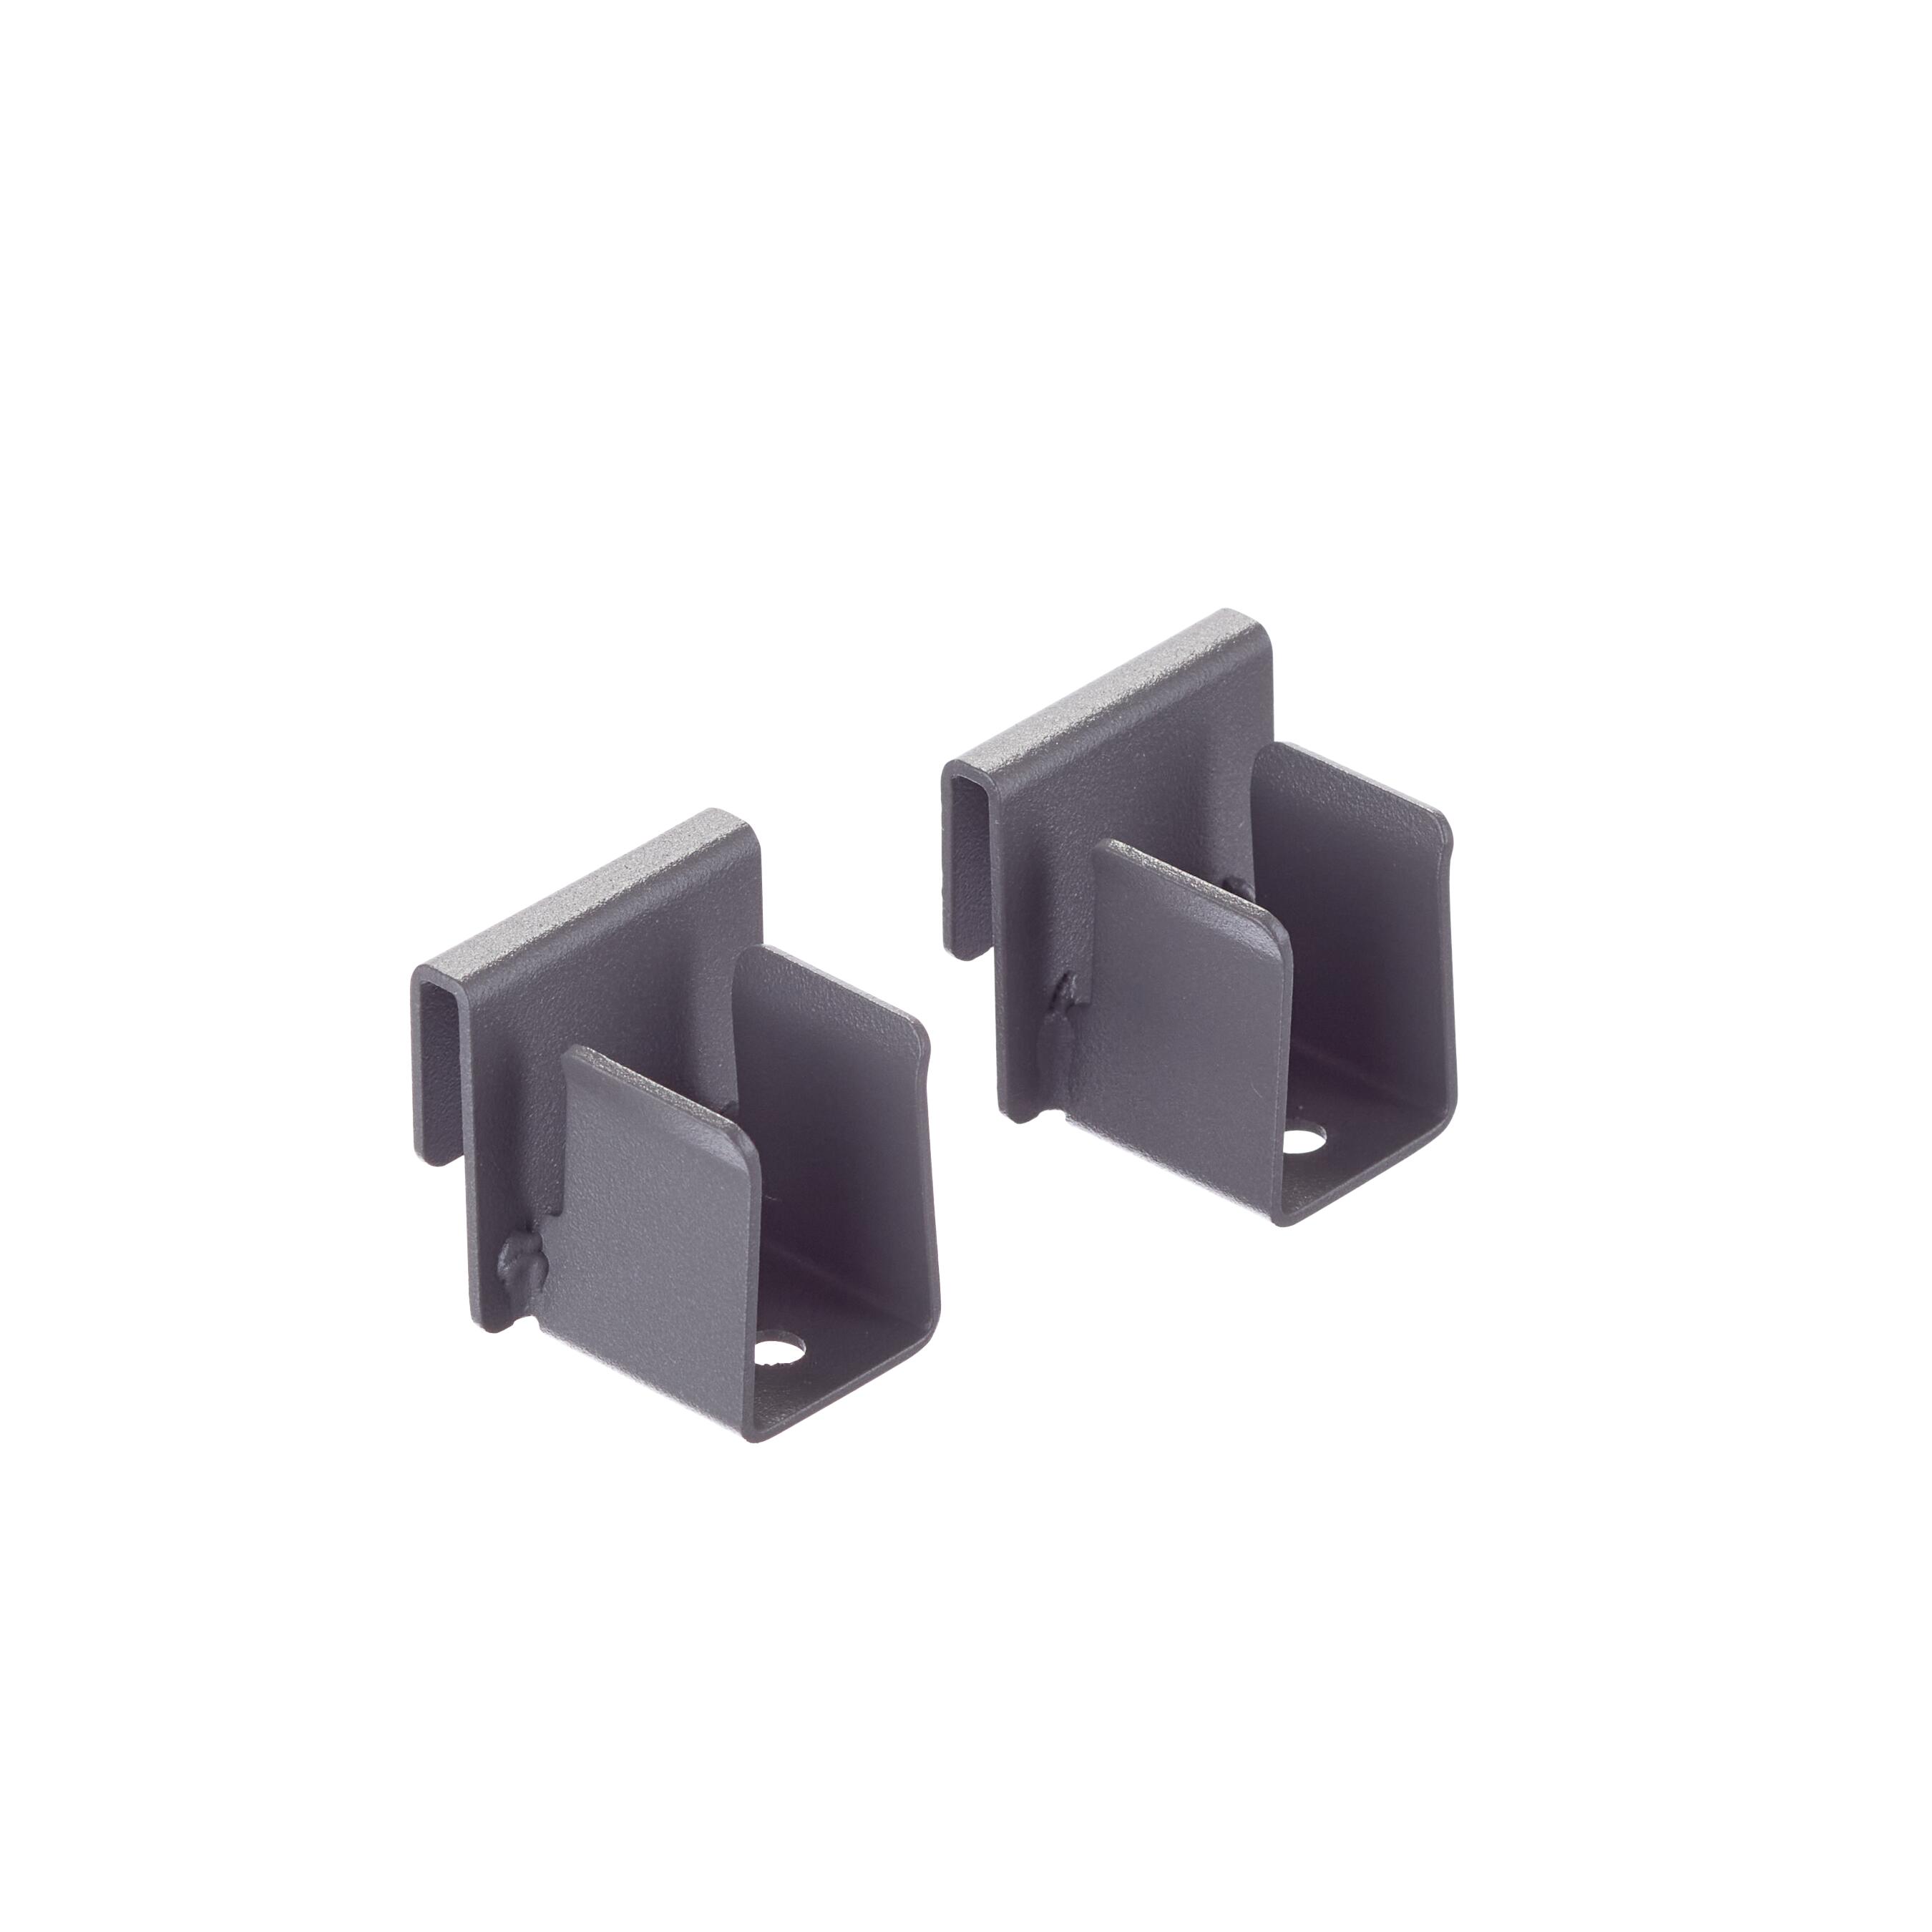
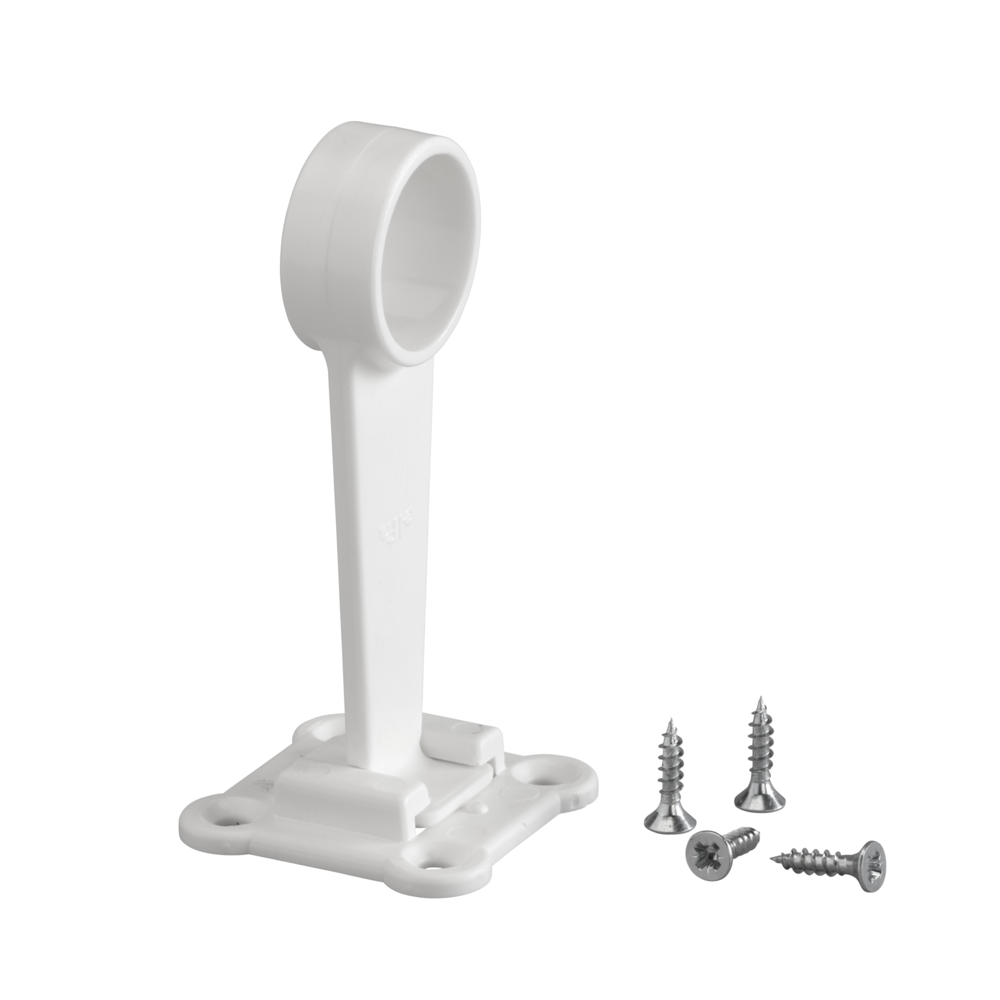
Elevate your closet organization with the Garage+ closet rod, crafted from pre-painted steel that matches seamlessly. Hang your clothes for a wrinkle-free and organized look, creating an efficient overview and easy access. Mount effortlessly into a closet rod holder and customize the width by cutting. Complete the setup with closet rod end caps for a polished finish.
Color
Size

Width (mm): 625
Depth (mm): 15
Height: 27
13,20

Width (mm): 920
Depth (mm): 15
Height: 27
15,10
Width (mm): 1232
Depth (mm): 15
Height: 27
22,90
Note! Do not place Elfa products in direct contact with water.
Wipe clean with a cloth dampered with a mild cleaner. Wipe dry with a clean cloth.