Storage inspiration for every room – with smart solutions that combine style and function. Create a home where every surface becomes a storage opportunity.
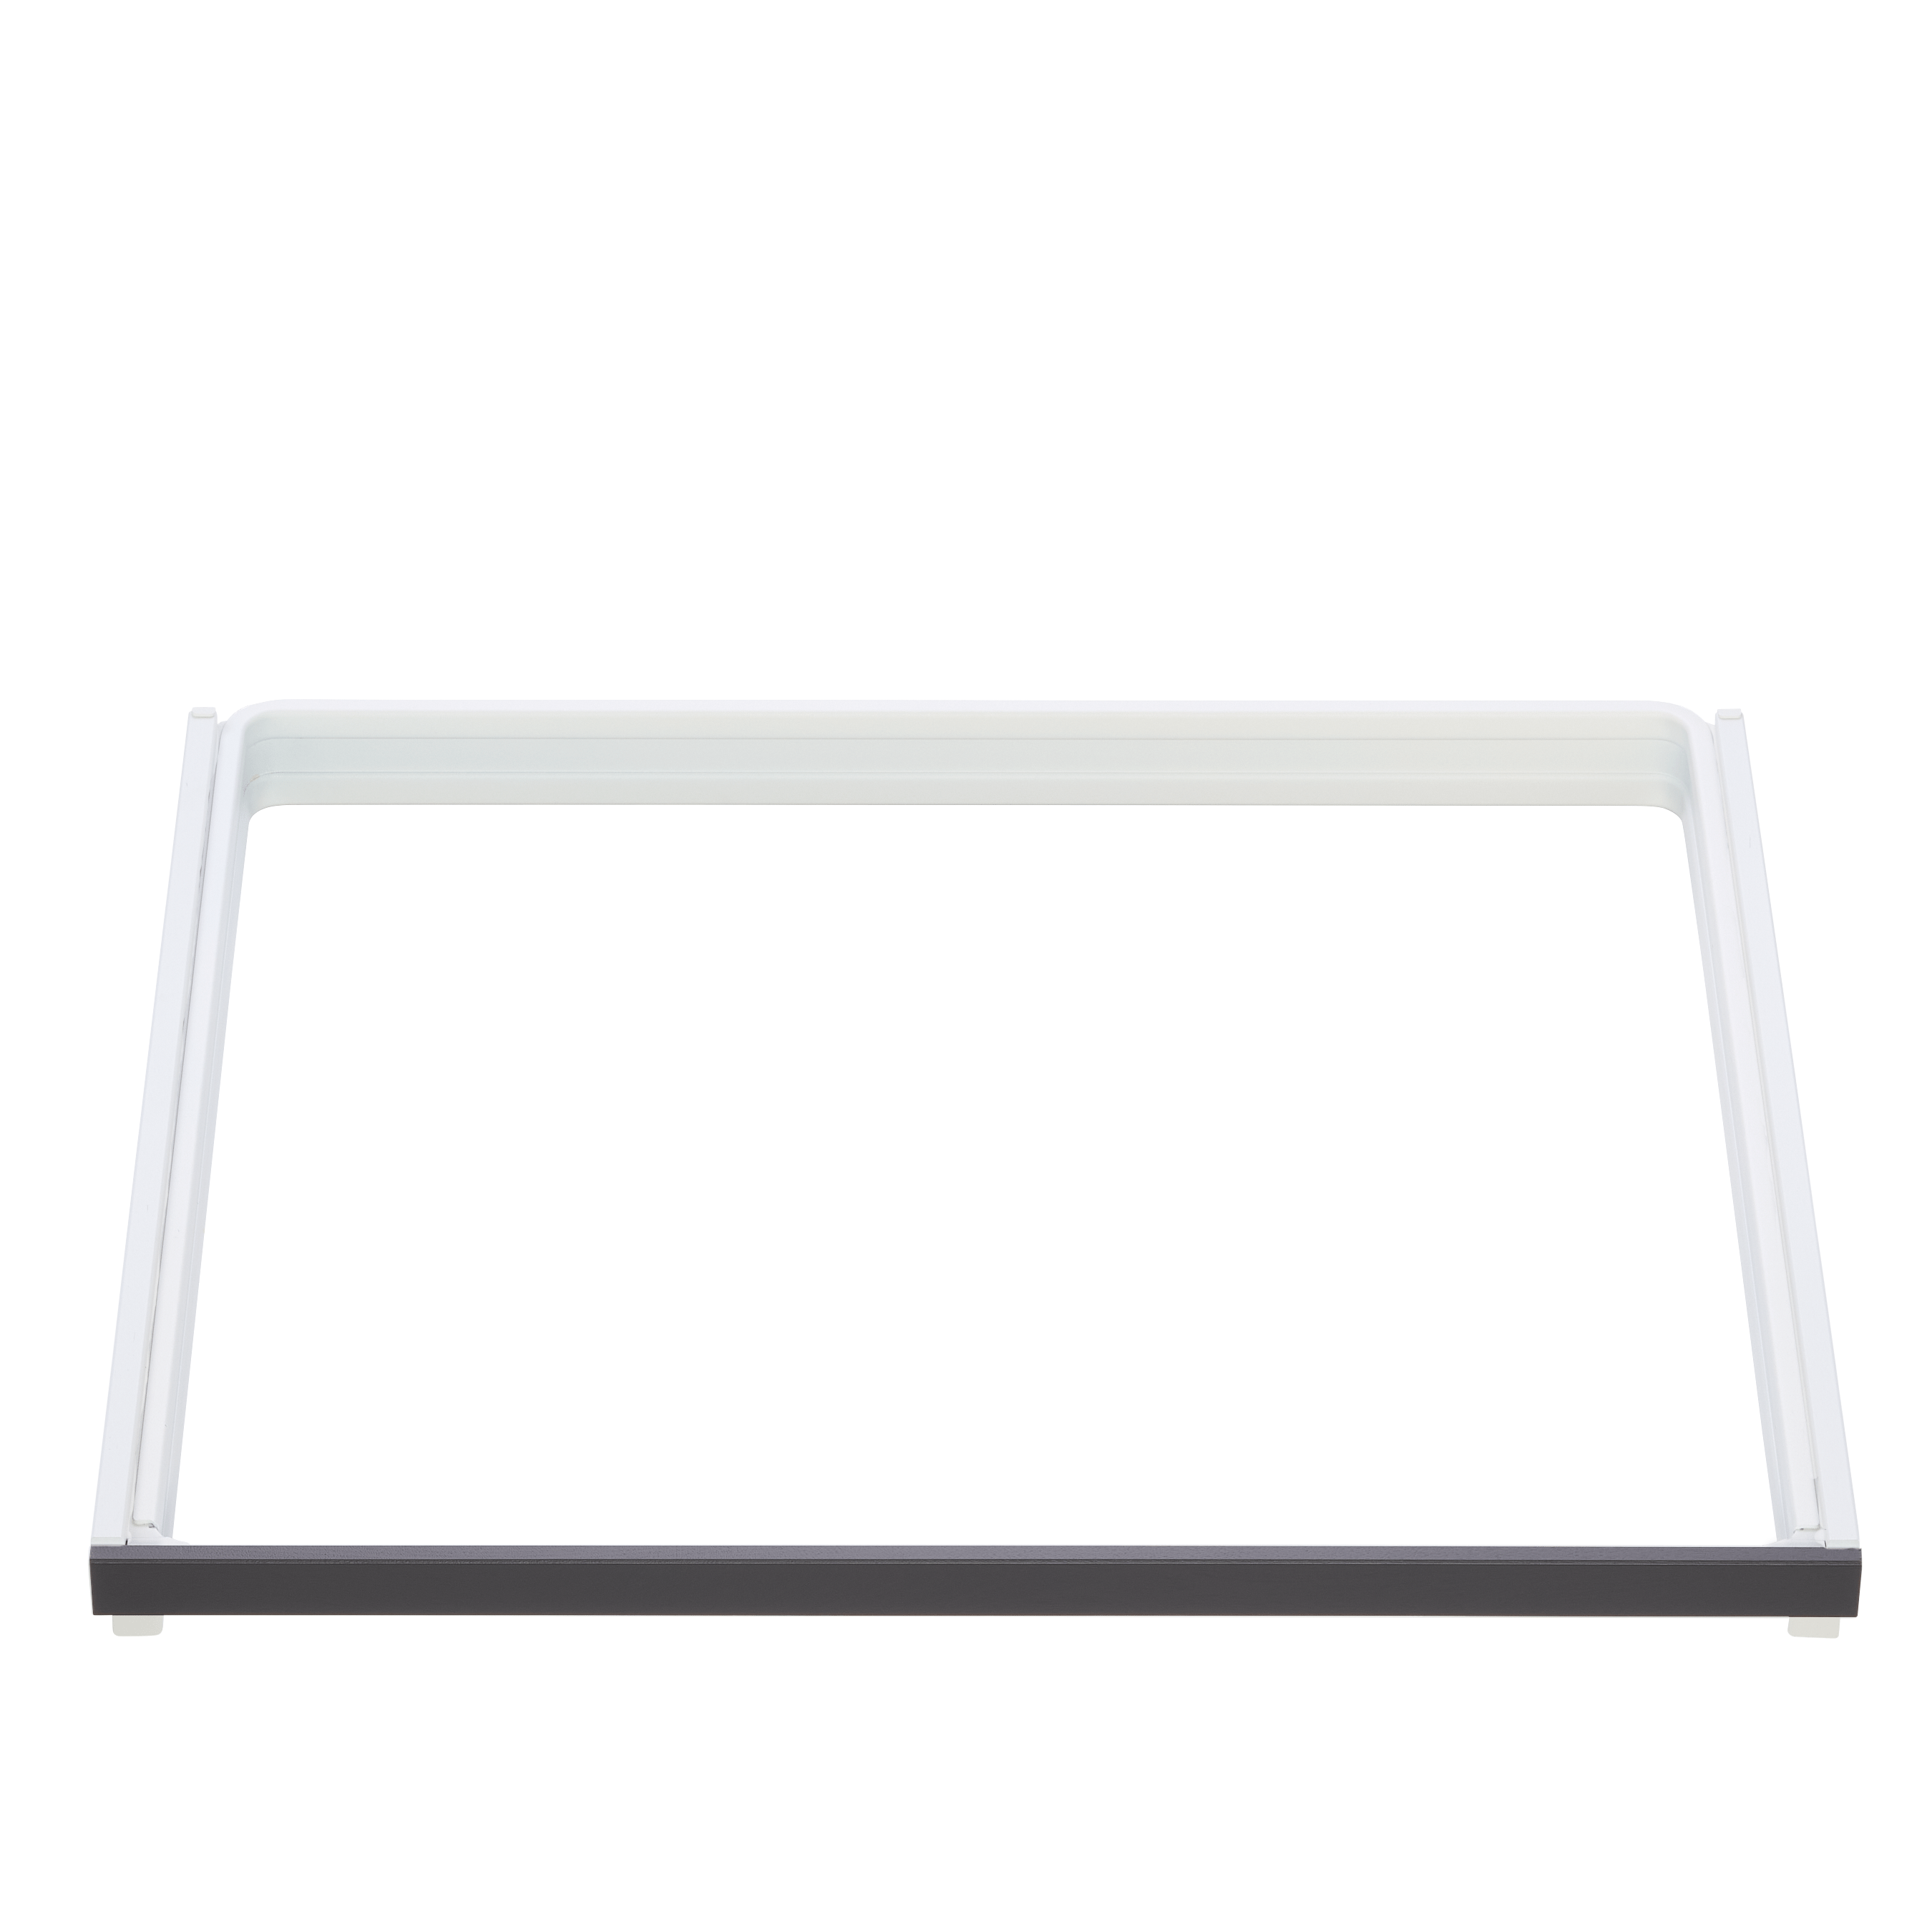
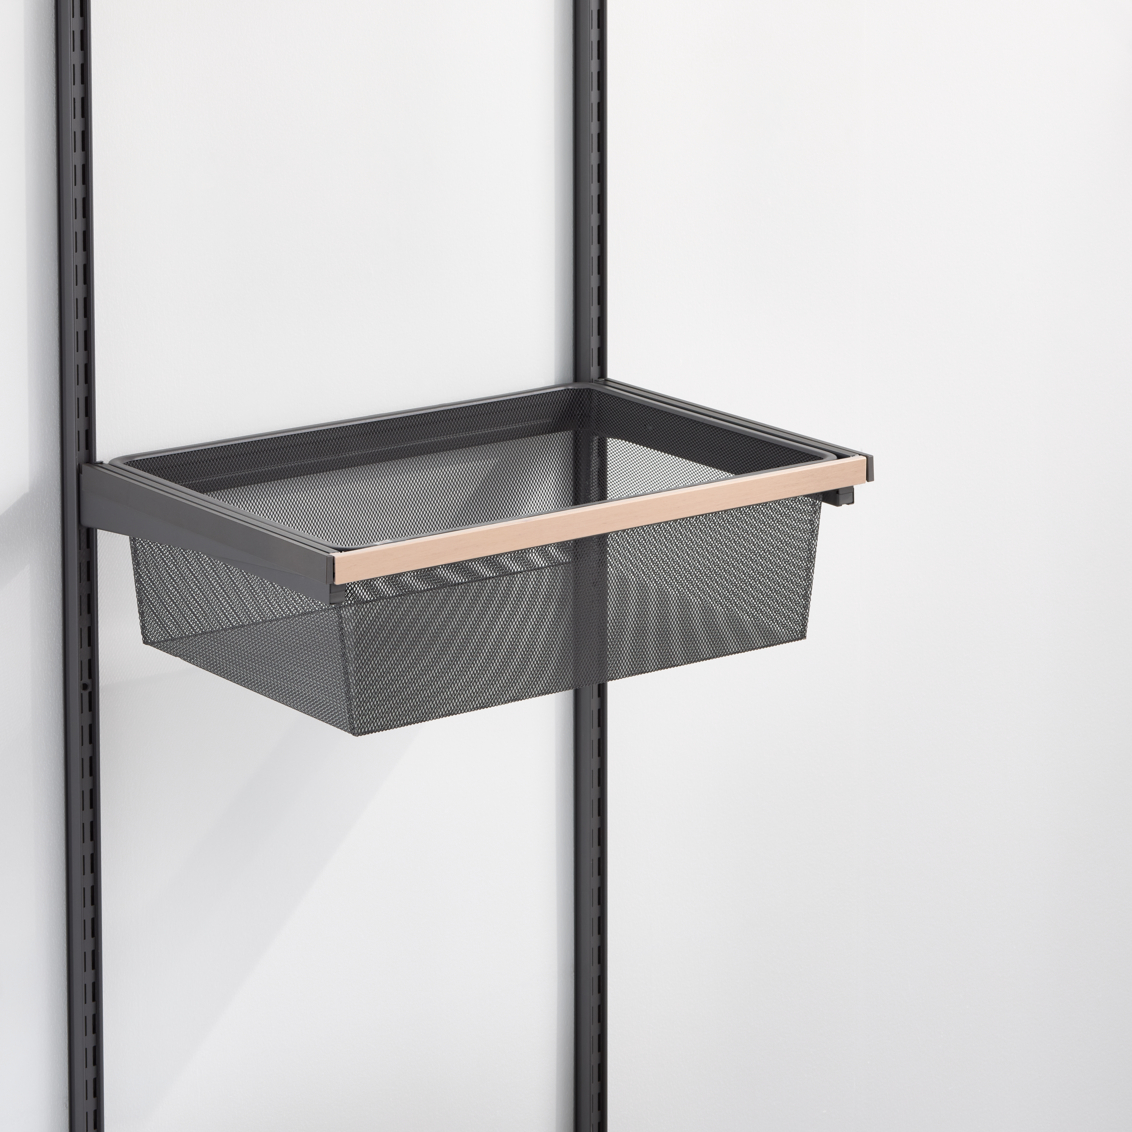
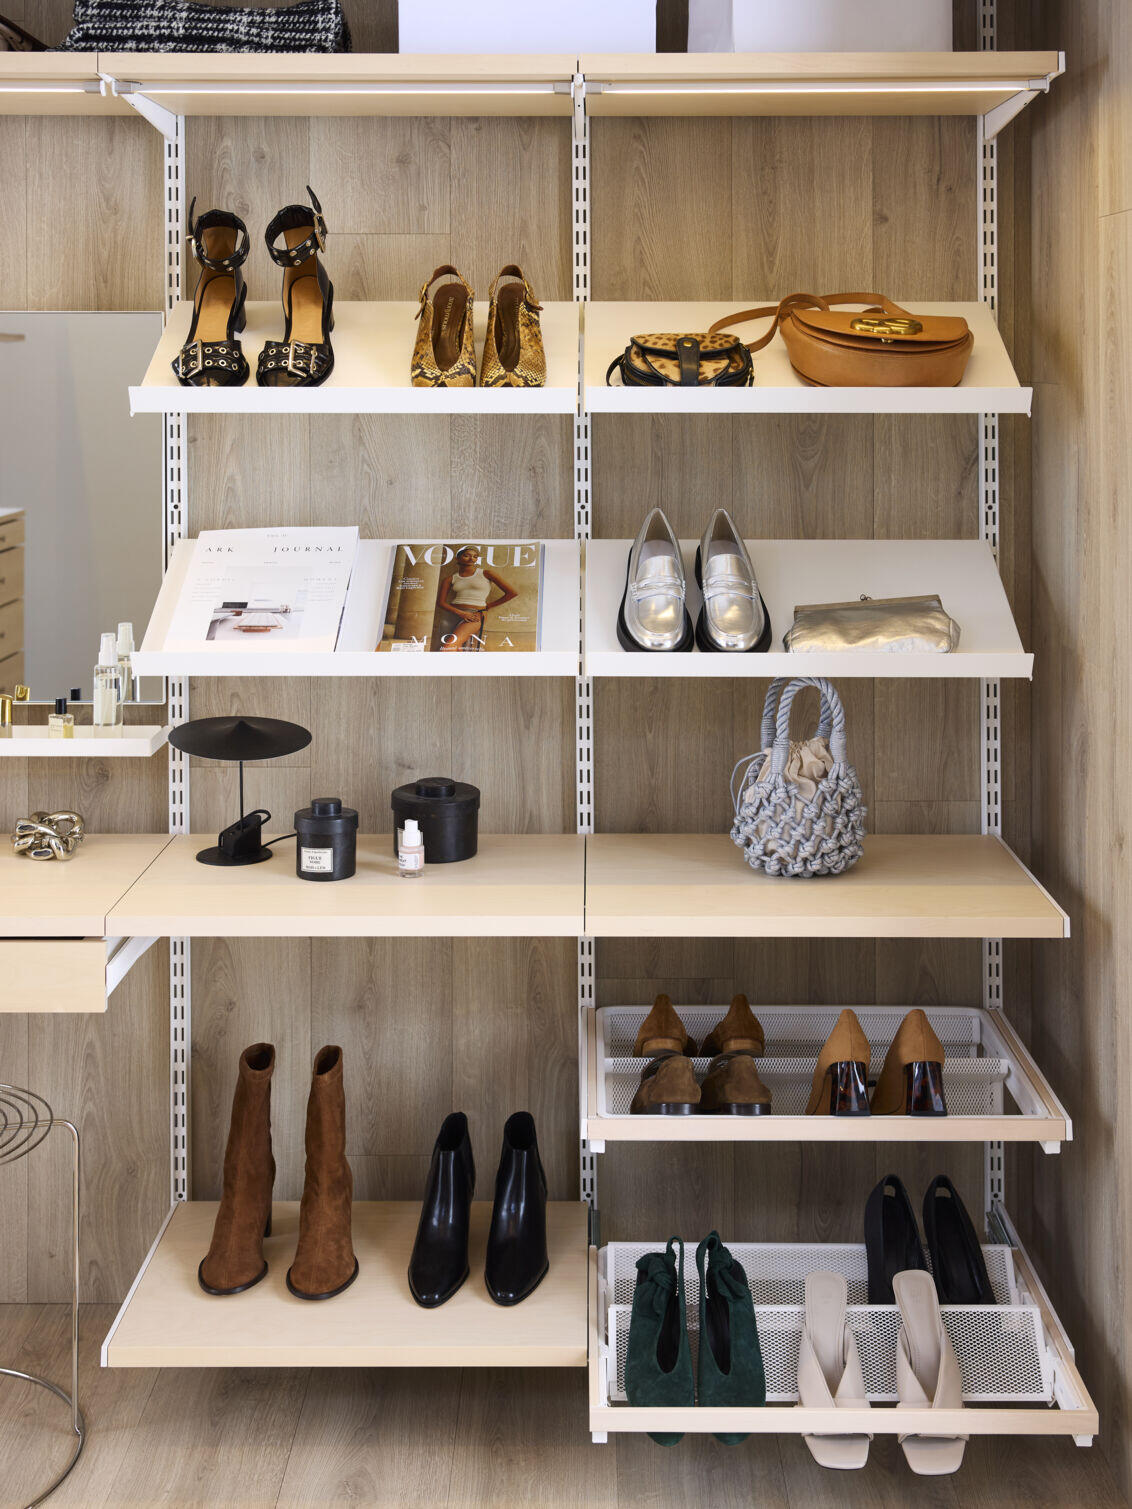
Create a stylish finish to the Décor+ gliding frame with our beautiful trim. Enhance the look of your mesh-, shoe and pant storage with this sleek addition, adding a decorative front. Hardware is included and installation is easy.
A solid trim for an enhanced finish of a Décor+ gliding frame. Easy assembly onto the gliding frame using pre-assembled screws. Made of solid birch wood. Colours/finishes: Natural birch: A matte-lacquered light birch Grey: NCS S 7500-N, gloss 5 White: NCS S 0300-N, gloss 5
Planning rules
<
Planning rules
When planning in Elfa Planner, the design tool will automatically combine the gliding frame with a trim for gliding frame.
Safety and care
<
Safety and care
Assembly Instructions
<
Assembly Instructions
Assembly of gliding frame and trim:
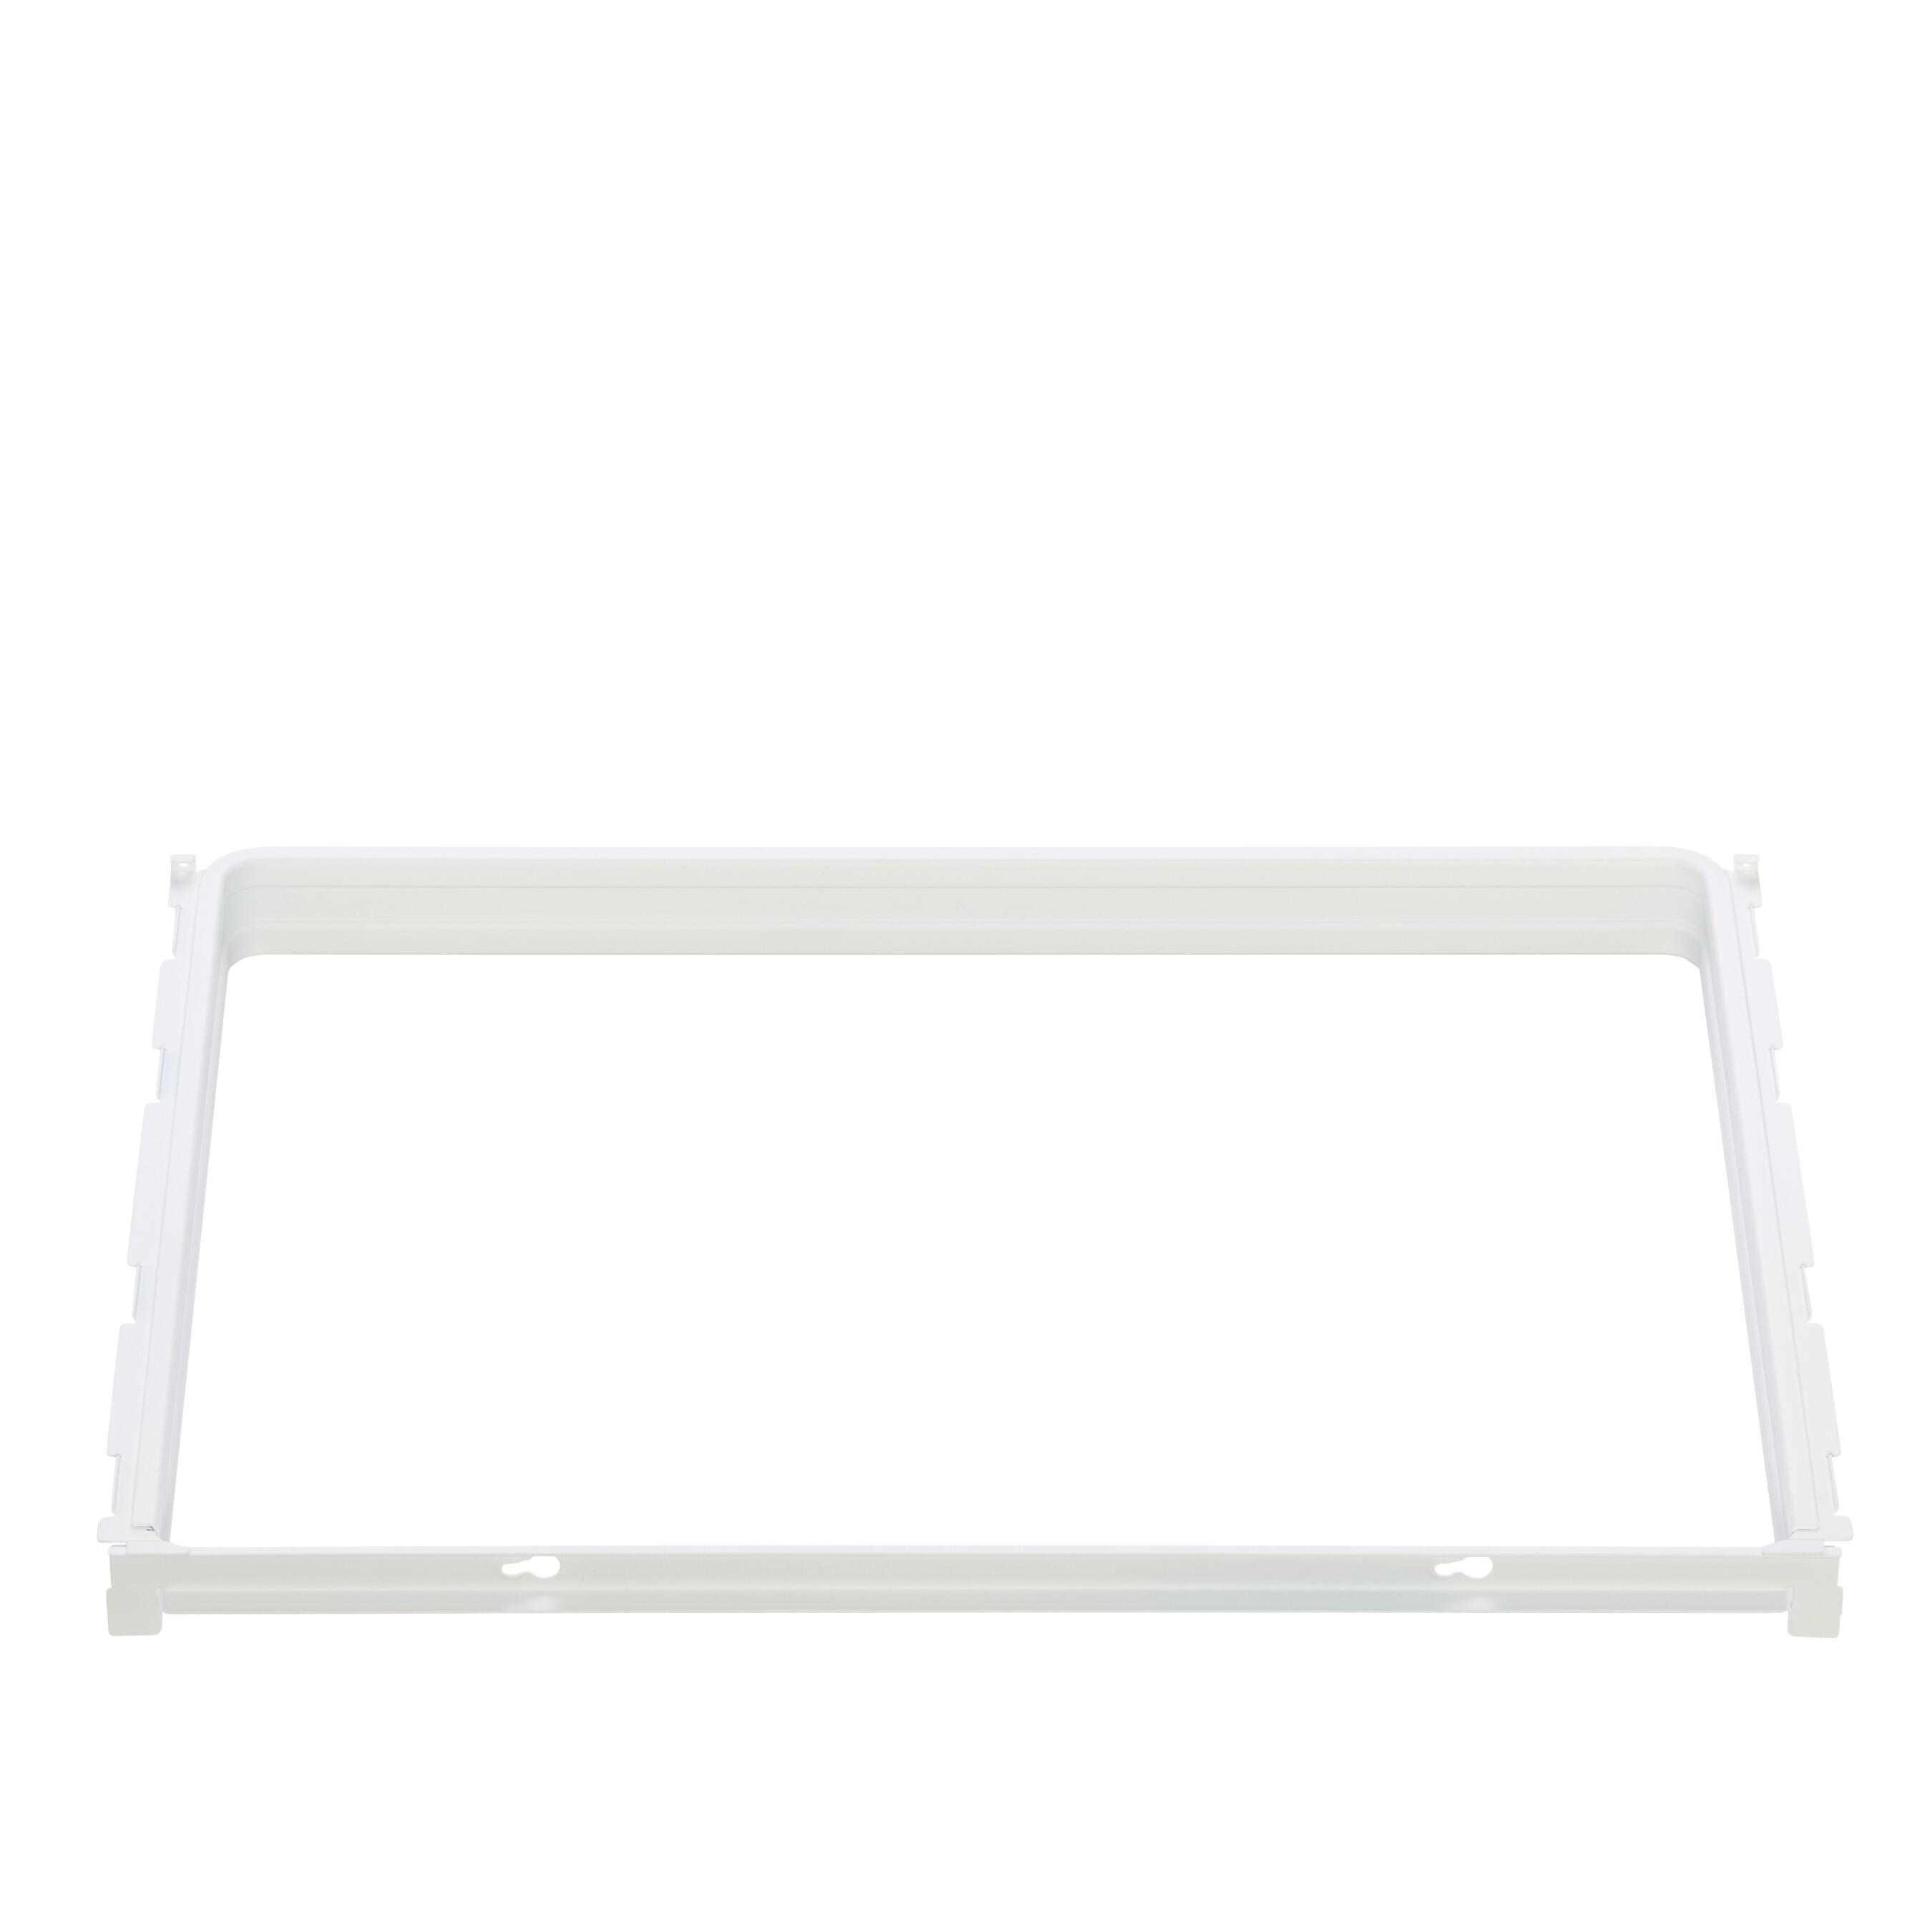
Step 1: Position the gliding frame over the brackets with the tabs on the side of the frame over the notches in the bracket. Ensure that the locking tabs are in the right position. The tabs should be pointing towards the wall. Push down so that the tabs are completely down into the bracket notches (until you hear a click). Then push the frame back towards the wall, until you hear a click.
Step 2: Identify which of the slide covers is left/right. The outside of the cover is the flat side and the thinner part of the "triangle shape" should be backward pointing. Attach the slide covers so that they are completely flush towards the front tabs of the gliding frame.
Step 3: Assemble the shelf trim onto the front of the gliding frame. Push the screws on the back of the shelf trim through the wider part of the holes on the front of the gliding frame and then push the shelf trim to the left in order to lock it into place. Then tighten the screws.
Recommended price (Prices may vary between retailers)
21,50
Create a stylish finish to the Décor+ gliding frame with our beautiful trim. Enhance the look of your mesh-, shoe and pant storage with this sleek addition, adding a decorative front. Hardware is included and installation is easy.
Create a stylish finish to the Décor+ gliding frame with our beautiful trim., Enhance the look of your mesh-, shoe and pant storage with this sleek addition, adding a decorative front., Hardware is included and installation is easy.
Create a stylish finish to the Décor+ gliding frame with our beautiful trim. Enhance the look of your mesh-, shoe and pant storage with this sleek addition, adding a decorative front. Hardware is included and installation is easy.
A solid trim for an enhanced finish of a Décor+ gliding frame. Easy assembly onto the gliding frame using pre-assembled screws. Made of solid birch wood. Colours/finishes: Natural birch: A matte-lacquered light birch Grey: NCS S 7500-N, gloss 5 White: NCS S 0300-N, gloss 5
Planning rules
<
Planning rules
When planning in Elfa Planner, the design tool will automatically combine the gliding frame with a trim for gliding frame.
Safety and care
<
Safety and care
Assembly Instructions
<
Assembly Instructions
Assembly of gliding frame and trim:
Step 1: Position the gliding frame over the brackets with the tabs on the side of the frame over the notches in the bracket. Ensure that the locking tabs are in the right position. The tabs should be pointing towards the wall. Push down so that the tabs are completely down into the bracket notches (until you hear a click). Then push the frame back towards the wall, until you hear a click.
Step 2: Identify which of the slide covers is left/right. The outside of the cover is the flat side and the thinner part of the "triangle shape" should be backward pointing. Attach the slide covers so that they are completely flush towards the front tabs of the gliding frame.
Step 3: Assemble the shelf trim onto the front of the gliding frame. Push the screws on the back of the shelf trim through the wider part of the holes on the front of the gliding frame and then push the shelf trim to the left in order to lock it into place. Then tighten the screws.