Products
Functional storage makes your everyday life easier. Elfa has different product lines adapted to different storage needs.
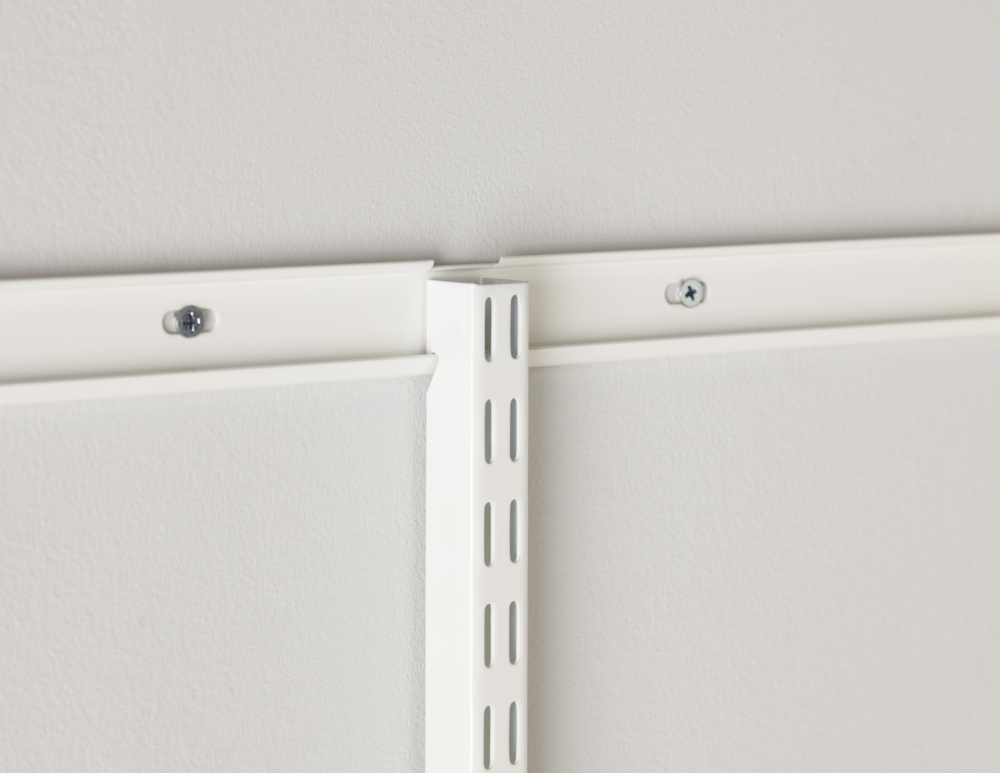

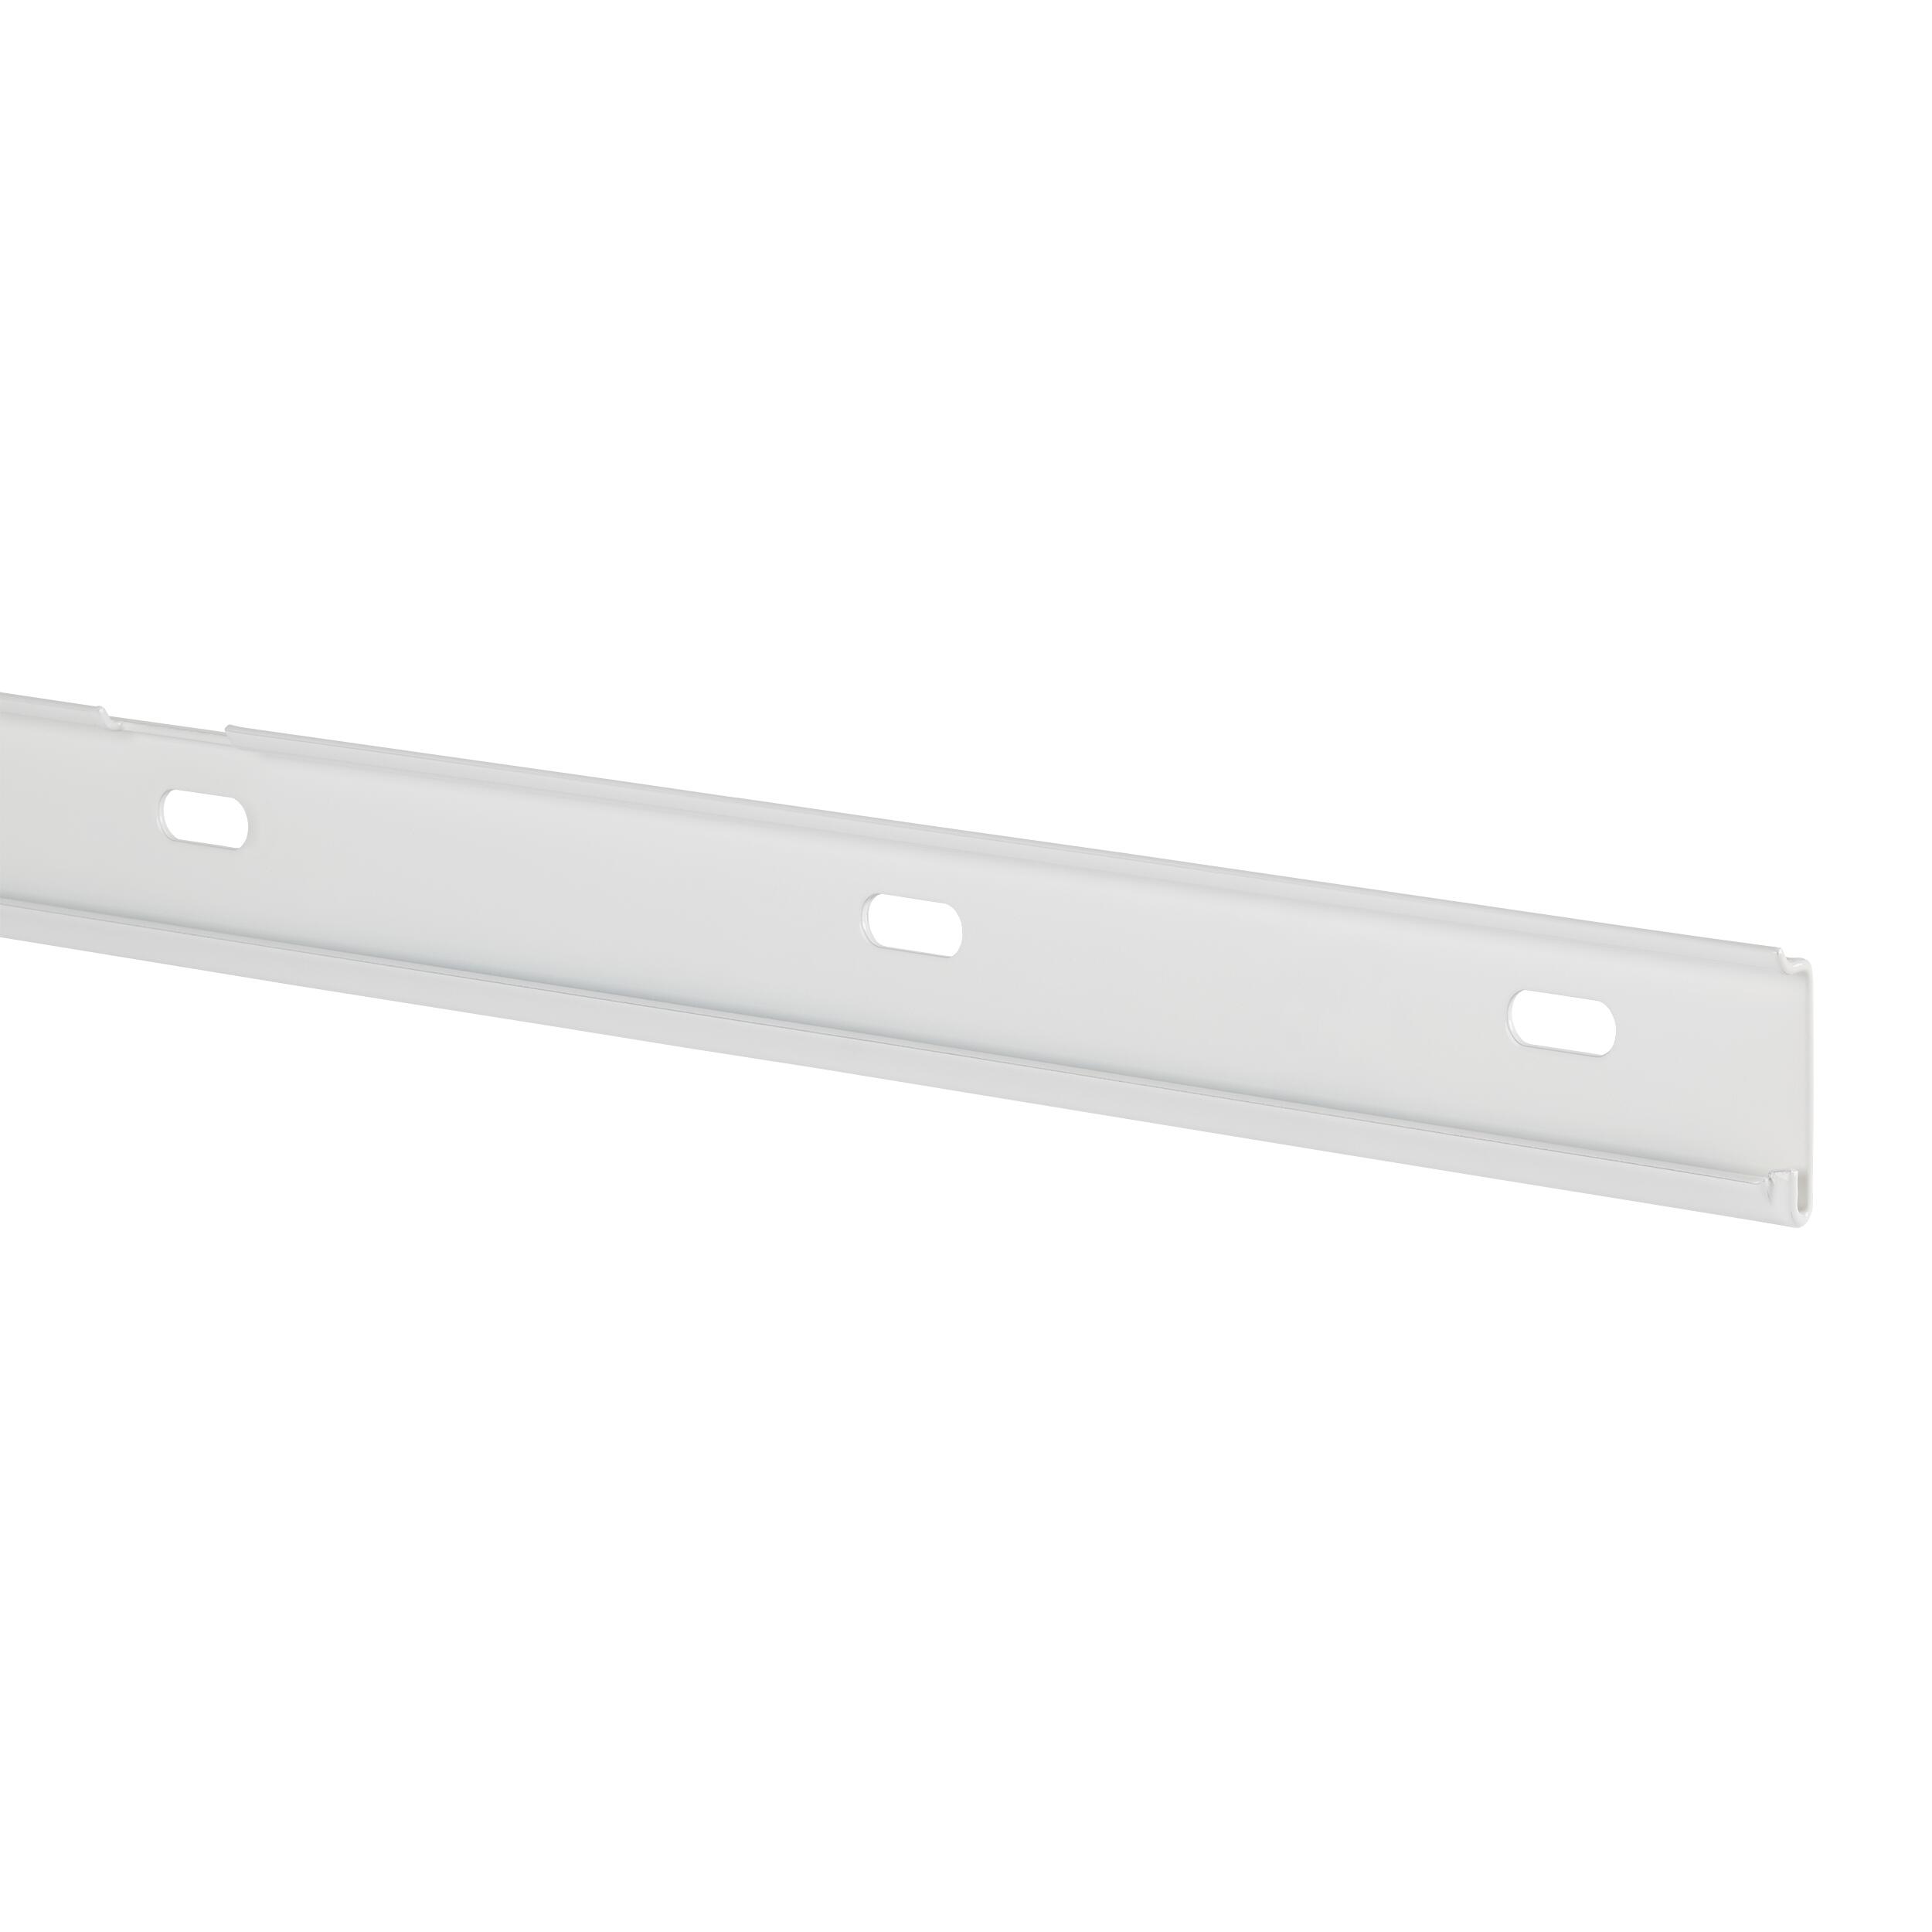
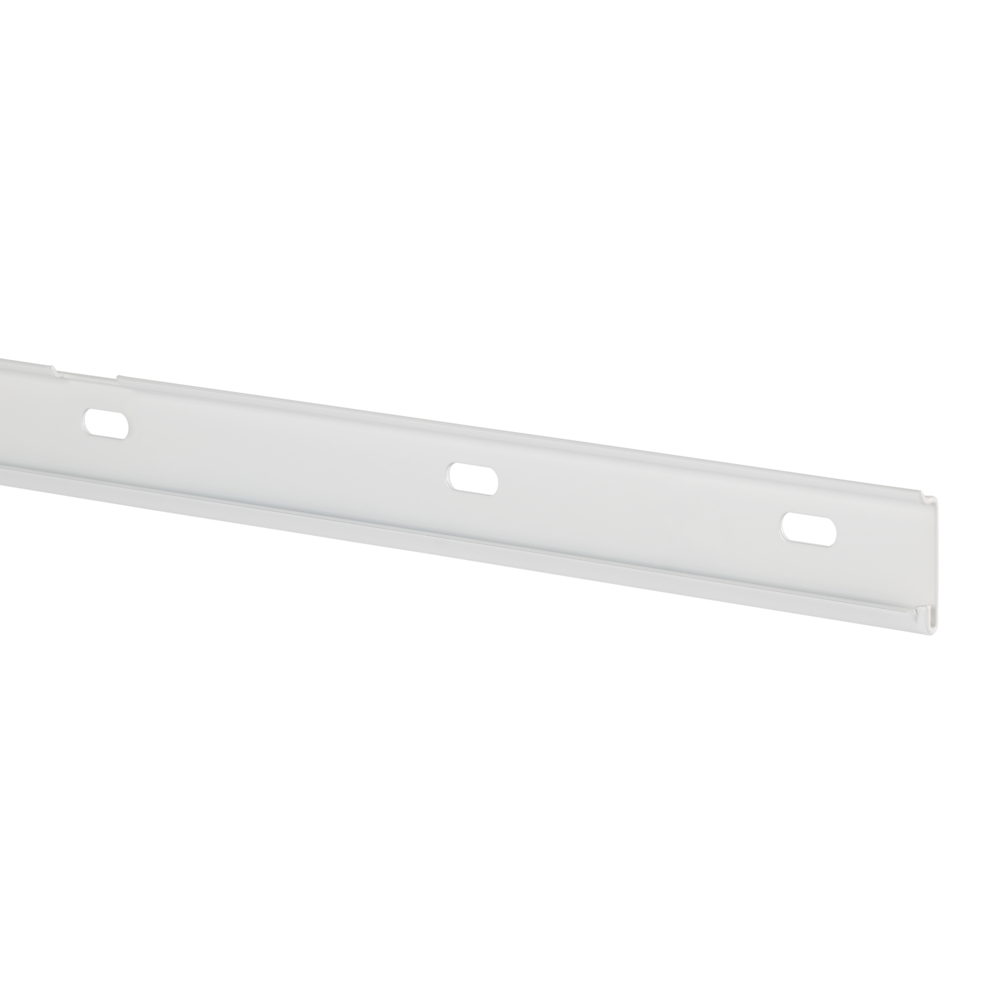
The top track is the foundation of a top hang system and attaches to the wall horizontally. Top tracks are made from high strength steel and are attached to the wall with screws and/or screws and anchors.
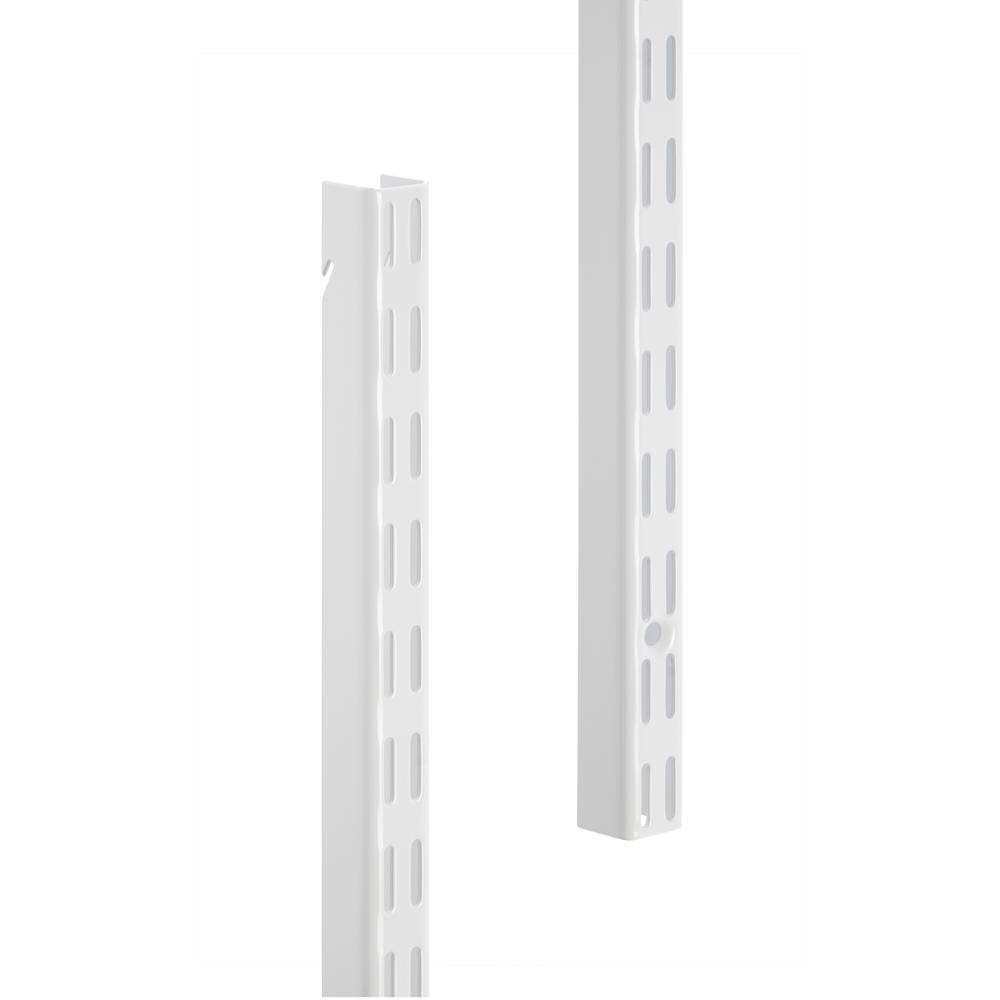
There is a safety function in the top of the track - an upper ""lip"", which prevents hang standards to move out of the track upwards. The saftey lip comes with cutouts, in order to more easily thread in the hang standards when mounting. There is also a safety function - ""end stops"" - in either end of the top track, preventing hang standards to move out sideways.
The weight of a loaded system pulls the hang standards down securely onto the top track, and presses them back against the supporting wall, increasing stability and durability at the same time.
The bore holes in the top track are oval - width 20 mm (6/8”) and height 7,2 mm (2/8”) for easier positioning towards studs etc.
The amount of screw holes per top track width are:
641 mm: 5 screw holes
936 mm: 7 screw holes
1248 mm: 9 screw holes
1855 mm: 13 screw holes
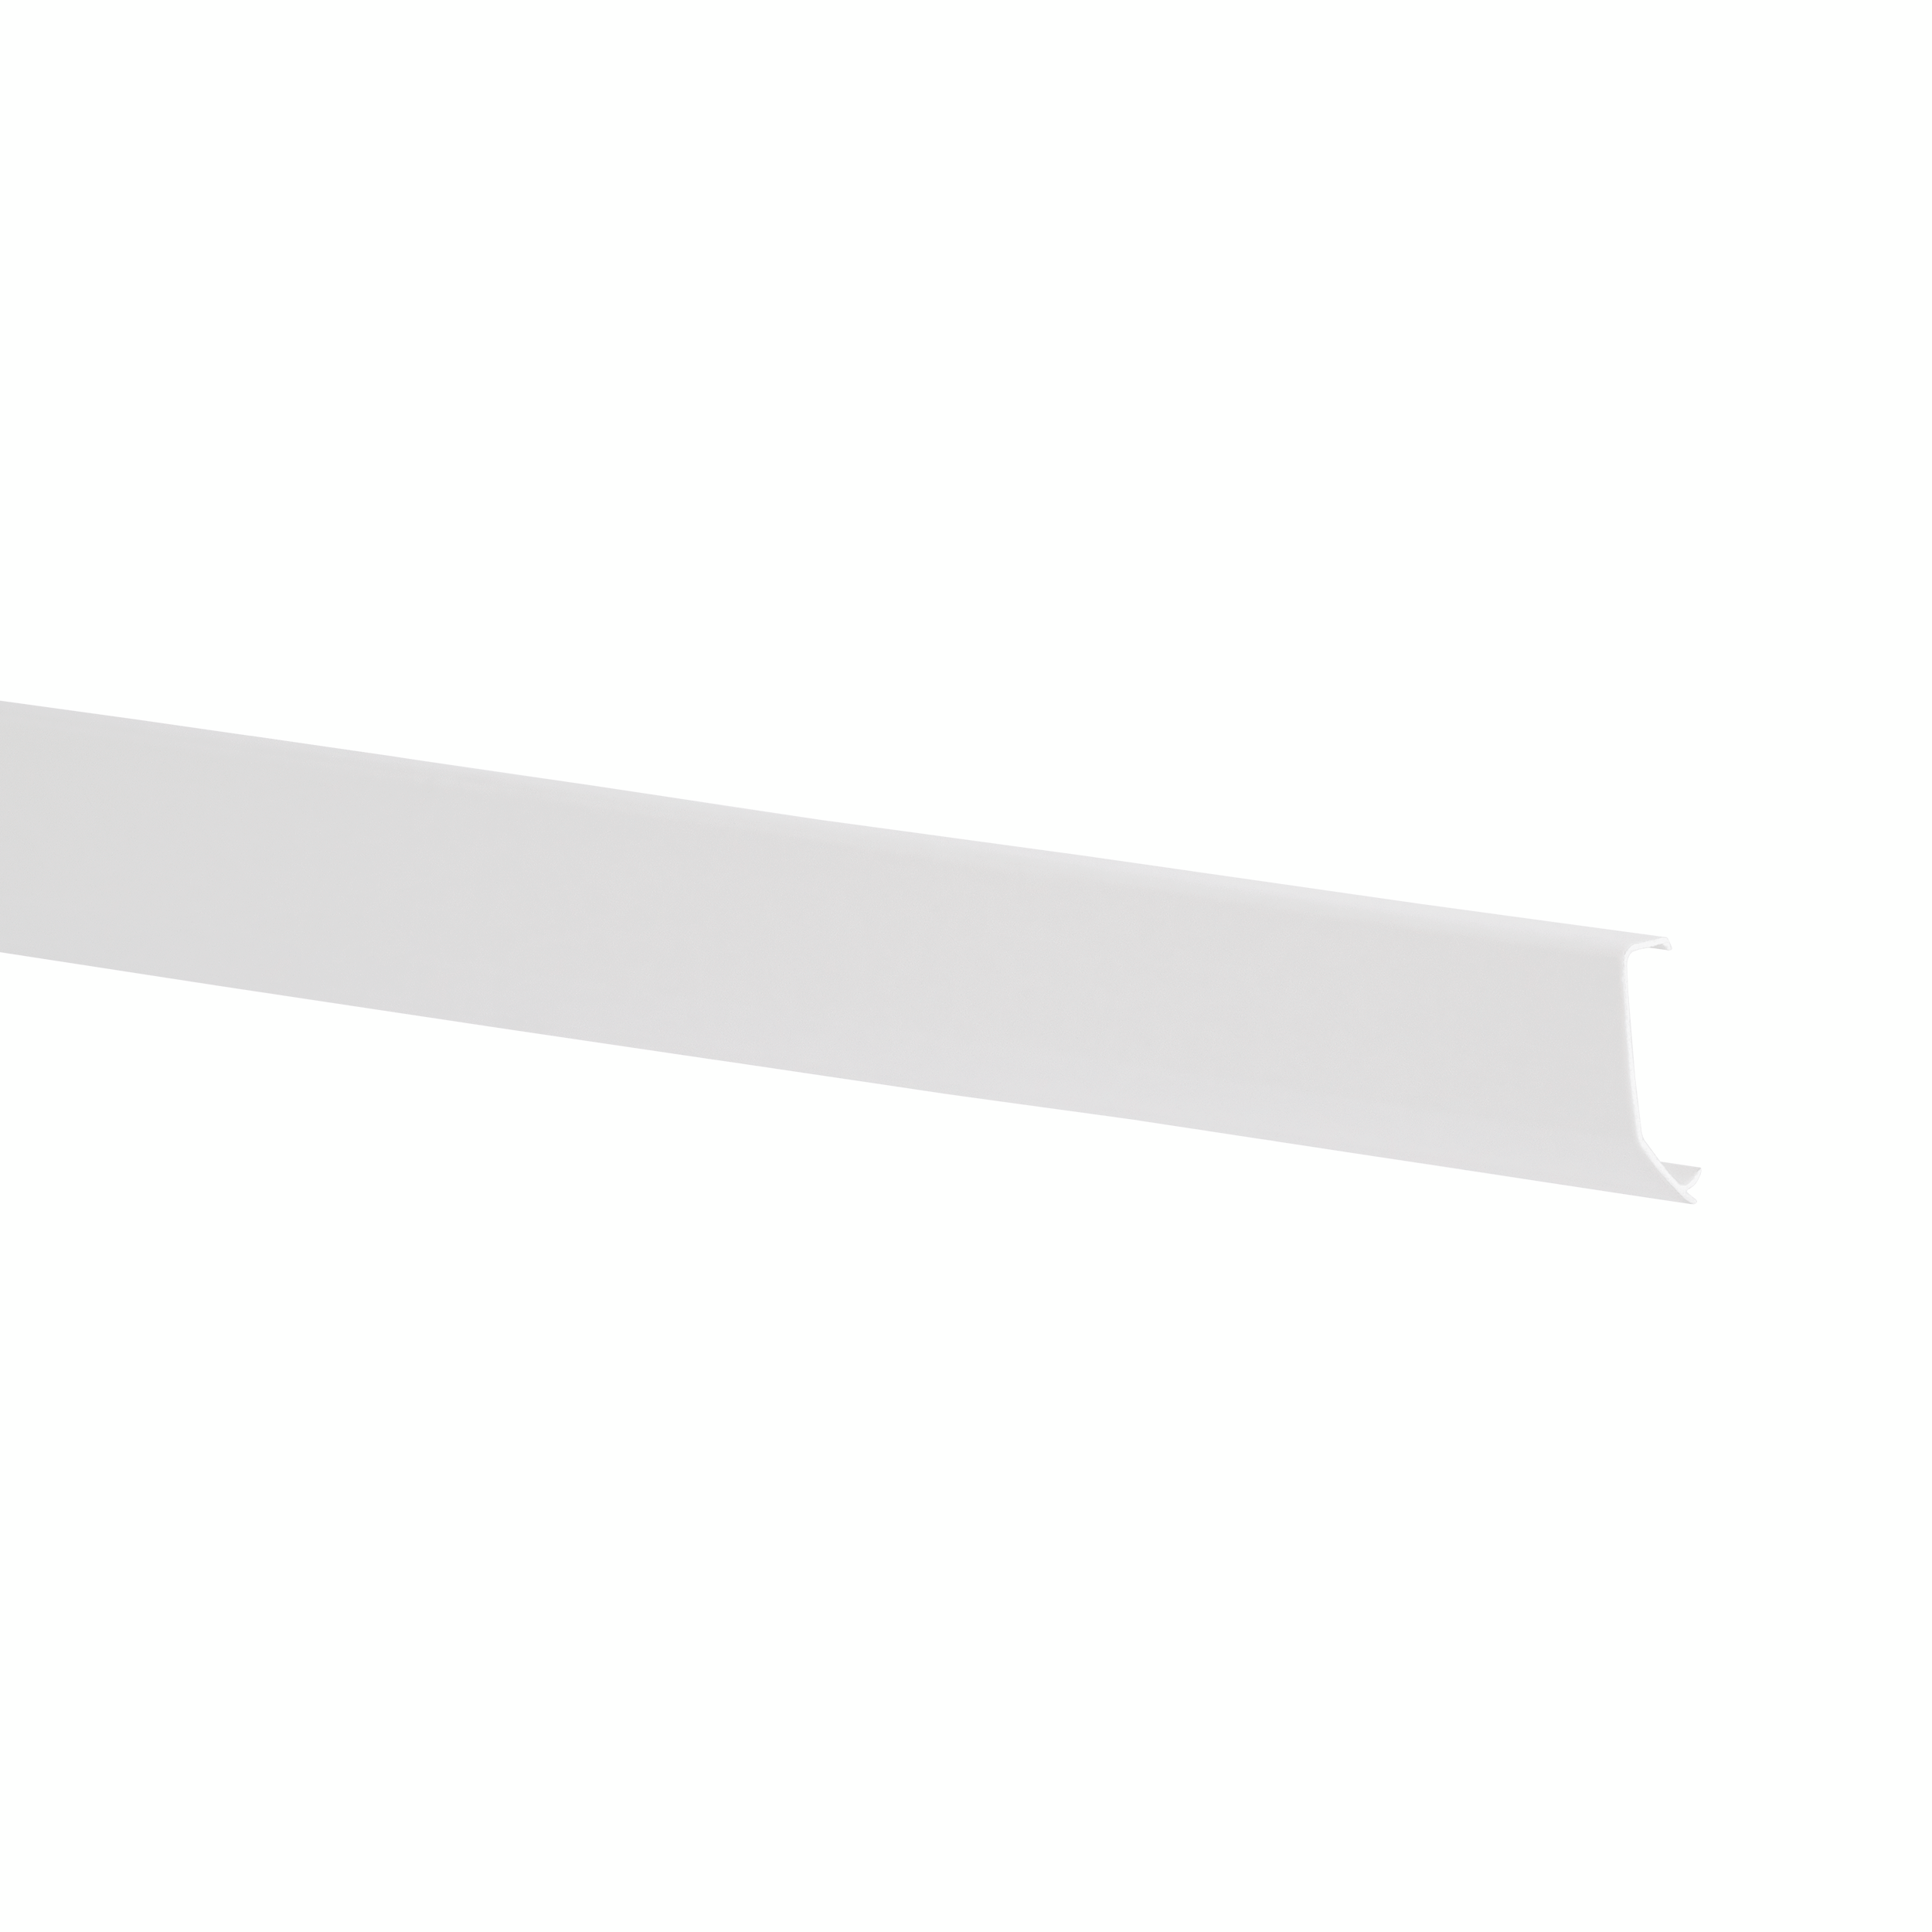
Use a top track cover to cover the screw holes in the top track.
2 metal colours:
White, close to NCS S 0300-N, gloss around 85
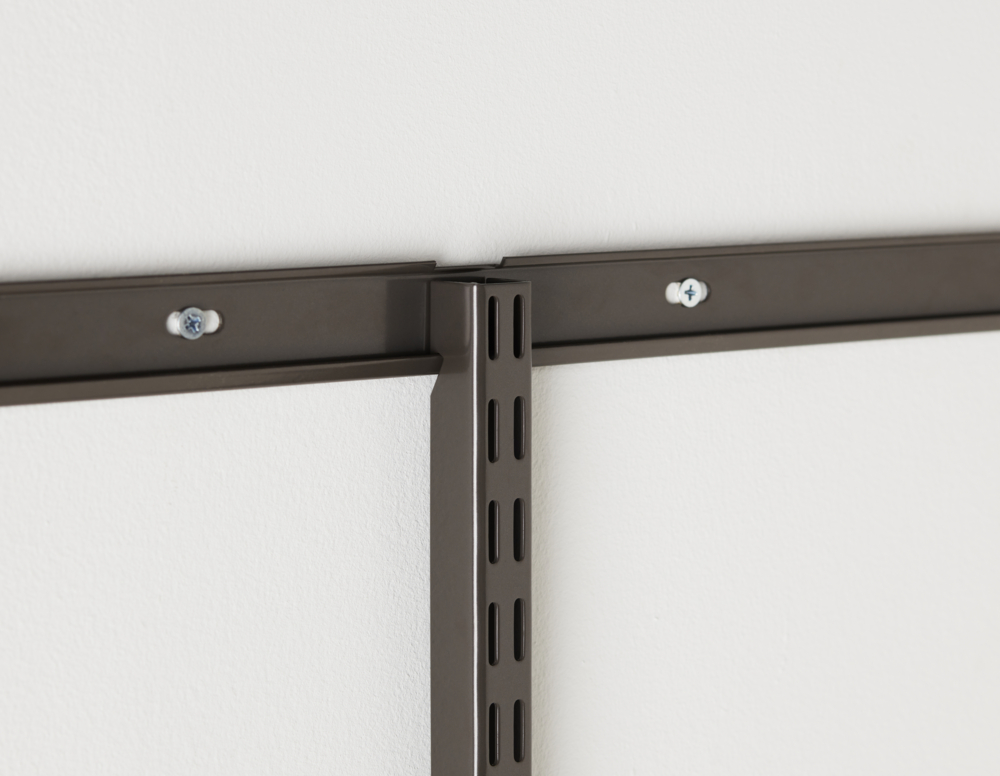
“Graphite”, a unique finish close to NCS S 8000-N, gloss around 50
Note: as our finishes are metallic/mixed powder, the NCS codes/gloss aren’t exact.
Note! Do not place Elfa products in direct contact with water.
Wipe clean with a cloth dampered with a mild cleaner. Wipe dry with a clean cloth.

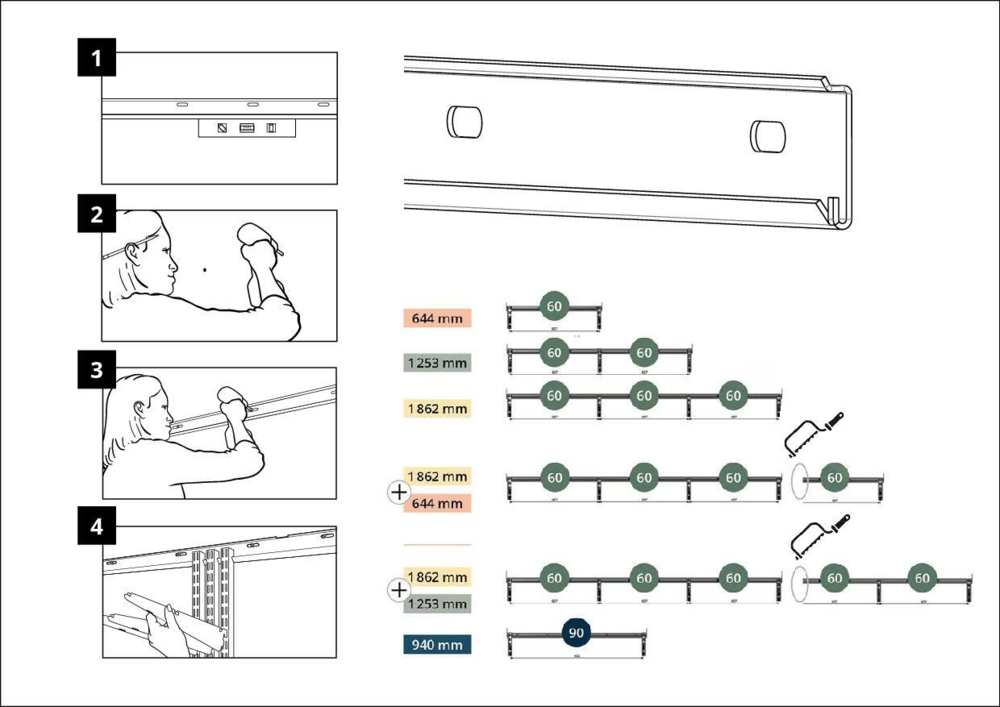
Assembly instruction: Top track

Assembly instruction: Click-in system top hang Classic

Upgrade your organization with our versatile top track. This essential component serves as backbone of the click-in system, providing support for hang standards. The top track features end stops and an upper lip, preventing standards to fall out sideways or upwards. Mounts easily through the oval screw holes to the wall and minimizes the number of wall holes required. Available in different widths and can be to cut. Pair with a top track cover for a polished appearance. When mounting, leave around 3-5 mm space up to the ceiling if you have a top track cover in order to have sufficient room to slide it on.
NB! Hang standards manufactured before 2021 are not compatible with this top track.
Color
Size
Width (mm): 641
Depth (mm): 8
Height: 36
27,95

Width (mm): 936
Depth (mm): 8
Height: 36
29,95
Width (mm): 1248
Depth (mm): 8
Height: 36
38,95
Width (mm): 1855
Depth (mm): 8
Height: 36
52,95
Needs To Have
Classic by Elfa
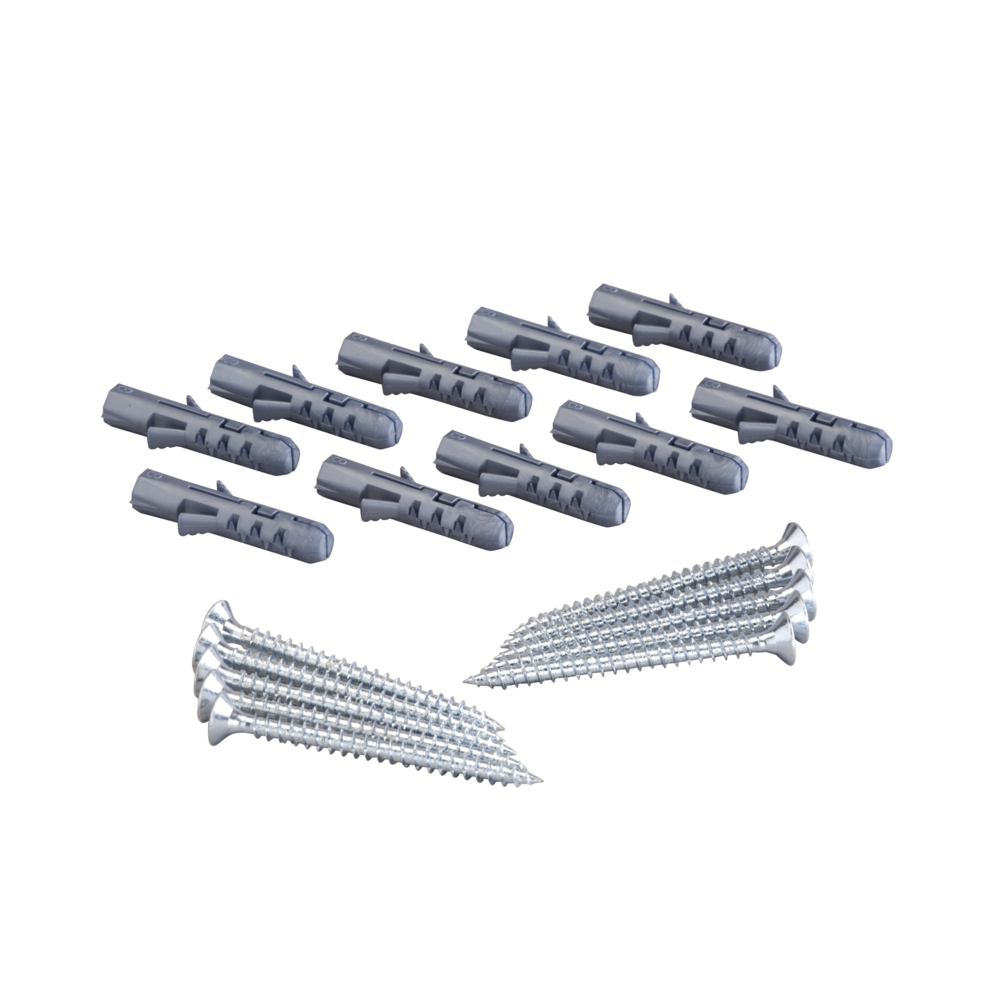
Screw and plug, pkg/10
10,95
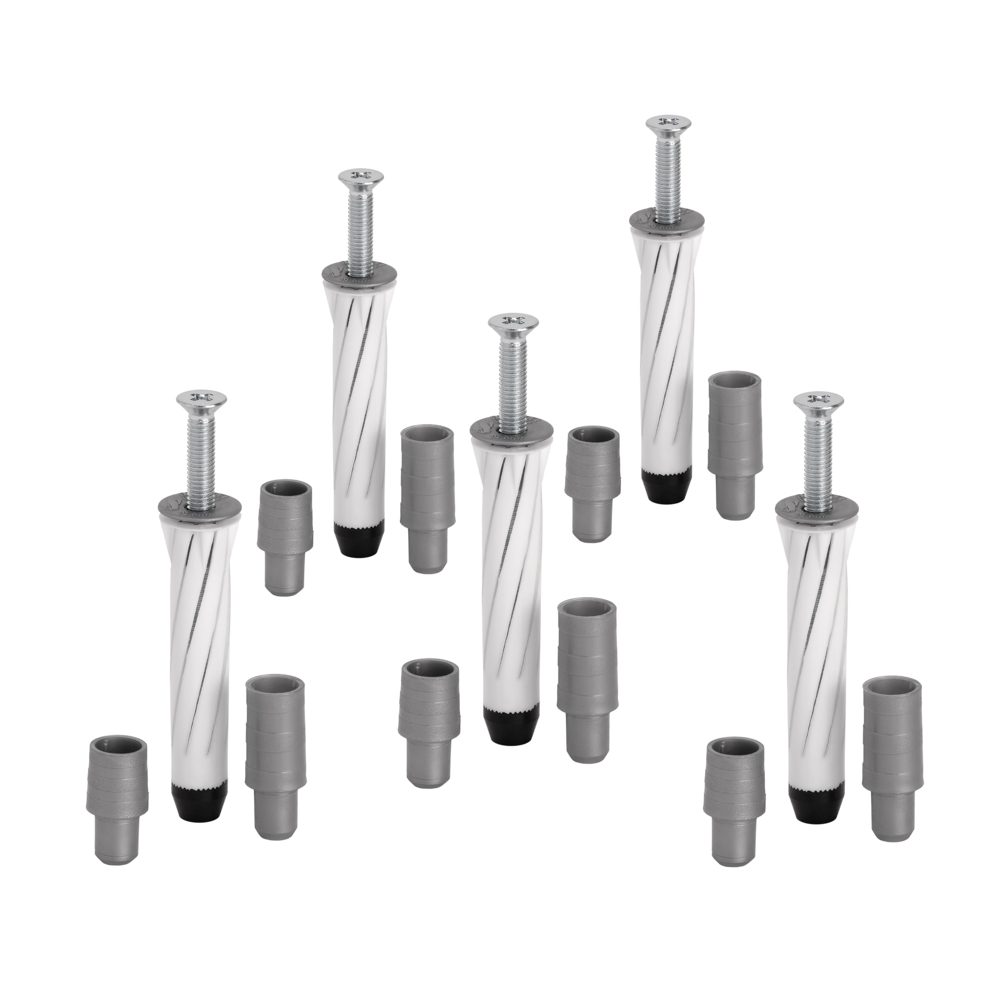
Classic by Elfa
Drywall anchor, pkg/5
15,95
The top track is the foundation of a top hang system and attaches to the wall horizontally. Top tracks are made from high strength steel and are attached to the wall with screws and/or screws and anchors.
There is a safety function in the top of the track - an upper ""lip"", which prevents hang standards to move out of the track upwards. The saftey lip comes with cutouts, in order to more easily thread in the hang standards when mounting. There is also a safety function - ""end stops"" - in either end of the top track, preventing hang standards to move out sideways.
The weight of a loaded system pulls the hang standards down securely onto the top track, and presses them back against the supporting wall, increasing stability and durability at the same time.
The bore holes in the top track are oval - width 20 mm (6/8”) and height 7,2 mm (2/8”) for easier positioning towards studs etc.
The amount of screw holes per top track width are:
641 mm: 5 screw holes
936 mm: 7 screw holes
1248 mm: 9 screw holes
1855 mm: 13 screw holes
Use a top track cover to cover the screw holes in the top track.
2 metal colours:
White, close to NCS S 0300-N, gloss around 85
“Graphite”, a unique finish close to NCS S 8000-N, gloss around 50
Note: as our finishes are metallic/mixed powder, the NCS codes/gloss aren’t exact.
Note! Do not place Elfa products in direct contact with water.
Wipe clean with a cloth dampered with a mild cleaner. Wipe dry with a clean cloth.
Assembly instruction: Top track
Assembly instruction: Click-in system top hang Classic