Products
Functional storage makes your everyday life easier. Elfa has different product lines adapted to different storage needs.
Note! Do not place Elfa products in direct contact with water.
Wipe clean with a cloth dampered with a mild cleaner. Wipe dry with a clean cloth.

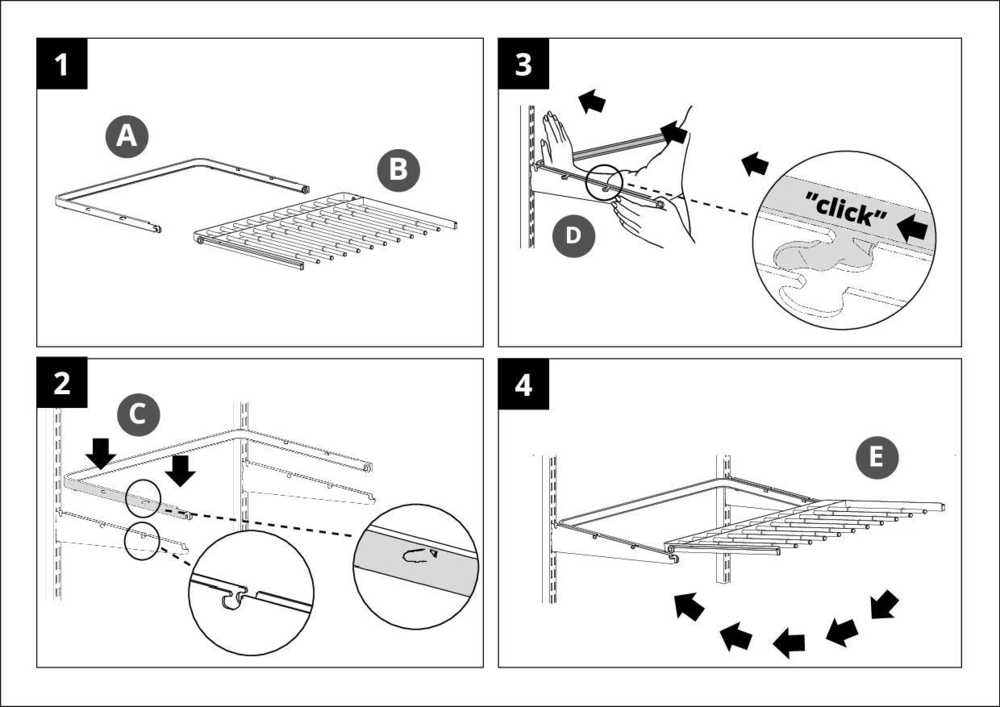
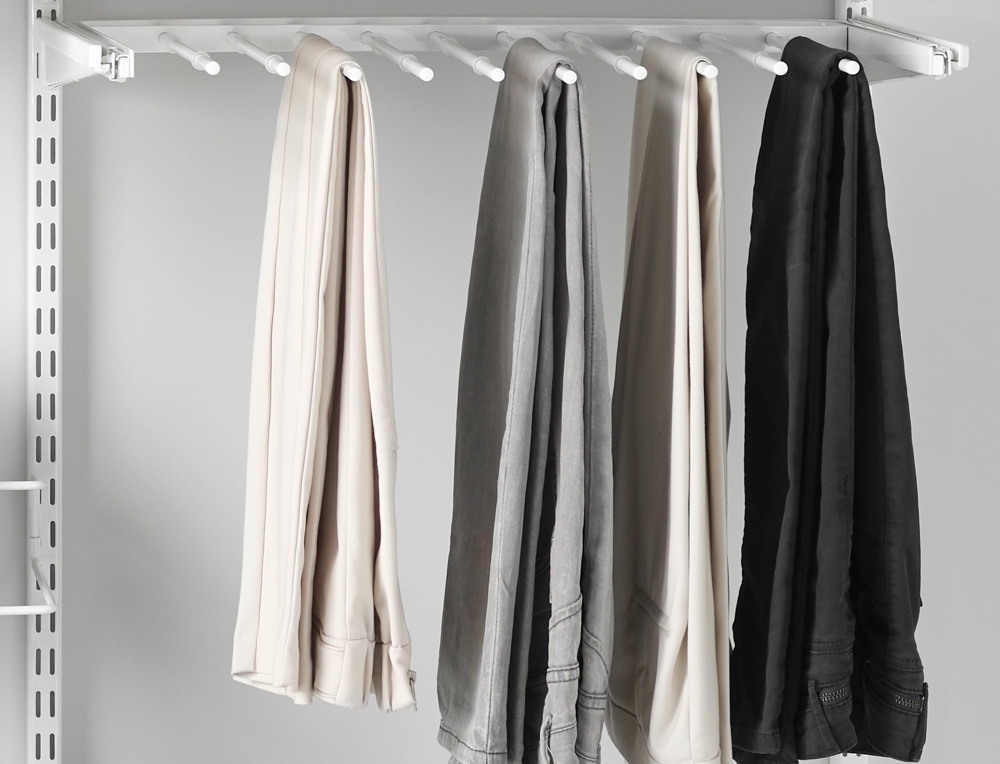
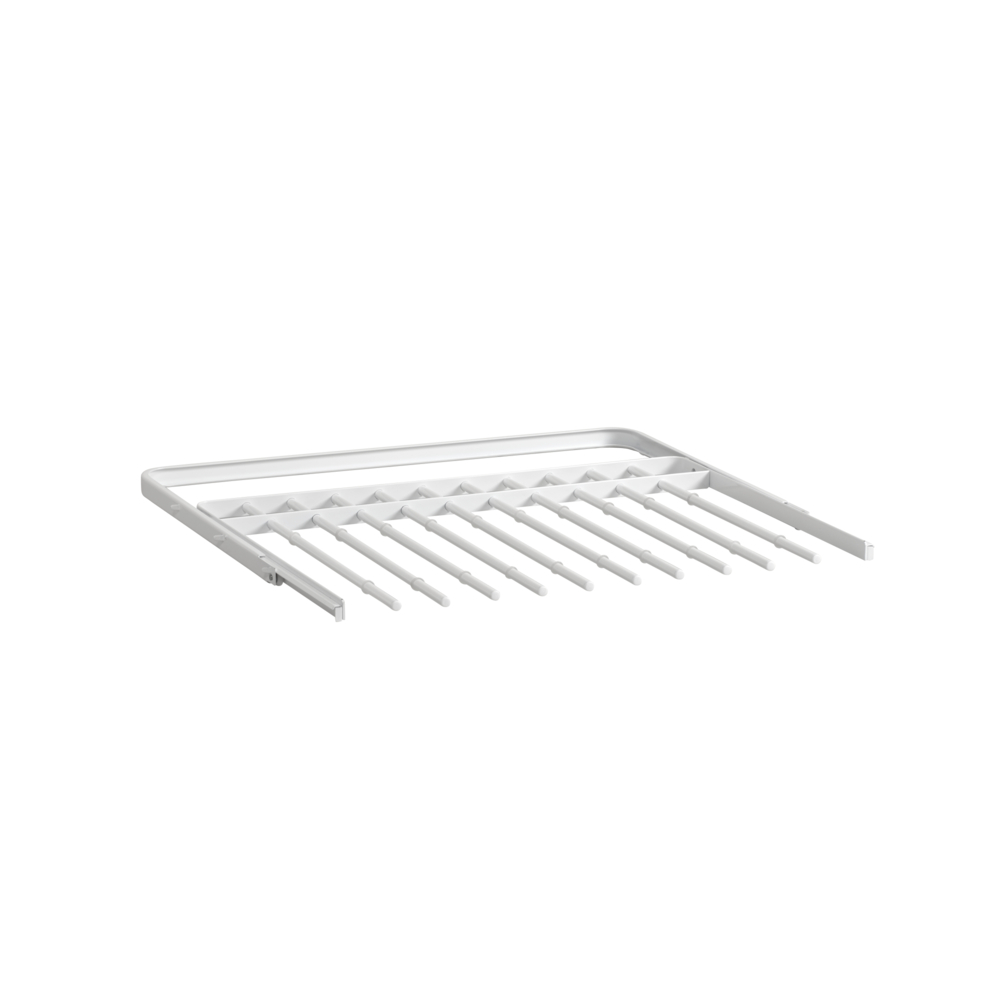
Upgrade your wardrobe with our gliding pant rack, the perfect solution for organized and accessible pant storage. This rack is designed to create a clear overview and ensure easy access to your pants collection. Featuring non-slip rings, it keeps your pants neatly in place. Simply click it in place between two bracket click-in D: 40.
Color
Size
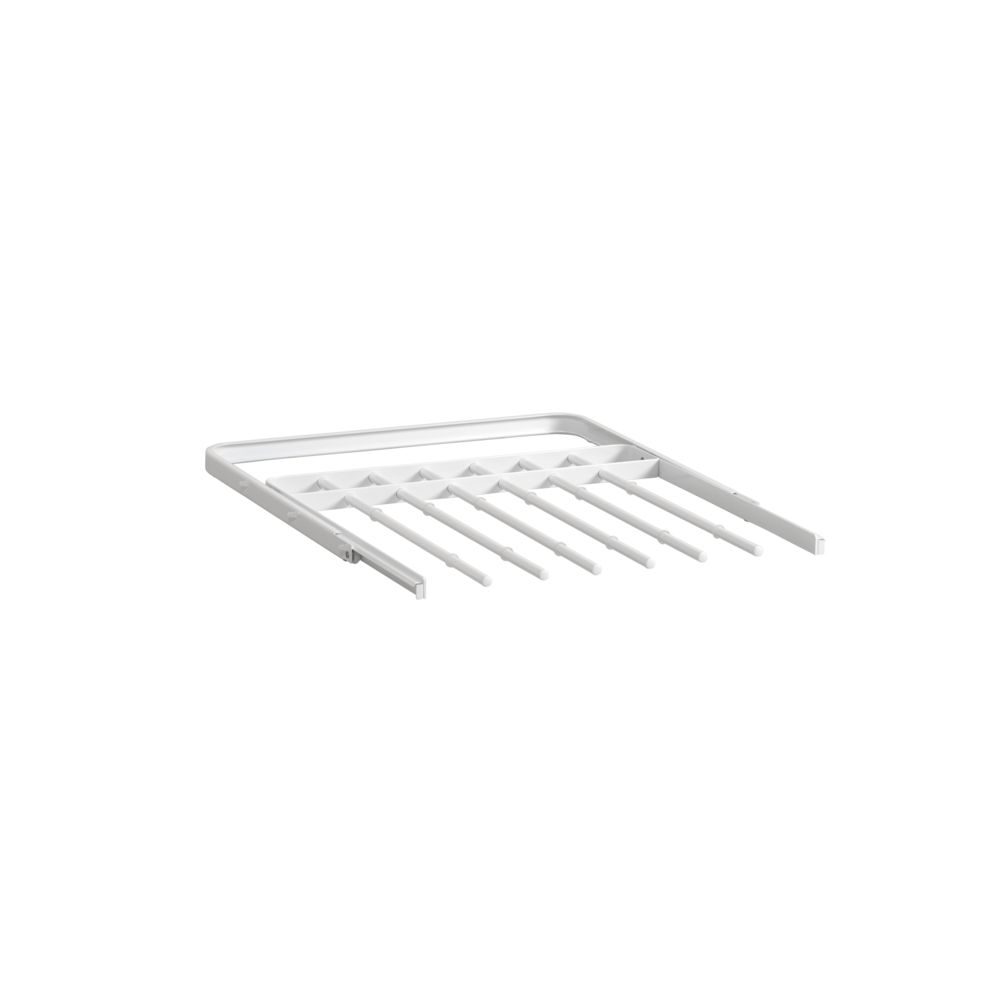
Width (mm): 449
Depth (mm): 430
Height: 24
128,00
Width (mm): 605
Depth (mm): 430
Height: 25
139,00
Needs To Have
Classic by Elfa
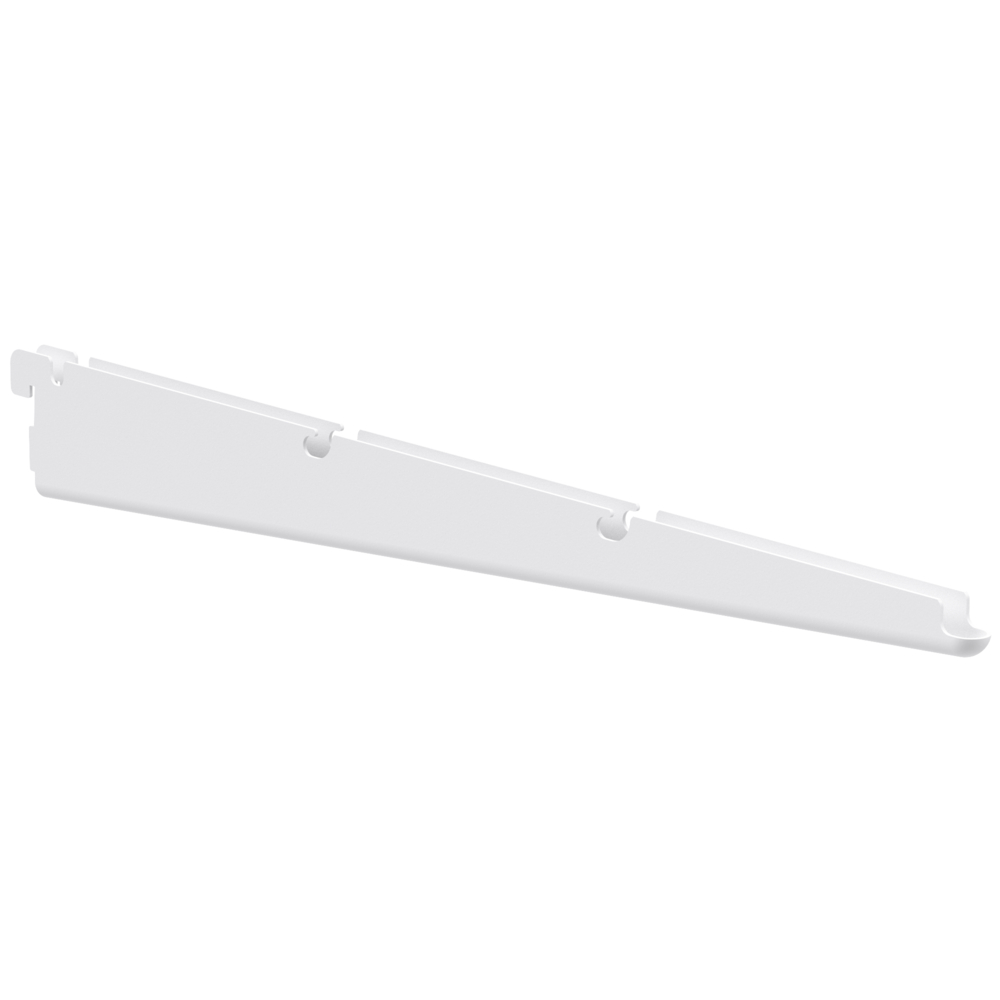
Bracket Click-in 42 cm white
14,95
Note! Do not place Elfa products in direct contact with water.
Wipe clean with a cloth dampered with a mild cleaner. Wipe dry with a clean cloth.