Products
Functional storage makes your everyday life easier. Elfa has different product lines adapted to different storage needs.

Note! Do not place Elfa products in direct contact with water.
Wipe clean with a cloth dampered with a mild cleaner. Wipe dry with a clean cloth.

Screws to secure solid shelf at the front and rear edges of Solid shelf bracket. Comes in a 20-pack containing 2 different screw sizes.
Color
Size
Width (mm): 6
Depth (mm): 6
Height: 50
4,00
Needs To Have
Sparring by Elfa
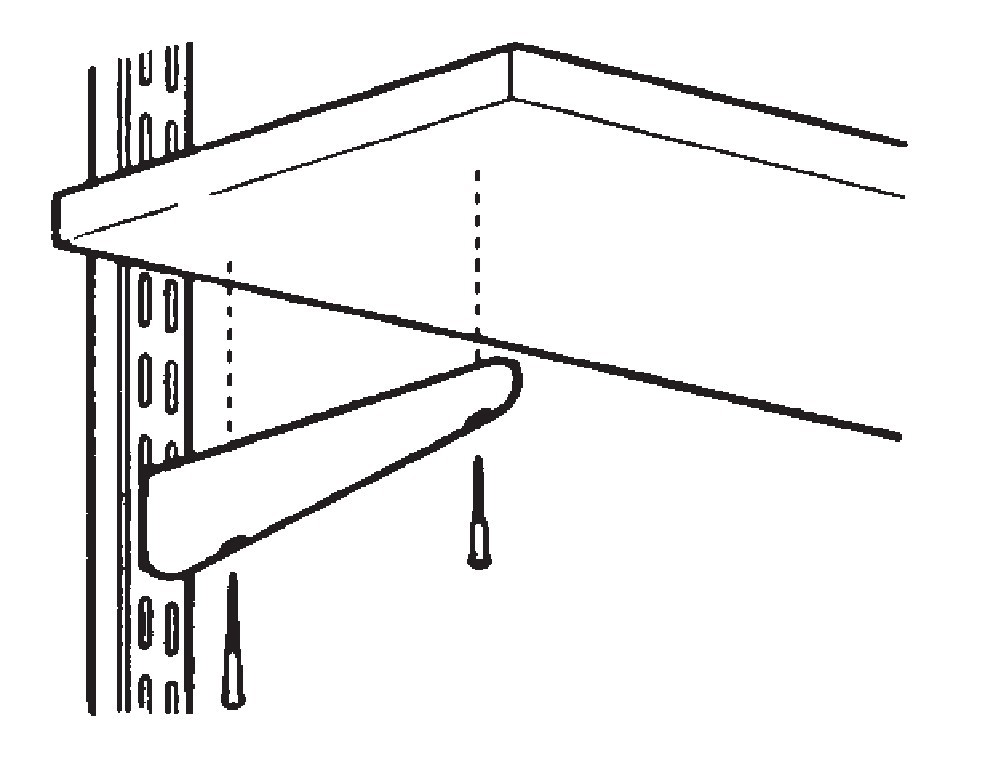
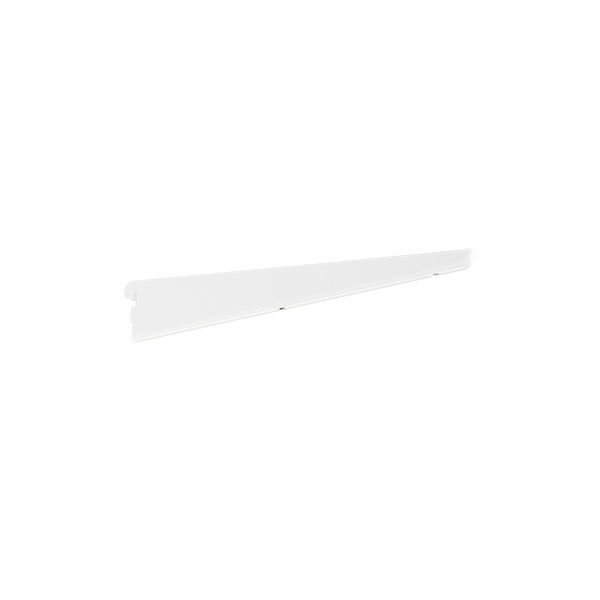
Bracket for solid shelf with closet rod holder slot
Price from 5,30
Sparring by Elfa
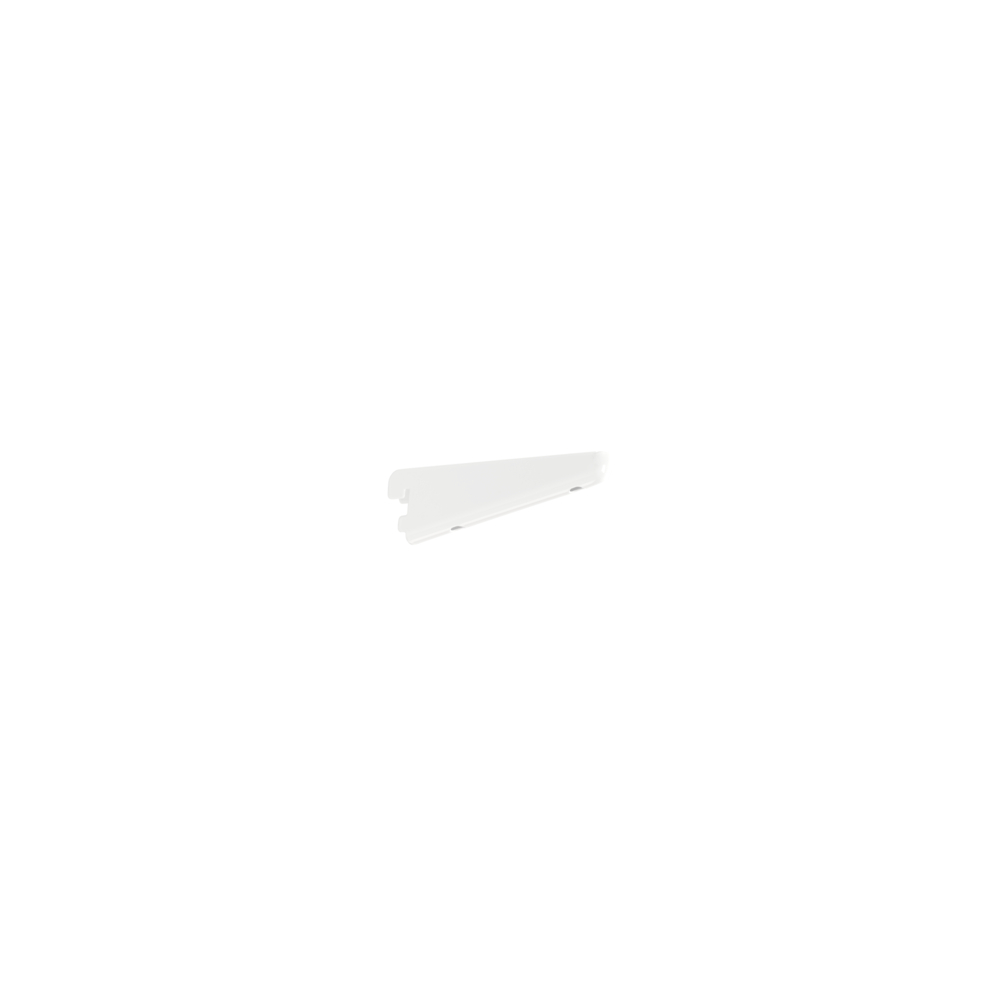
Bracket for solid shelf
Price from 4,00
Sparring by Elfa
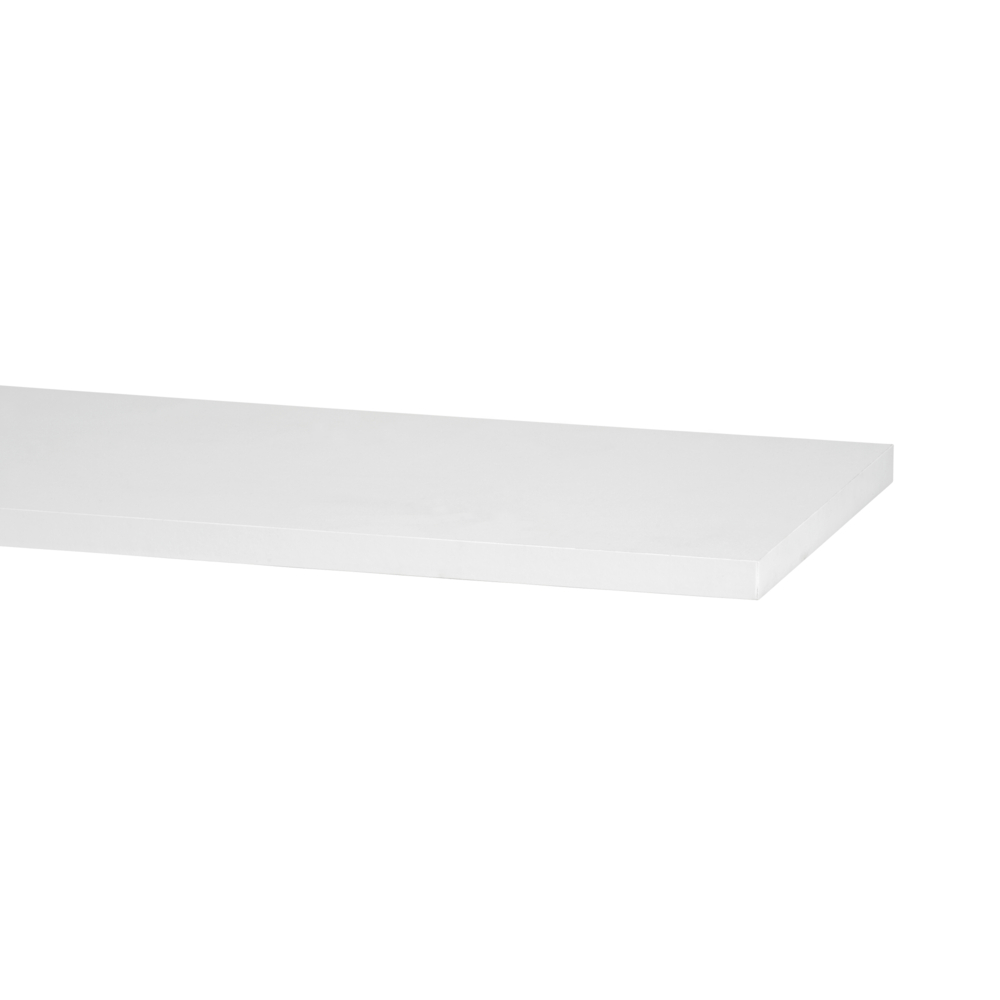
Melamine shelf
Price from 17,10
Note! Do not place Elfa products in direct contact with water.
Wipe clean with a cloth dampered with a mild cleaner. Wipe dry with a clean cloth.