Storage inspiration for every room – with smart solutions that combine style and function. Create a home where every surface becomes a storage opportunity.
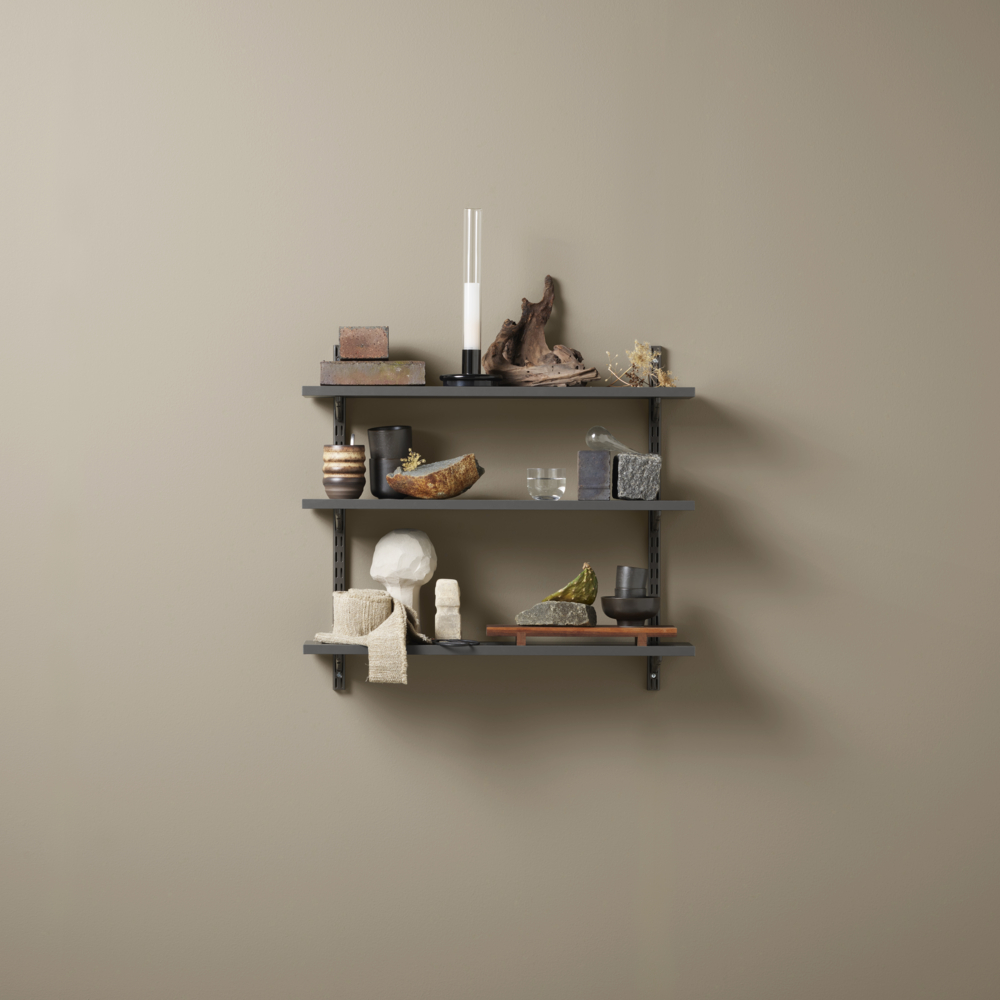
Create a bookshelf with ease using our shelving plug-in kit solution, complete with wallbands, brackets, plugs and pre-plugged melamine shelves. The patented plug-in technology and the hole pattern in the wallbands makes installation easy. Detailed step-by-step assembly instructions are included in the kit.
A grab-and-go kit solution that contains all you need to create a 3-shelf bookshelf solution. The kit is easy to install correctly, thanks to the plug-in technology and the hole pattern in the wallbands.
2 metal colours:
White, close to NCS S 0300-N, gloss around 85
“Graphite”, a unique finish close to NCS S 8000-N, gloss around 50
Note: as our finishes are metallic/mixed powder, the NCS codes/gloss aren’t exact.
Planning rules
<
Planning rules
Can be planned onto any space on an open wall. Be sure to plan the solution so that it doesn't create an obstacle when you are moving past it.
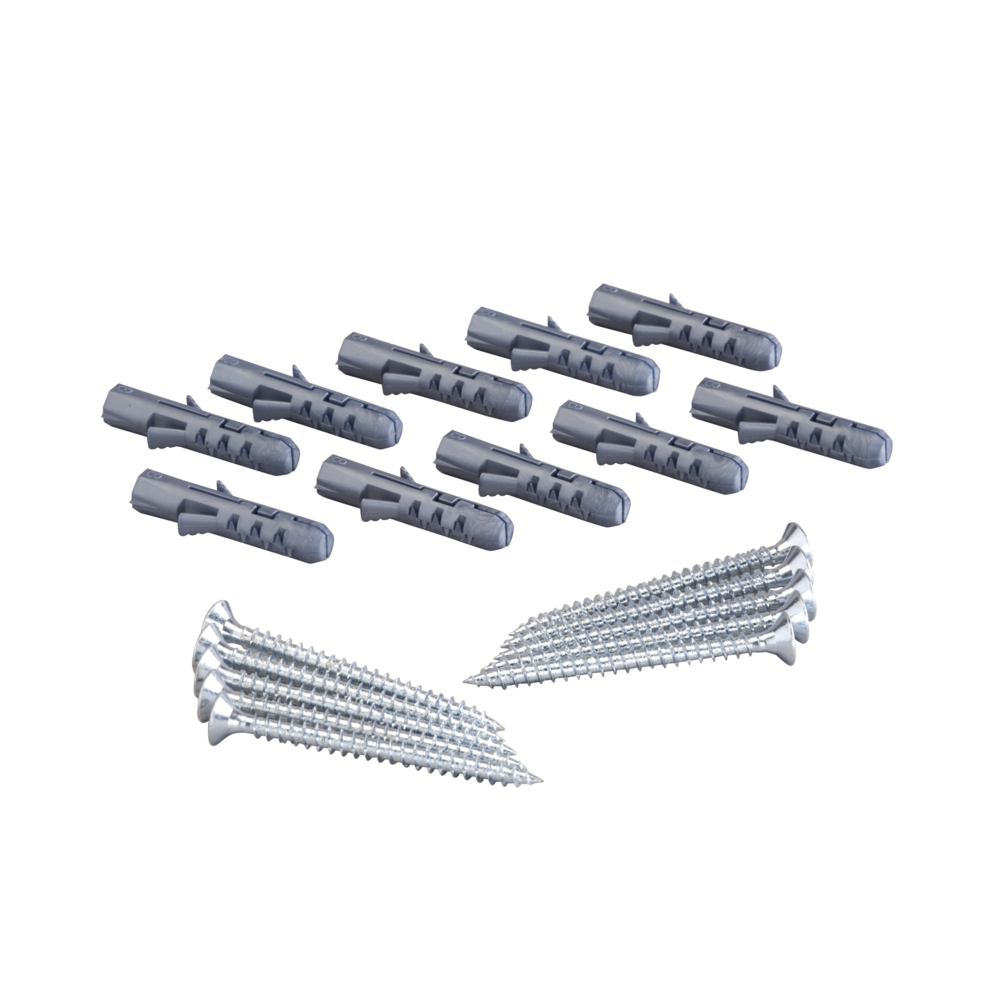
The kit includes all you need, except screw/plug hardware.
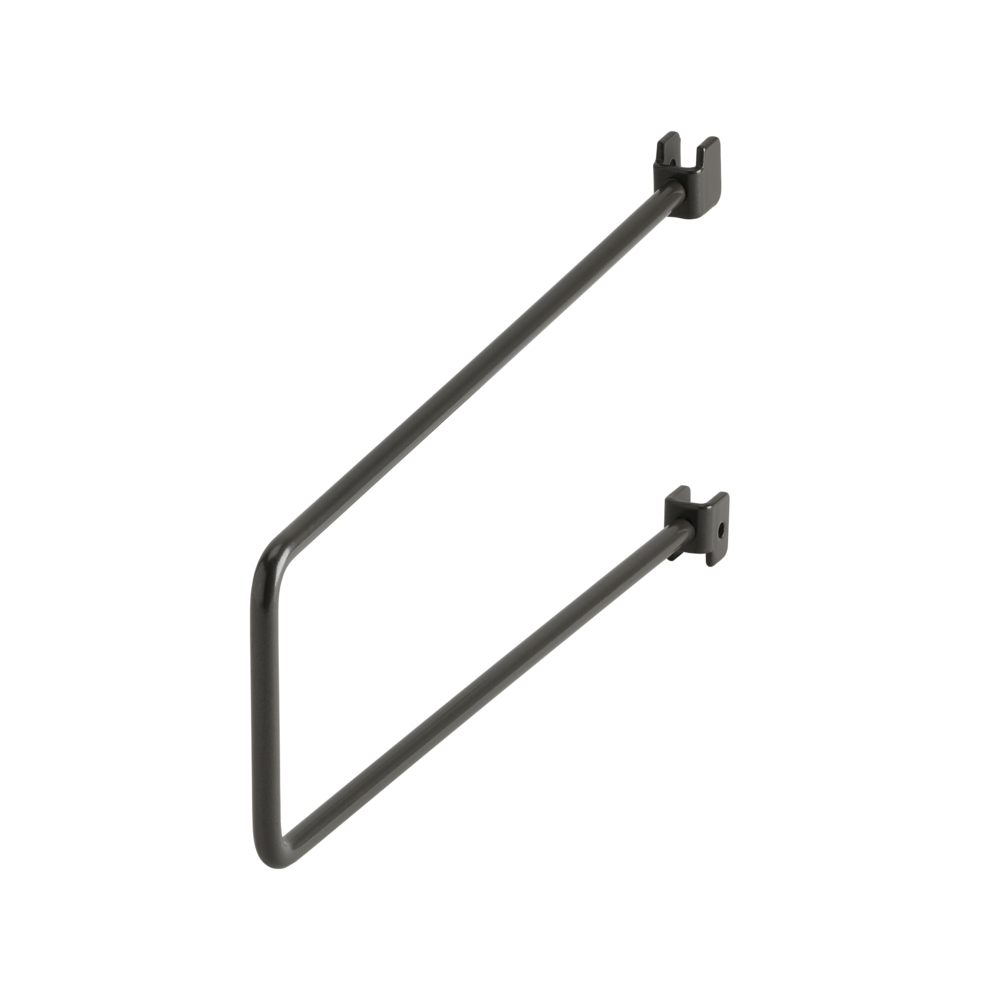
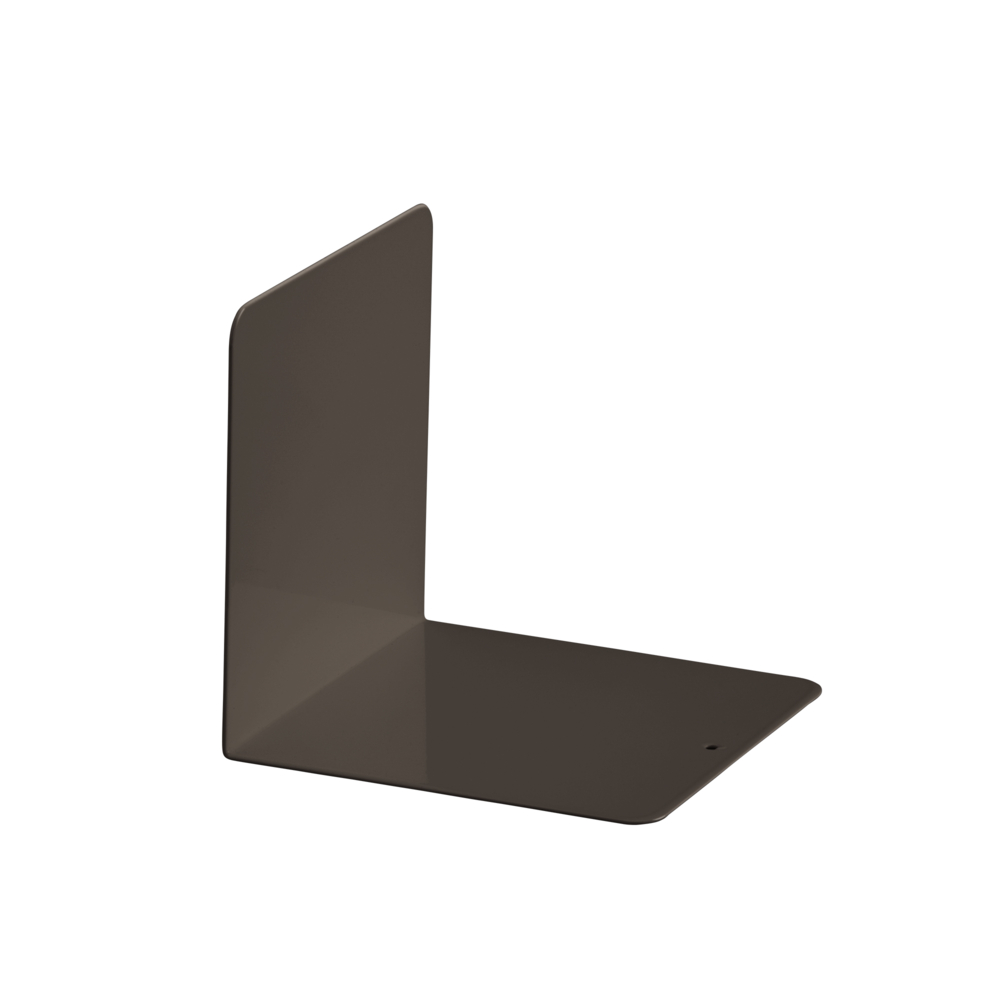
Possible to add book support.
Safety and care
<
Safety and care
Safety
Maximum load capacity per section: 200 kg (Classic by Elfa, click-in top-hung system) and 240 kg (Garage+/Décor+).
Avoid overloading individual storage components and distribute the weight evenly across the system. Different products have different recommended maximum load capacities. For more information, please refer to the Product Information section for each product, as well as Measure & Plan.
Before installation, check the wall material and condition. Elfa's product range is generally designed for normal use in residential indoor environments.
Care
Wipe clean with a cloth dampered with a mild cleaner. Wipe dry with a clean cloth.
Assembly Instructions
<
Assembly Instructions
Assembly instruction: Shelving system plug-in 700mm
Mounting instruction: Shelving system Plug-in
You need the following to assemble: Screwdriver/drilling machine, leveller.
Step 1: Position the first wallband. Make sure that the wallband is straight and mark the screw holes. Fasten the wallband in the upper screw hole, but do not tighten too hard.
Step 2: Rotate the wallband 90 degrees upward, using it as a “spacer”, to get the correct positioning for the other screw holes. In this way it’s very easy to get, and verify, a correct ‘square’ on the wall. Once you have secured that the wallbands are level, attach both wallbands to the wall with adequate screws.
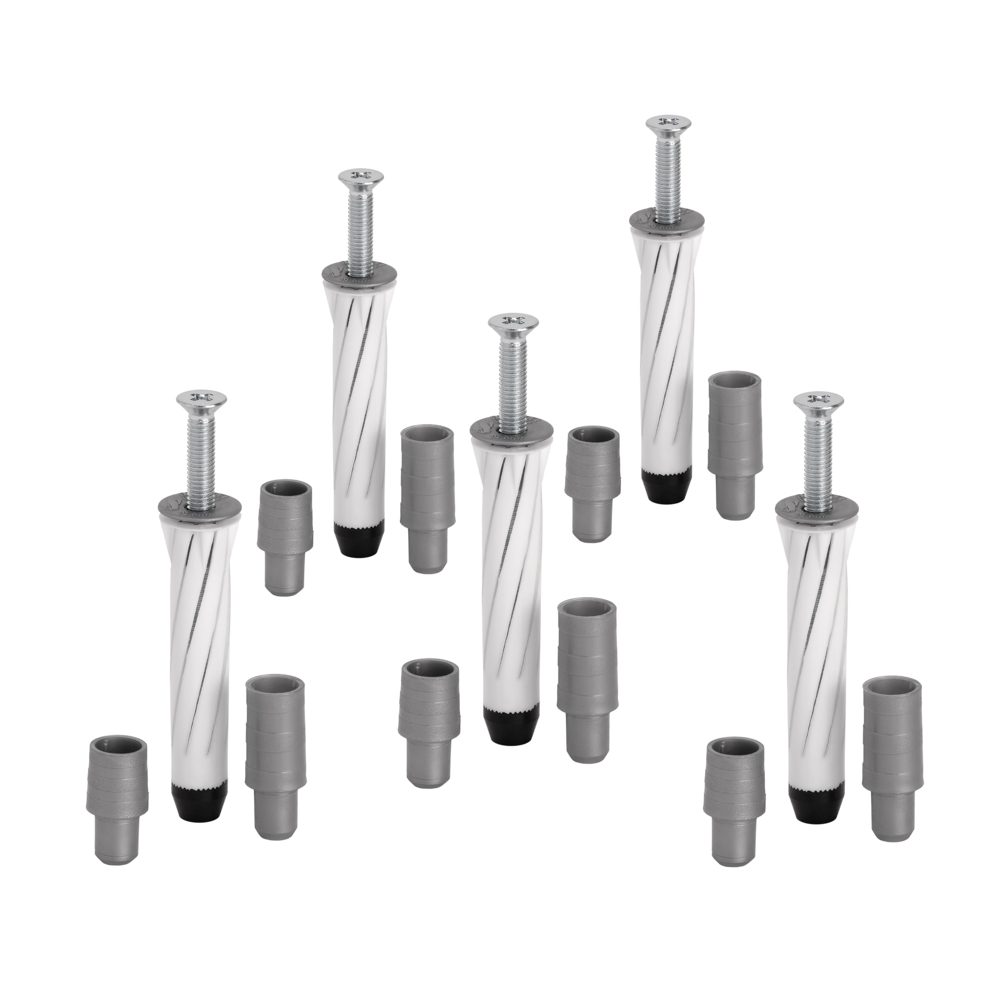
Step 3-4: Place the pins into the bracket – the short pin for the front of the bracket and the longer pin for the rear part of the bracket. The “tower” on the pins should lean towards the back of the bracket. Turn the bracket and use a firm support in order to be able to attach the plug onto the pin. The “plate” of the pin should be level with the upper part of the bracket when assembled correctly.
Step 5: Attach the brackets. Make sure that the are placed in the corresponding slots. A tip is to place the brackets so they cover the screw holes in the wallband. Mount the shelves, so that they click onto the bracket pins.
Step 6: Your shelving solution is ready!
Recommended price (Prices may vary between retailers)
98,90
Create a bookshelf with ease using our shelving plug-in kit solution, complete with wallbands, brackets, plugs and pre-plugged melamine shelves. The patented plug-in technology and the hole pattern in the wallbands makes installation easy. Detailed step-by-step assembly instructions are included in the kit.
Ideal for creating a beautiful and functional 3-tiered bookshelf., Simple installation with easy plug-in components., Includes all necessary components for assembly.
Create a bookshelf with ease using our shelving plug-in kit solution, complete with wallbands, brackets, plugs and pre-plugged melamine shelves. The patented plug-in technology and the hole pattern in the wallbands makes installation easy. Detailed step-by-step assembly instructions are included in the kit.
A grab-and-go kit solution that contains all you need to create a 3-shelf bookshelf solution. The kit is easy to install correctly, thanks to the plug-in technology and the hole pattern in the wallbands.
2 metal colours:
White, close to NCS S 0300-N, gloss around 85
“Graphite”, a unique finish close to NCS S 8000-N, gloss around 50
Note: as our finishes are metallic/mixed powder, the NCS codes/gloss aren’t exact.
Planning rules
<
Planning rules
Can be planned onto any space on an open wall. Be sure to plan the solution so that it doesn't create an obstacle when you are moving past it.
The kit includes all you need, except screw/plug hardware.
Possible to add book support.
Safety and care
<
Safety and care
Safety
Maximum load capacity per section: 200 kg (Classic by Elfa, click-in top-hung system) and 240 kg (Garage+/Décor+).
Avoid overloading individual storage components and distribute the weight evenly across the system. Different products have different recommended maximum load capacities. For more information, please refer to the Product Information section for each product, as well as Measure & Plan.
Before installation, check the wall material and condition. Elfa's product range is generally designed for normal use in residential indoor environments.
Care
Wipe clean with a cloth dampered with a mild cleaner. Wipe dry with a clean cloth.
Assembly Instructions
<
Assembly Instructions
Assembly instruction: Shelving system plug-in 700mm
Mounting instruction: Shelving system Plug-in
You need the following to assemble: Screwdriver/drilling machine, leveller.
Step 1: Position the first wallband. Make sure that the wallband is straight and mark the screw holes. Fasten the wallband in the upper screw hole, but do not tighten too hard.
Step 2: Rotate the wallband 90 degrees upward, using it as a “spacer”, to get the correct positioning for the other screw holes. In this way it’s very easy to get, and verify, a correct ‘square’ on the wall. Once you have secured that the wallbands are level, attach both wallbands to the wall with adequate screws.
Step 3-4: Place the pins into the bracket – the short pin for the front of the bracket and the longer pin for the rear part of the bracket. The “tower” on the pins should lean towards the back of the bracket. Turn the bracket and use a firm support in order to be able to attach the plug onto the pin. The “plate” of the pin should be level with the upper part of the bracket when assembled correctly.
Step 5: Attach the brackets. Make sure that the are placed in the corresponding slots. A tip is to place the brackets so they cover the screw holes in the wallband. Mount the shelves, so that they click onto the bracket pins.
Step 6: Your shelving solution is ready!