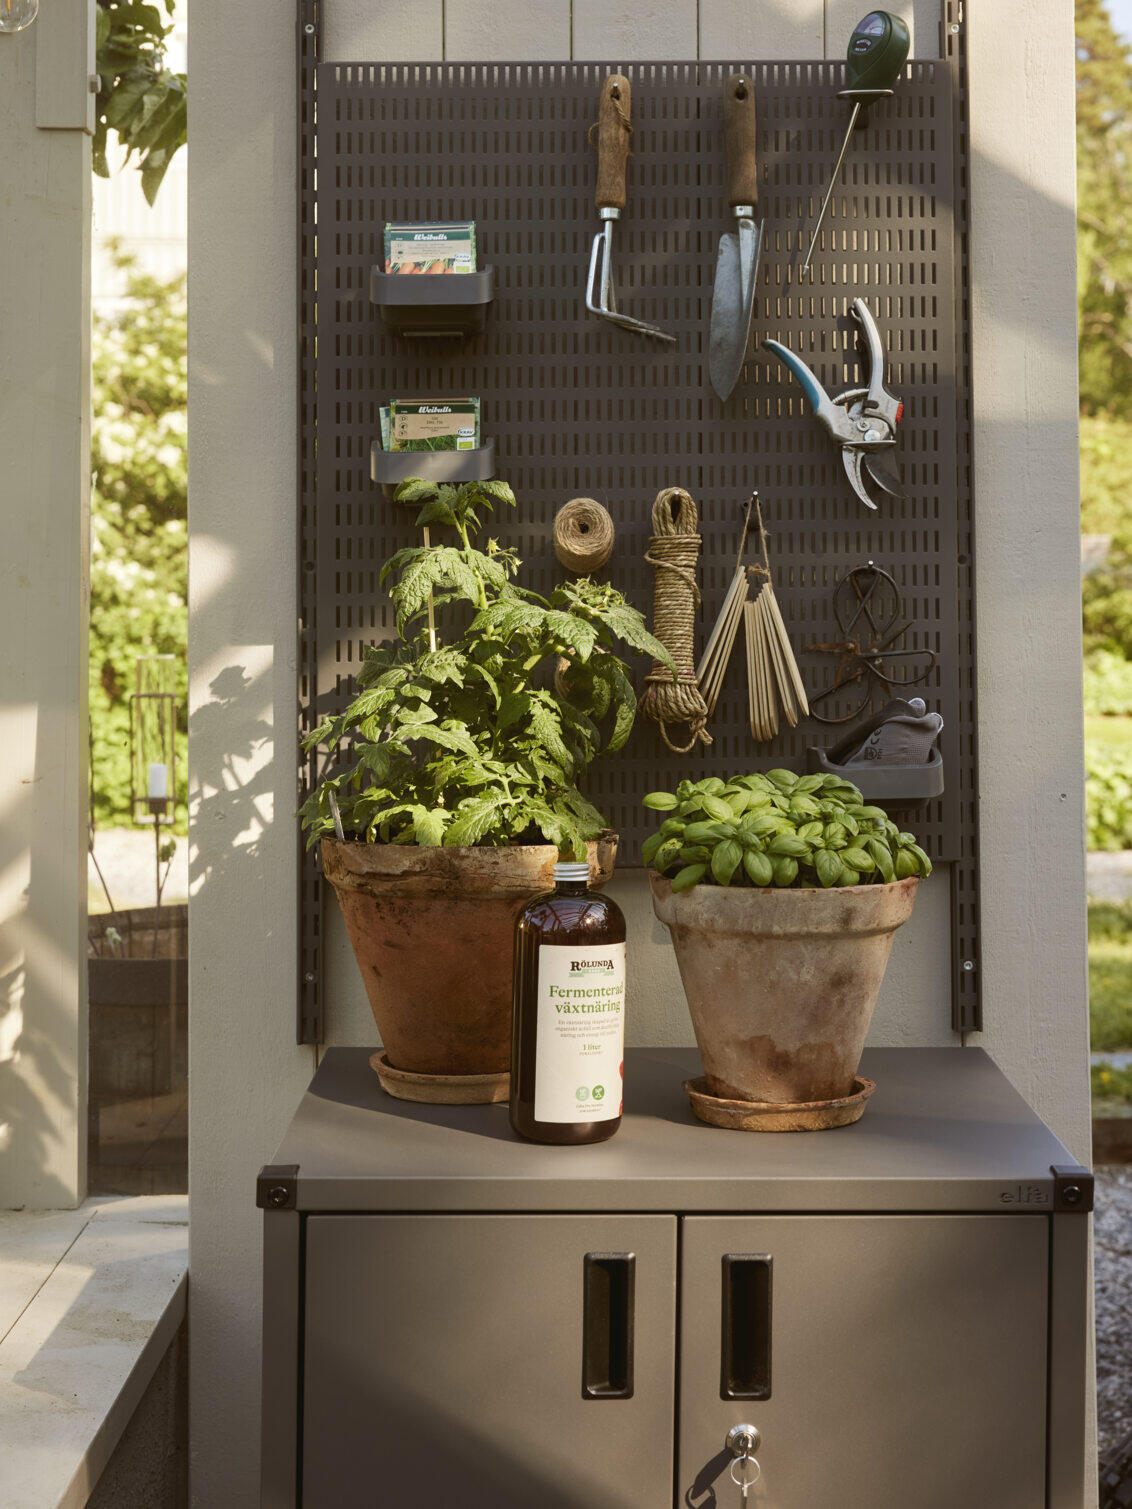
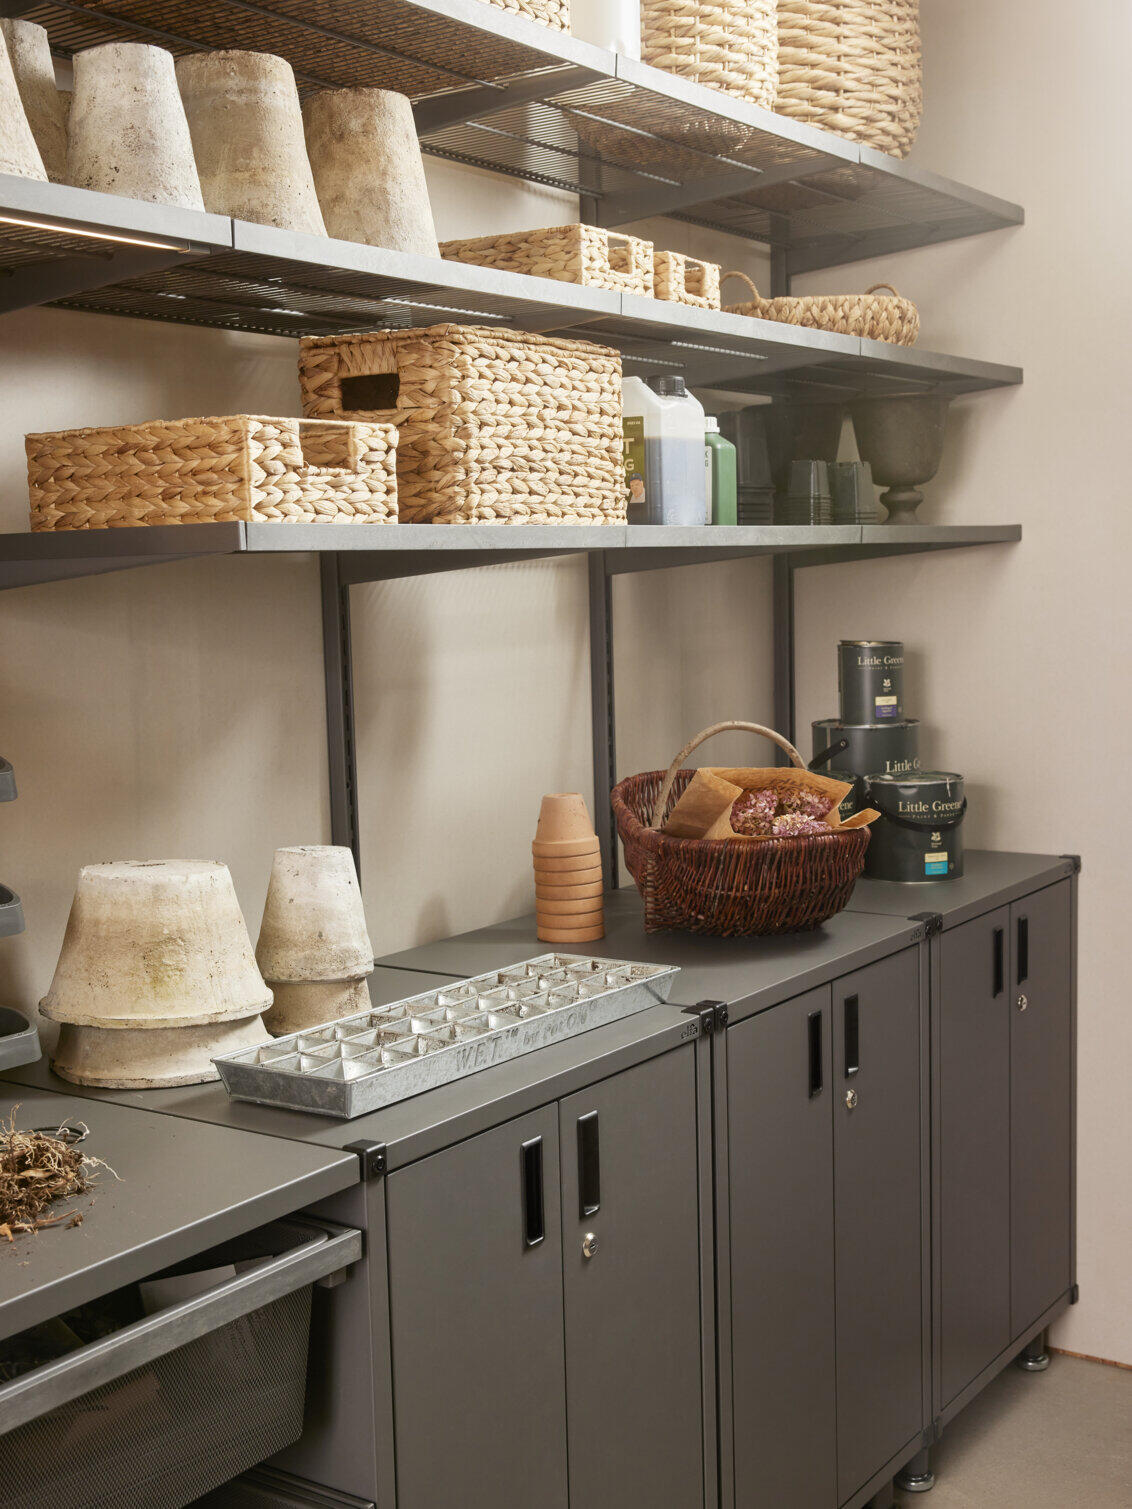
Storage inspiration for every room – with smart solutions that combine style and function. Create a home where every surface becomes a storage opportunity.
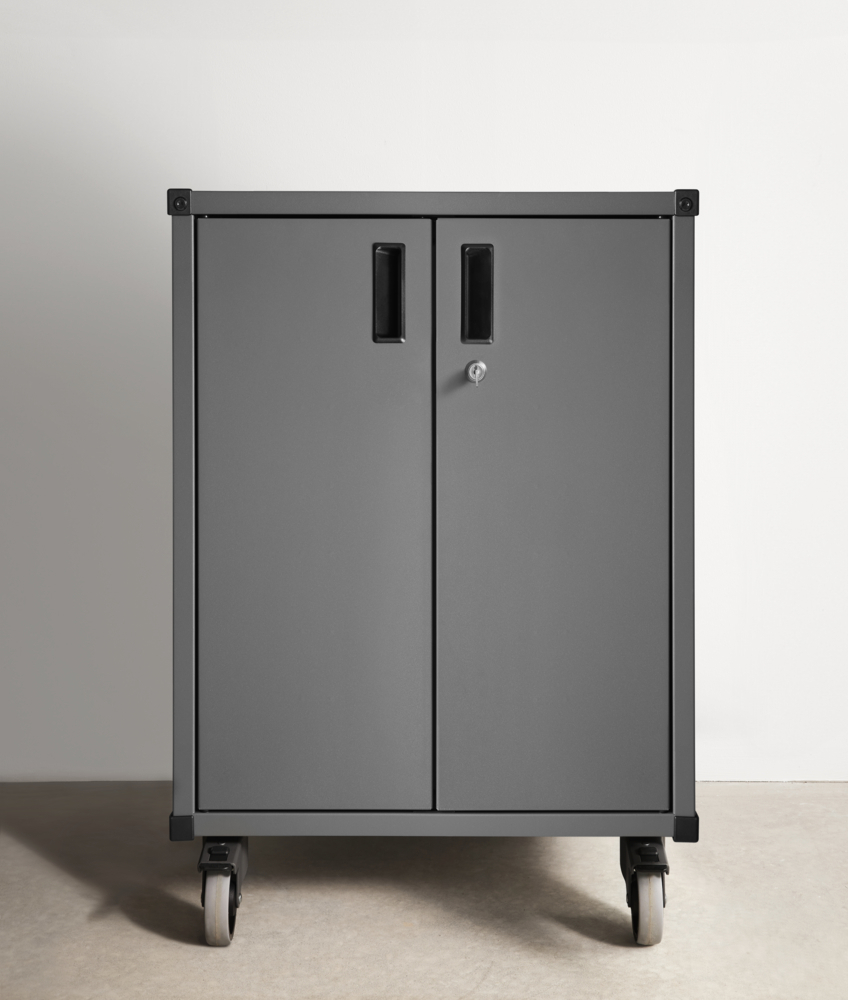
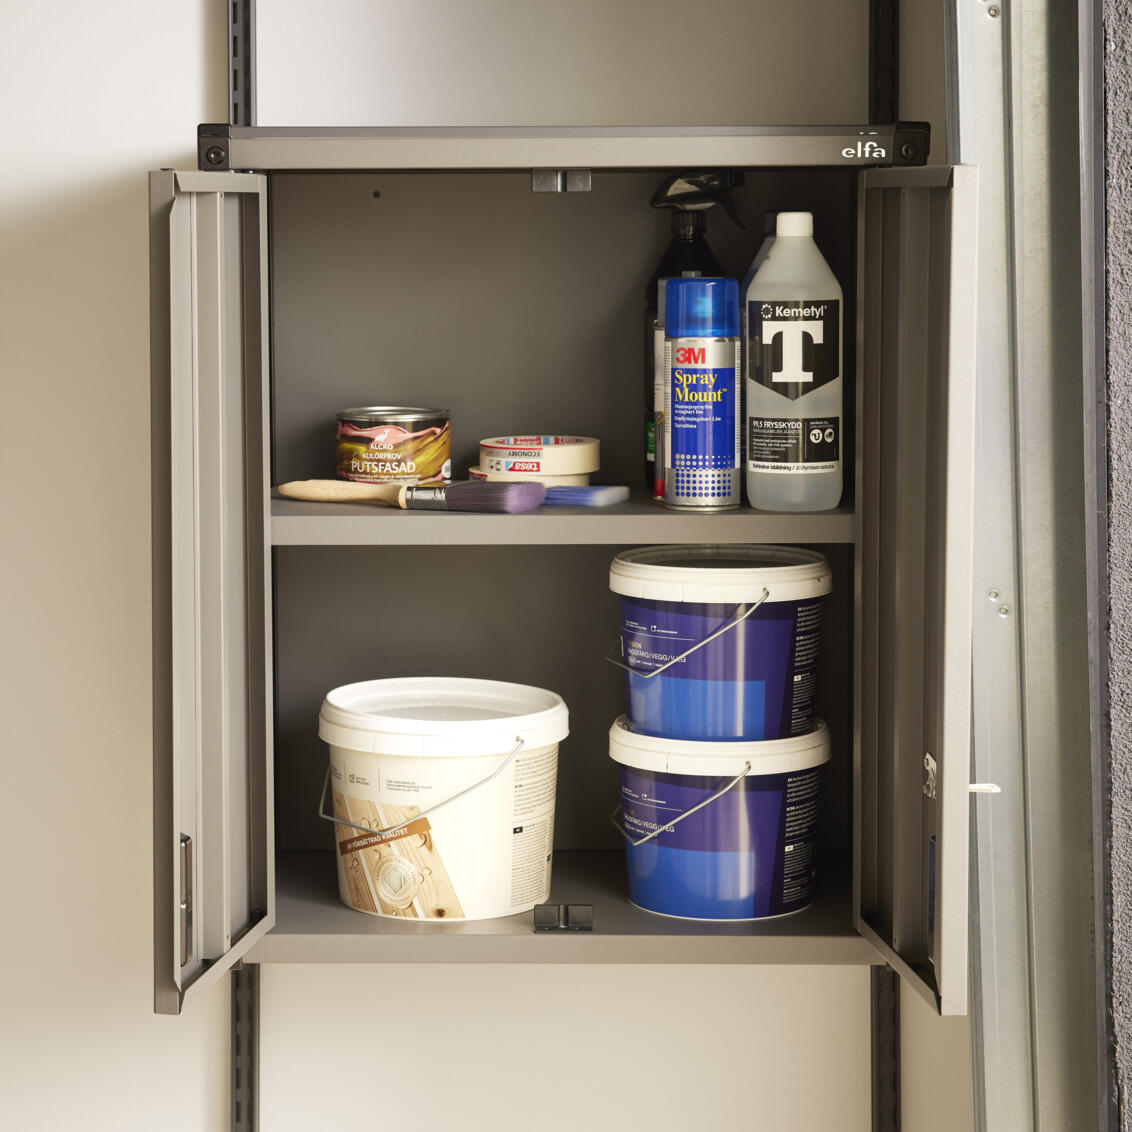
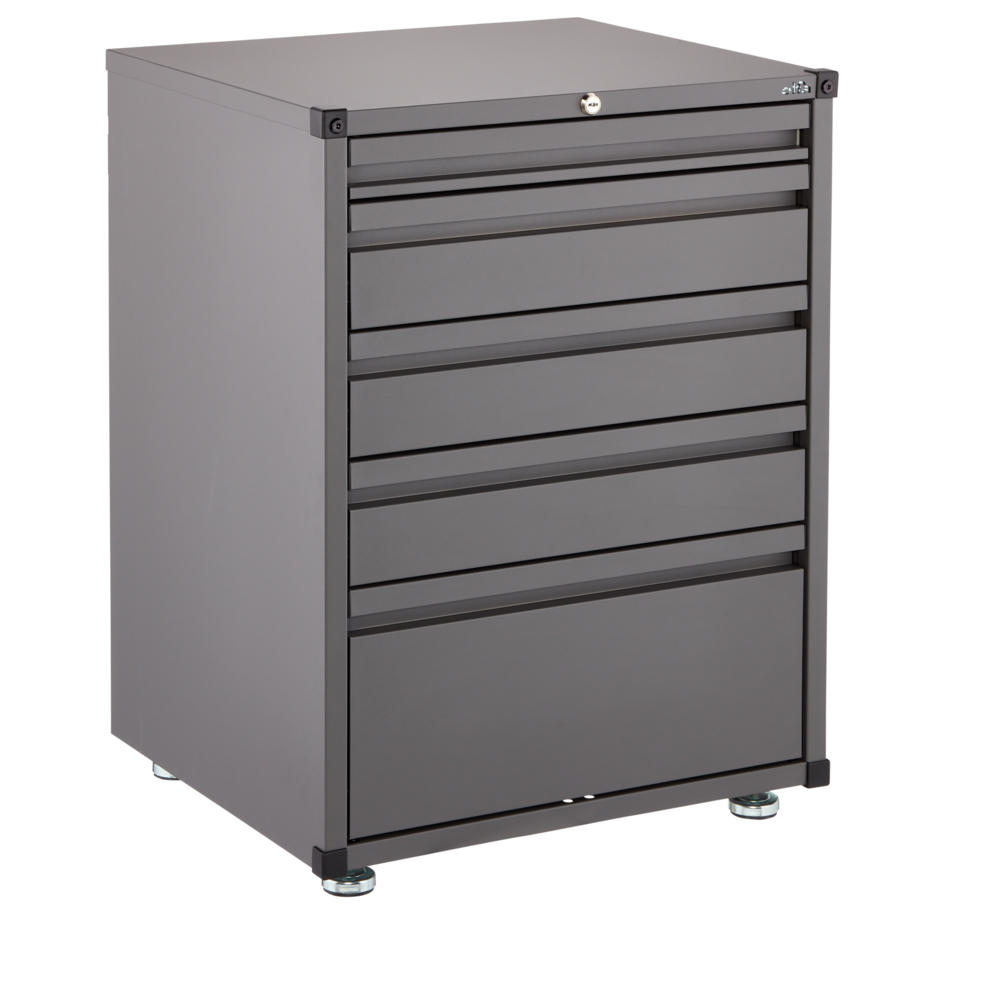
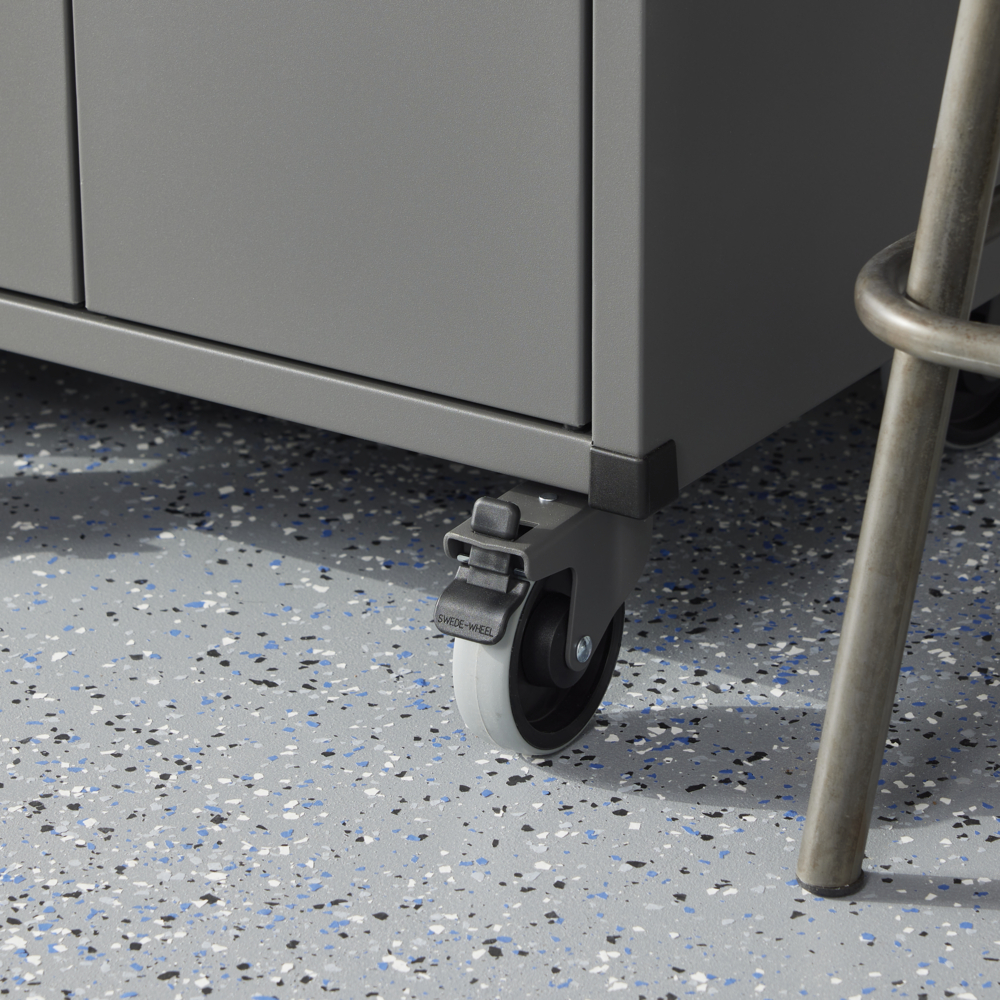
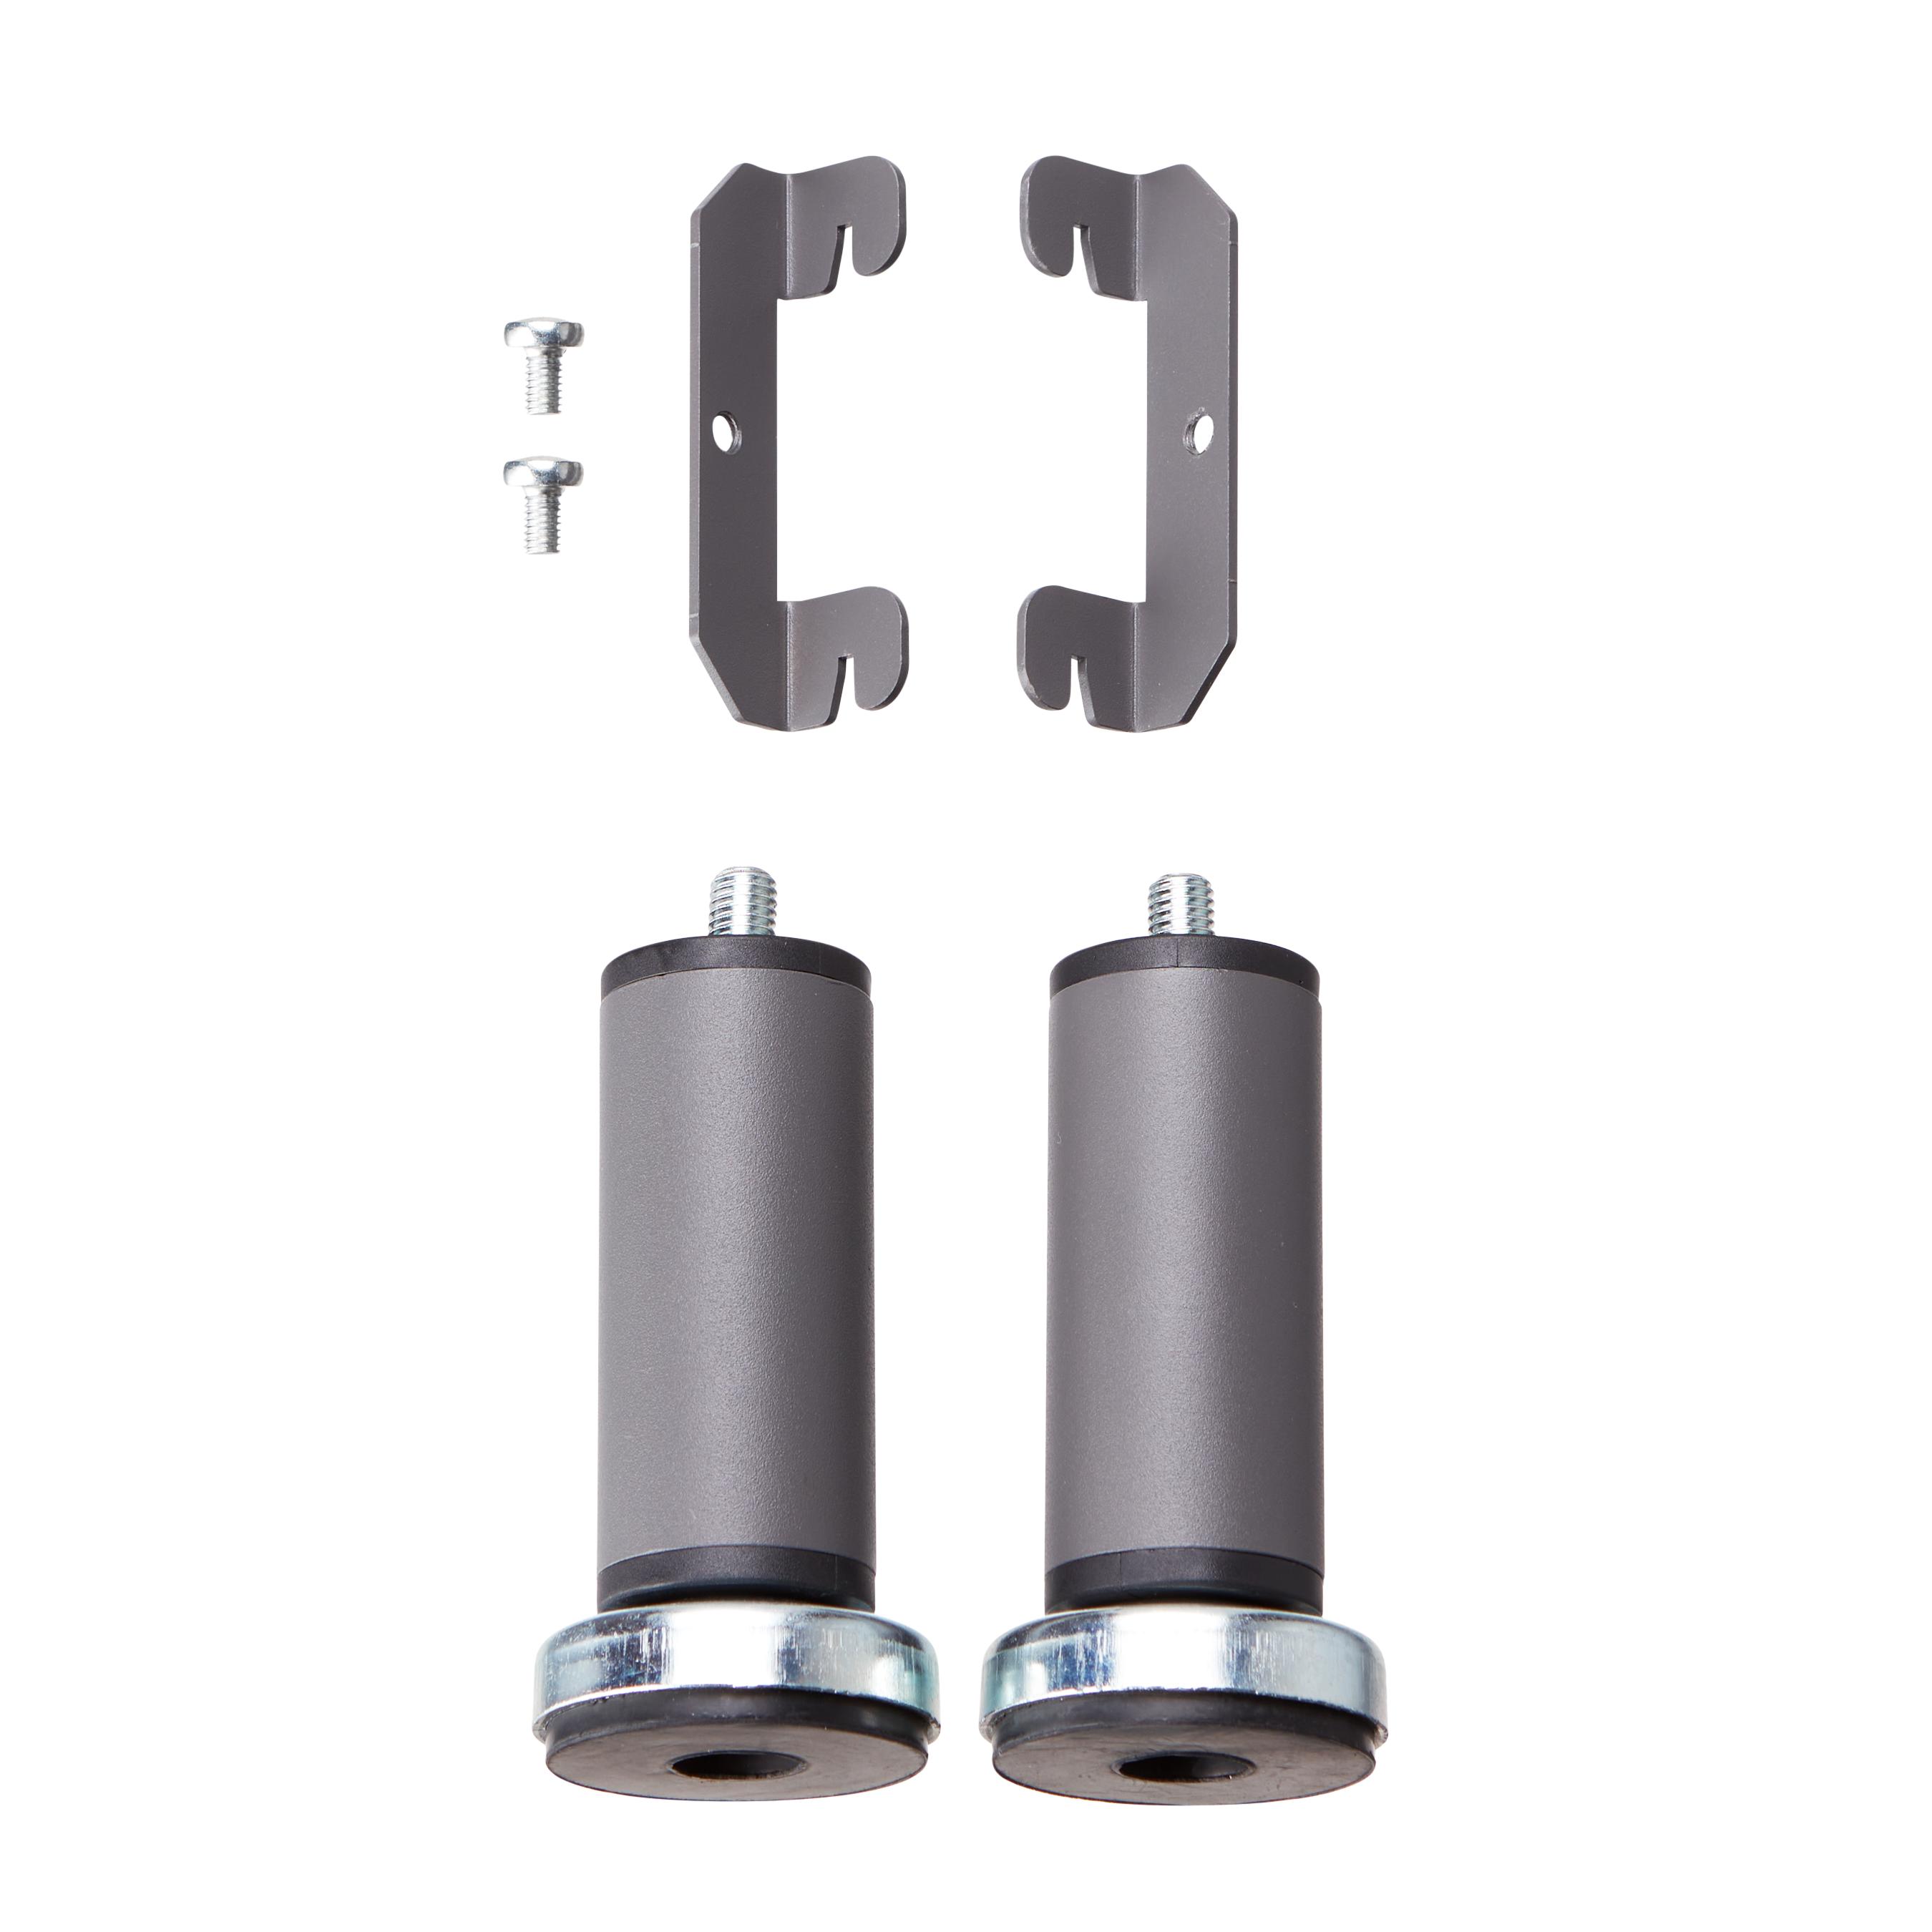
Elevate your storage with the robust steel lower cabinet featuring corner protection in PP-plastic. Mount it in Garage+ standards using the cabinet standard mounting kit or have it freestanding with adjustable feet or casters. This kit contains frame, cabinet doors and two shelves for a versatile and organized space.
A kit for creating a lower cabinet. Mounts in a Garage+ standard using the cabinet standard mounting kit or can be placed freestanding with adjustable feet or casters. This kit contains frame, cabinet doors and two shelves
Components in high-quality steel.
Planning rules
<
Planning rules
IMPORTANT: This cabinet must be installed securely according to the selected configuration. If the cabinet is wall-mounted, the hang standards must be properly anchored. Always ensure that screws and wall plugs are suitable for your specific wall type (plasterboard, concrete, or wood).
Before you begin: Make sure all hardware is included. Also find a flat surface for assembly where neither the cabinet nor the floor can be damaged (preferably assemble on a mat or on the cardboard packaging the cabinet was delivered in).
Choose installation method:
A. Elfa system (top track + hang standards)
When using the Elfa system: The standards must be installed with an exact 600 mm C/C spacing (center to center). Fasten the standards through the uppermost holes so they cannot be lifted or slide.
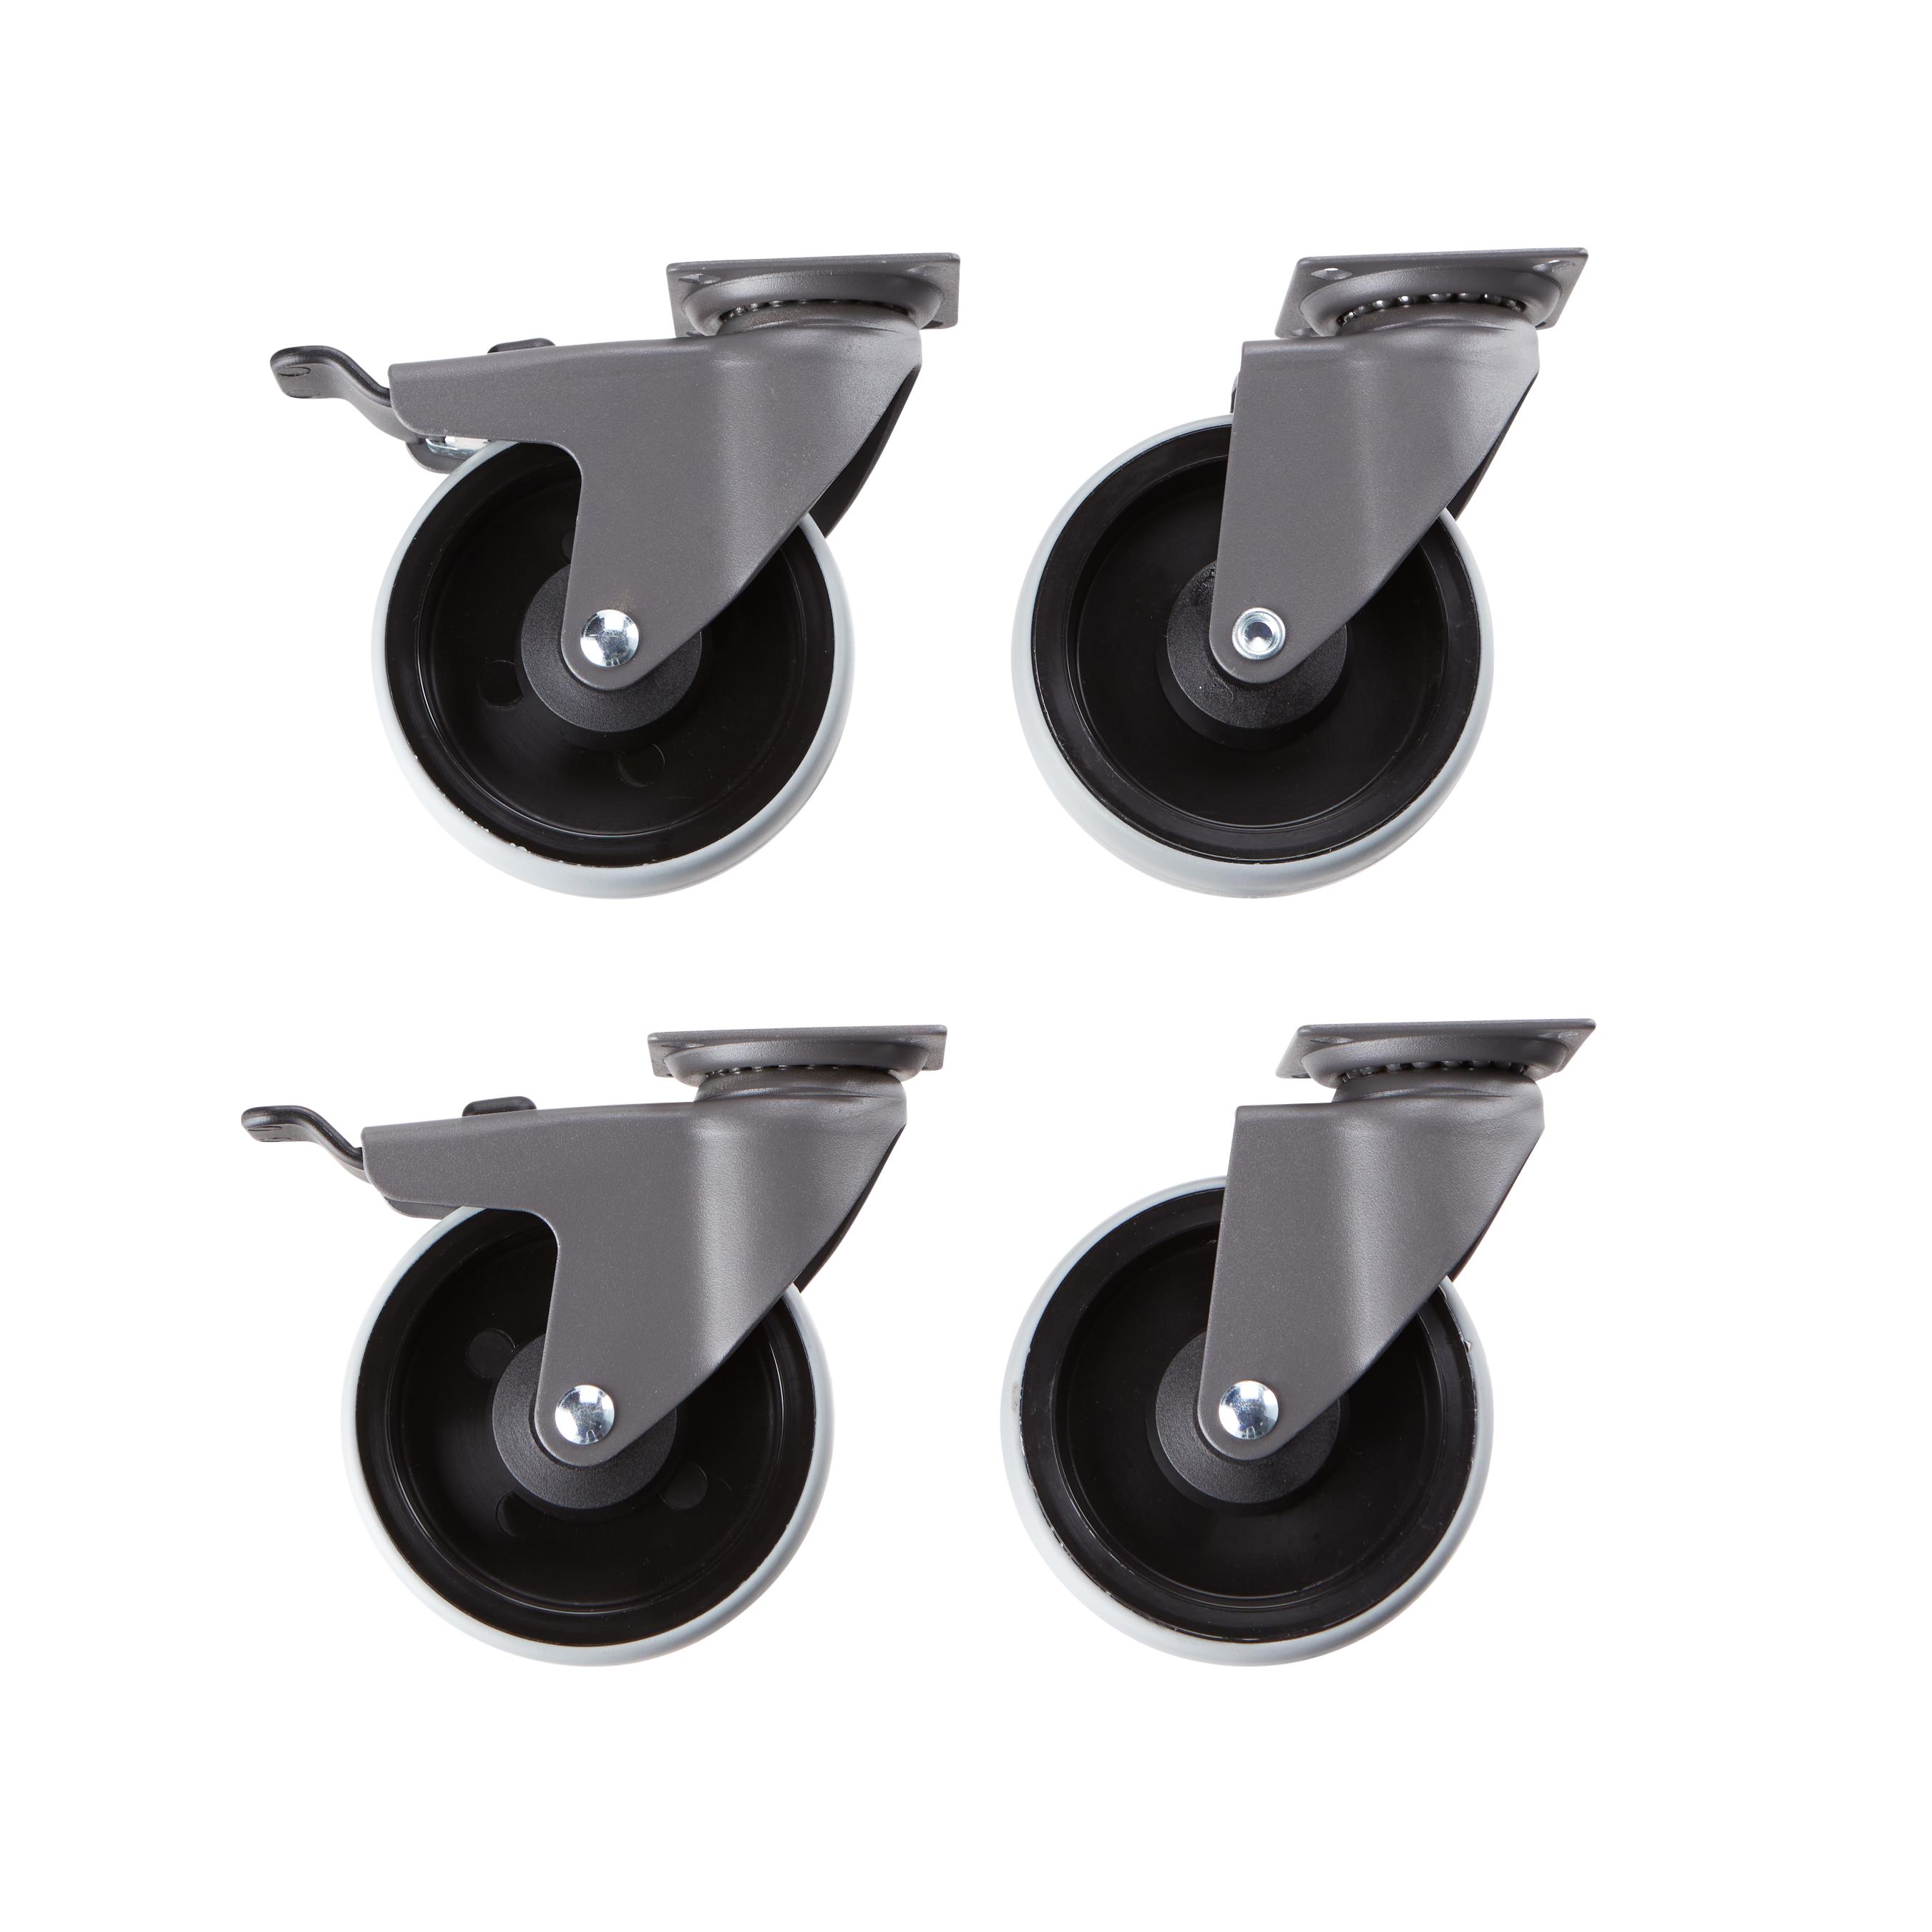
B. Freestanding with casters (sold separately)
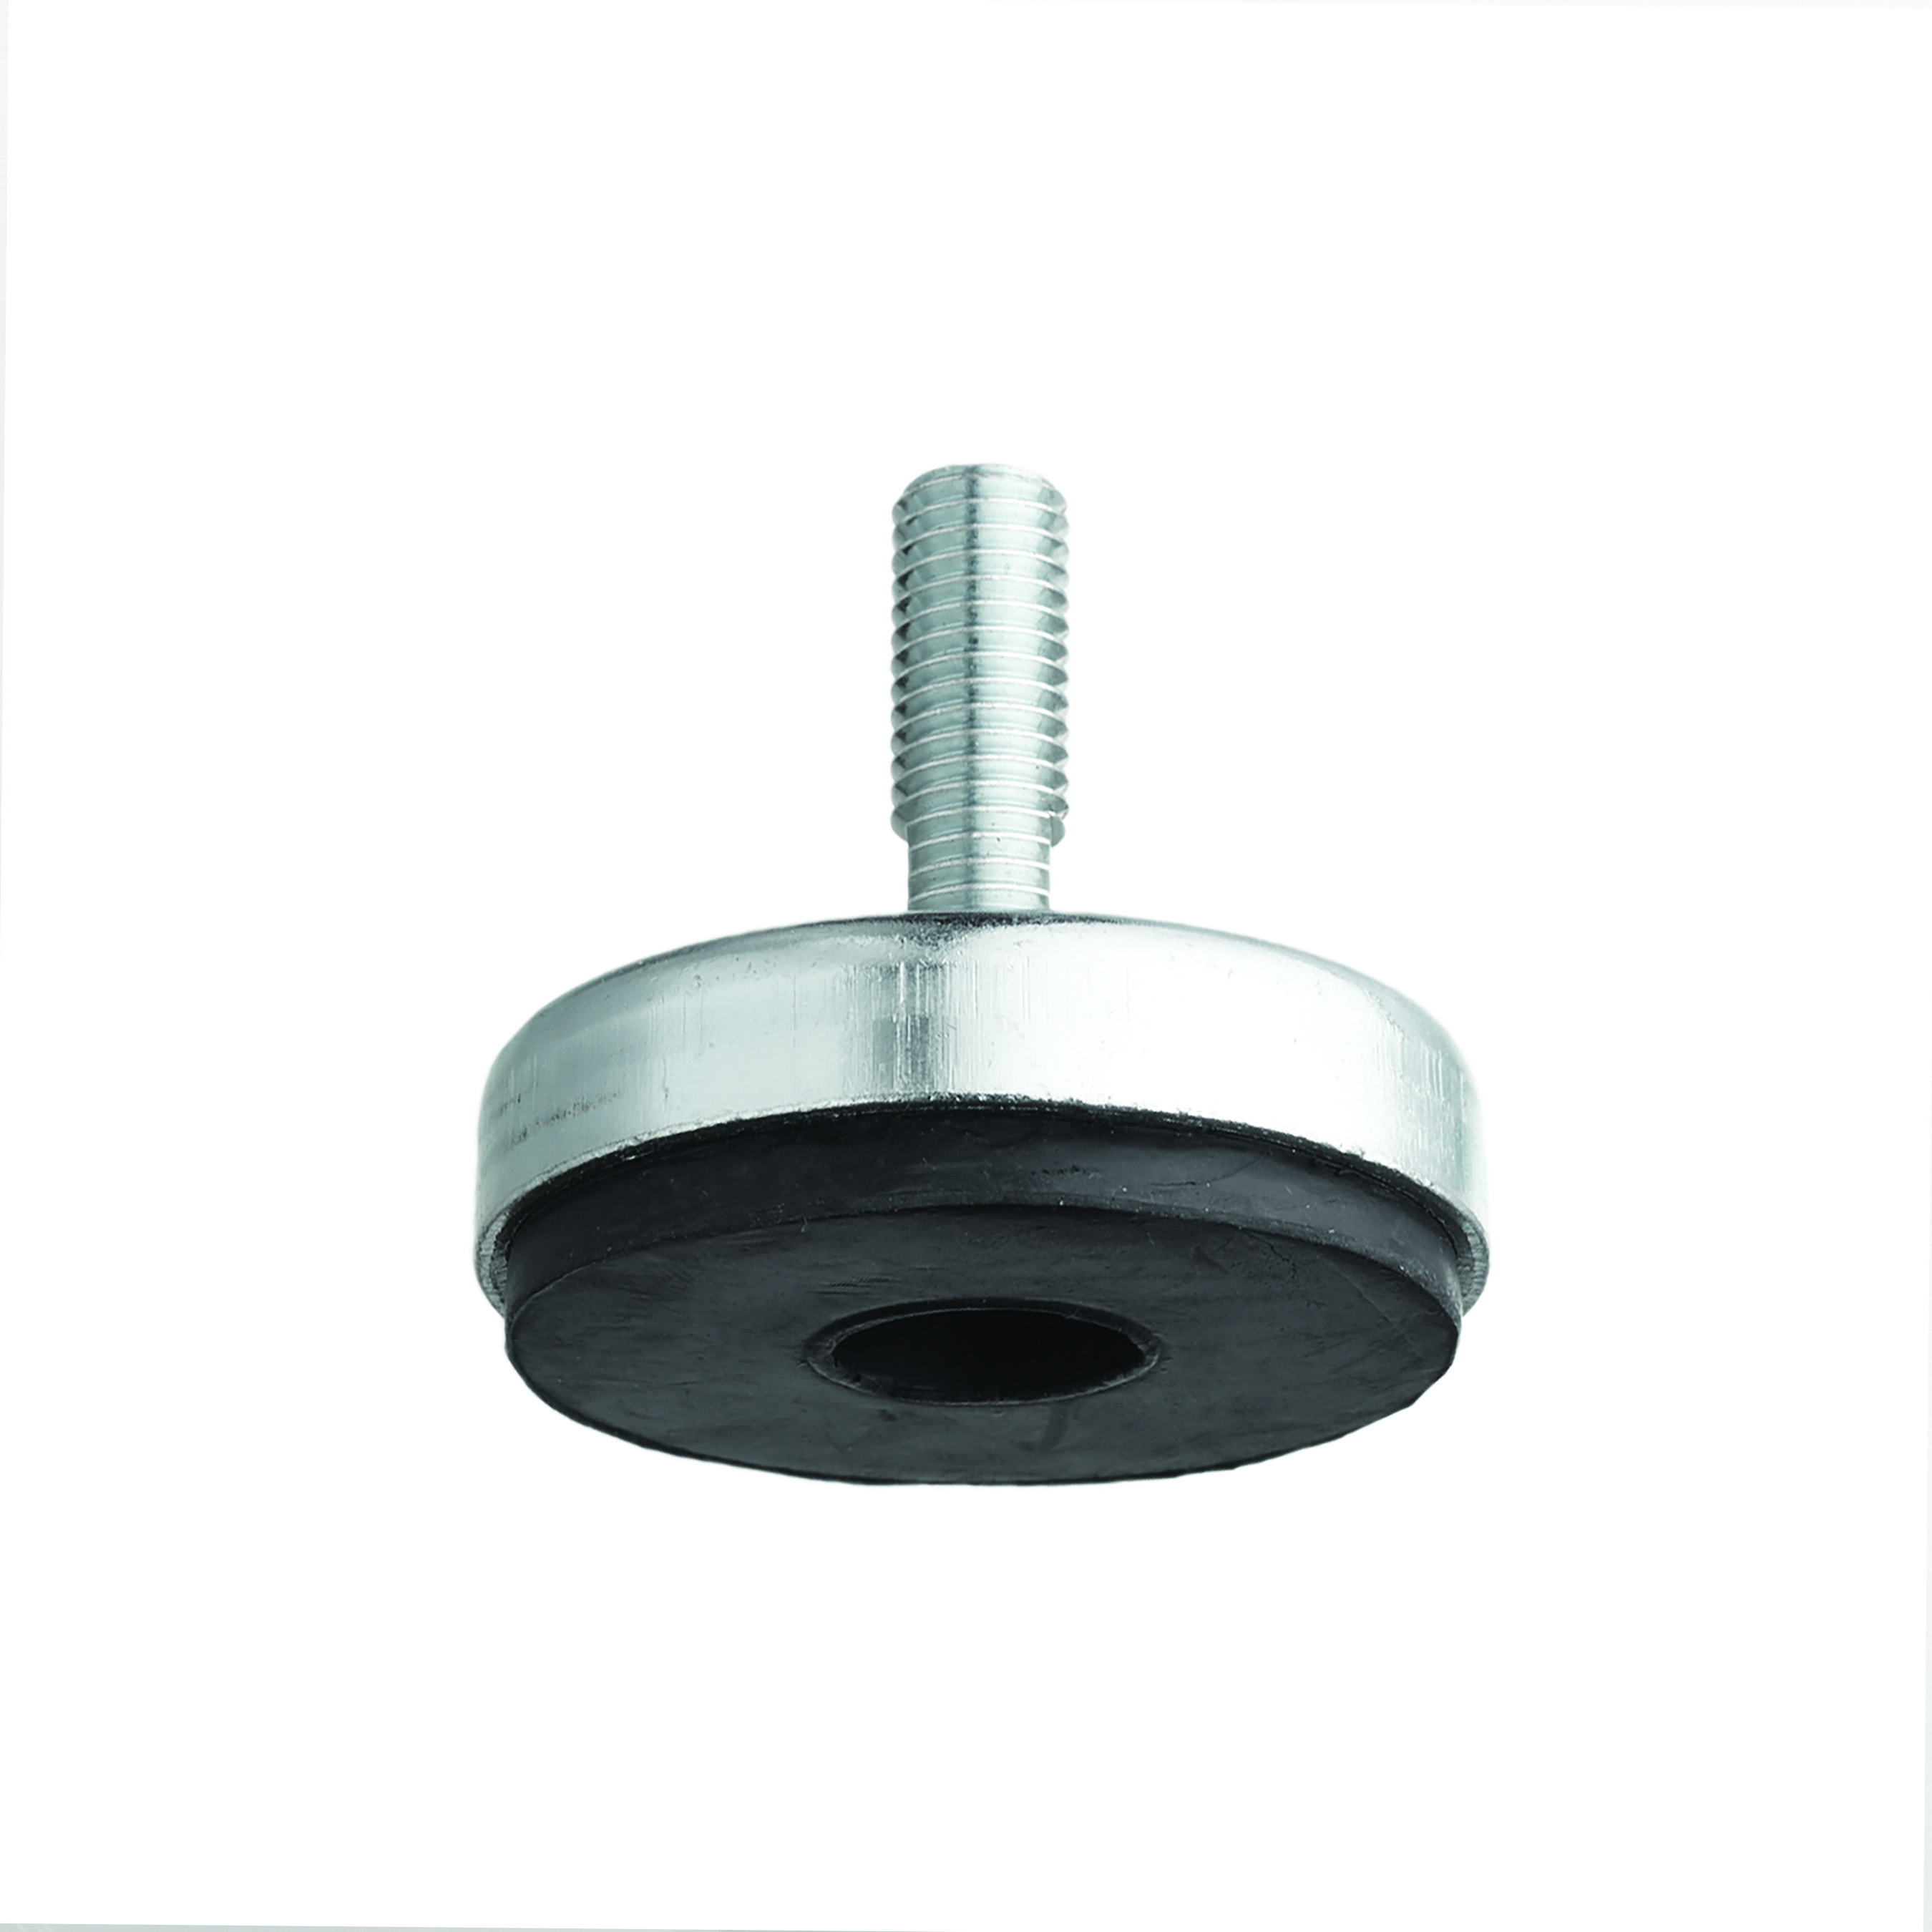
C. Freestanding with adjustable feet (sold separately)
Cabinet frame assembly (common to all methods)
Step 1: Base & Brackets
Note the orientation of the cabinet base. Place the lower left and right corner brackets into the grooves of the base panel.
Step 2: Side Panels
Fasten the left and right side panels to the cabinet base using 2 screws (B).
Step 3: Lower Corner Covers
Attach corner covers BL (left) and BR (right) to the side panels using 2 screws (B). Note the direction of the notches.
Step 4: Back Panel
Position the back panel on the unit and secure it to the top edge of the side panels using 2 screws (C).
Step 5: Cabinet Top
Stand the unit upright. Place the corner brackets under the cabinet top (check the groove direction in the brackets) and position the top.
Step 6: Upper Corner Covers
Install corner covers TL (left) and TR (right) on the cabinet top using 2 screws (B).
Step 7: Locking
Lay the cabinet down with the back facing upward. Secure the back panel and the top firmly using 8 screws (C).
Step 8: Details
Stand the cabinet upright. Press 4 hole plugs (D) into the top and bottom. Fasten the door stops (A) to both the top and bottom.
Choose your installation method
Option A: Installation in Elfa system (Hang standards)
Step 1: Hang fittings
Press the left and right hang fittings into the side panels and secure them to the back panel using 2 screws (E). The hooks must protrude through the back of the cabinet.
Step 2: Support feet
Lay the cabinet on its back and attach 2 support feet to the front edge of the cabinet.
Step 3: Hanging
Lift the cabinet and angle the hooks into the inner track of the hang standards.
NOTE: The standards must be securely fixed to the wall beforehand.
Step 4: Adjustment
Adjust the support feet so they rest firmly on the floor and relieve the load.
Option B: Freestanding with casters
Step 1: Rear casters
Lay the cabinet on its back. Attach 2 casters to the rear using 8 screws.
Step 2: Front casters
Attach 2 lockable casters to the front using 8 screws.
Step 3: Positioning
Carefully stand the cabinet upright. The lockable casters should be positioned at the front for easy access.
Option C: Freestanding with adjustable feet
Step 1: Installation
Lay the cabinet on its back and install 4 adjustable feet in the base.
Step 2: Leveling
Stand the cabinet upright and adjust the feet individually until the cabinet is completely level.
Interior and doors
Shelves:
Insert the 8 shelf supports diagonally into the grooves of the side panels at the same height. Place the shelf on top and press down firmly until it locks into place.
Doors:
Start with the left door. Insert the lower pin into the hole, press down the spring-loaded upper pin, and guide it into the upper hole. Repeat for the right door.
Finish:
Check that the doors hit the door stops correctly and that the cabinet feels stable. Attach the handles.
Safety and care
<
Safety and care
Safety
Maximum load capacity per section: 200 kg (Classic by Elfa, click-in top-hung system) and 240 kg (Garage+/Décor+).
Avoid overloading individual storage components and distribute the weight evenly across the system. Different products have different recommended maximum load capacities. For more information, please refer to the Product Information section for each product, as well as Measure & Plan.
Before installation, check the wall material and condition. Elfa's product range is generally designed for normal use in residential indoor environments.
Care
Wipe clean with a cloth dampered with a mild cleaner. Wipe dry with a clean cloth.
Assembly Instructions
<
Assembly Instructions
IMPORTANT: This storage cabinet must be securely installed according to the chosen configuration. If the storage cabinet is wall‑mounted, the hang standards must be properly anchored. Always ensure that screws and wall plugs are suitable for your specific wall type (drywall, concrete, or wood).
Before you begin:
Check that all mounting hardware is included. Also find a flat surface for assembly where neither the storage cabinet nor the floor can be damaged (preferably assemble on a mat or on the cardboard packaging the storage cabinet was delivered in).
Choose installation method:
A. Elfa system (top track + hang standards)
When using the Elfa system: The hang standards must be installed with an exact 600 mm center‑to‑center spacing. Secure the hang standards through the top holes so they cannot be lifted or slide.
B. Freestanding with casters (sold separately)
C. Freestanding with adjustable feet (sold separately)
Assembly of storage cabinet frame (applies to all methods)
Step 1: Base & brackets
Note the orientation of the storage cabinet base. Place the lower left and right corner brackets into the slots on the base panel.
Step 2: Side panels
Attach the left and right side panels to the base of the storage cabinet using 2 screws (B).
Step 3: Lower corner protectors
Install corner protectors BL (left) and BR (right) onto the side panels using 2 screws (B). Note the direction of the cut‑outs.
Step 4: Back panel
Position the back panel on the unit and fasten it to the top of the side panels using 2 screws (C).
Step 5: Storage cabinet top
Stand the unit upright. Place the corner brackets under the storage cabinet top (check the slot direction in the brackets) and position the top.
Step 6: Upper corner protectors
Install corner protectors TL (left) and TR (right) on the storage cabinet top using 2 screws (B).
Step 7: Securing
Lay the storage cabinet down with the back facing up. Secure the back panel and the top firmly using 8 screws (C).
Step 8: Details
Stand the storage cabinet upright. Press in 4 hole plugs (D) into the top and bottom. Attach the door stops (A) at both the top and bottom.
Choose installation method
Option A: Installation in Elfa system (hang standards)
Step 1: Hanging brackets
Press the left and right hanging brackets into the side panels and fasten them to the back panel using 2 screws (E). The ends of the hooks must protrude through the back of the storage cabinet.
Step 2: Support feet
Lay the storage cabinet on its back and install 2 support feet along the front edge of the cabinet.
Step 3: Hanging
Lift the storage cabinet and angle the hooks into the inner profile of the hang standards.
NOTE: The hang standards must be securely fastened to the wall in advance.
Step 4: Adjustment
Adjust the support feet so they rest firmly on the floor and relieve the load.
Option B: Freestanding with casters
Step 1: Rear casters
Lay the storage cabinet on its back. Install 2 casters at the rear using 8 screws.
Step 2: Front casters
Install 2 lockable casters at the front using 8 screws.
Step 3: Positioning
Carefully stand the storage cabinet upright. The lockable casters should be positioned at the front for easy access.
Option C: Freestanding with adjustable feet
Step 1: Installation
Lay the storage cabinet on its back and install 4 adjustable feet in the base.
Step 2: Leveling
Stand the storage cabinet upright and adjust the feet individually until the cabinet is completely level.
Interior fittings and doors
Shelves:
Insert the 8 shelf supports diagonally into the slots in the side panels at the same height. Place the shelf on top and press down firmly until it locks into place.
Doors:
Start with the left door. Insert the lower pin into the hole, press down the spring‑loaded upper pin, and insert it into the upper hole. Repeat for the right door.
Final check:
Ensure the doors make proper contact with the door stops and that the storage cabinet feels stable. Install the handles.
Recommended price (Prices may vary between retailers)
472,80
Elevate your storage with the robust steel lower cabinet featuring corner protection in PP-plastic. Mount it in Garage+ standards using the cabinet standard mounting kit or have it freestanding with adjustable feet or casters. This kit contains frame, cabinet doors and two shelves for a versatile and organized space.
A comprehensive lower cabinet kit, including frame, doors and two shelves for an organized space., Robust steel construction with PP-plastic corner protection., Can mounted in Garage+ standards or be freestanding with adjustable feet or casters.
Color
Size
Width: 605 mm Depth: 531 mm
<
Select size
Width (mm): 605
Depth (mm): 531
Height: 767
472,80
Specification
<
Specification
Elevate your storage with the robust steel lower cabinet featuring corner protection in PP-plastic. Mount it in Garage+ standards using the cabinet standard mounting kit or have it freestanding with adjustable feet or casters. This kit contains frame, cabinet doors and two shelves for a versatile and organized space.
A kit for creating a lower cabinet. Mounts in a Garage+ standard using the cabinet standard mounting kit or can be placed freestanding with adjustable feet or casters. This kit contains frame, cabinet doors and two shelves
Components in high-quality steel.
Planning rules
<
Planning rules
IMPORTANT: This cabinet must be installed securely according to the selected configuration. If the cabinet is wall-mounted, the hang standards must be properly anchored. Always ensure that screws and wall plugs are suitable for your specific wall type (plasterboard, concrete, or wood).
Before you begin: Make sure all hardware is included. Also find a flat surface for assembly where neither the cabinet nor the floor can be damaged (preferably assemble on a mat or on the cardboard packaging the cabinet was delivered in).
Choose installation method:
A. Elfa system (top track + hang standards)
When using the Elfa system: The standards must be installed with an exact 600 mm C/C spacing (center to center). Fasten the standards through the uppermost holes so they cannot be lifted or slide.
B. Freestanding with casters (sold separately)
C. Freestanding with adjustable feet (sold separately)
Cabinet frame assembly (common to all methods)
Step 1: Base & Brackets
Note the orientation of the cabinet base. Place the lower left and right corner brackets into the grooves of the base panel.
Step 2: Side Panels
Fasten the left and right side panels to the cabinet base using 2 screws (B).
Step 3: Lower Corner Covers
Attach corner covers BL (left) and BR (right) to the side panels using 2 screws (B). Note the direction of the notches.
Step 4: Back Panel
Position the back panel on the unit and secure it to the top edge of the side panels using 2 screws (C).
Step 5: Cabinet Top
Stand the unit upright. Place the corner brackets under the cabinet top (check the groove direction in the brackets) and position the top.
Step 6: Upper Corner Covers
Install corner covers TL (left) and TR (right) on the cabinet top using 2 screws (B).
Step 7: Locking
Lay the cabinet down with the back facing upward. Secure the back panel and the top firmly using 8 screws (C).
Step 8: Details
Stand the cabinet upright. Press 4 hole plugs (D) into the top and bottom. Fasten the door stops (A) to both the top and bottom.
Choose your installation method
Option A: Installation in Elfa system (Hang standards)
Step 1: Hang fittings
Press the left and right hang fittings into the side panels and secure them to the back panel using 2 screws (E). The hooks must protrude through the back of the cabinet.
Step 2: Support feet
Lay the cabinet on its back and attach 2 support feet to the front edge of the cabinet.
Step 3: Hanging
Lift the cabinet and angle the hooks into the inner track of the hang standards.
NOTE: The standards must be securely fixed to the wall beforehand.
Step 4: Adjustment
Adjust the support feet so they rest firmly on the floor and relieve the load.
Option B: Freestanding with casters
Step 1: Rear casters
Lay the cabinet on its back. Attach 2 casters to the rear using 8 screws.
Step 2: Front casters
Attach 2 lockable casters to the front using 8 screws.
Step 3: Positioning
Carefully stand the cabinet upright. The lockable casters should be positioned at the front for easy access.
Option C: Freestanding with adjustable feet
Step 1: Installation
Lay the cabinet on its back and install 4 adjustable feet in the base.
Step 2: Leveling
Stand the cabinet upright and adjust the feet individually until the cabinet is completely level.
Interior and doors
Shelves:
Insert the 8 shelf supports diagonally into the grooves of the side panels at the same height. Place the shelf on top and press down firmly until it locks into place.
Doors:
Start with the left door. Insert the lower pin into the hole, press down the spring-loaded upper pin, and guide it into the upper hole. Repeat for the right door.
Finish:
Check that the doors hit the door stops correctly and that the cabinet feels stable. Attach the handles.
Safety and care
<
Safety and care
Safety
Maximum load capacity per section: 200 kg (Classic by Elfa, click-in top-hung system) and 240 kg (Garage+/Décor+).
Avoid overloading individual storage components and distribute the weight evenly across the system. Different products have different recommended maximum load capacities. For more information, please refer to the Product Information section for each product, as well as Measure & Plan.
Before installation, check the wall material and condition. Elfa's product range is generally designed for normal use in residential indoor environments.
Care
Wipe clean with a cloth dampered with a mild cleaner. Wipe dry with a clean cloth.
Assembly Instructions
<
Assembly Instructions
IMPORTANT: This storage cabinet must be securely installed according to the chosen configuration. If the storage cabinet is wall‑mounted, the hang standards must be properly anchored. Always ensure that screws and wall plugs are suitable for your specific wall type (drywall, concrete, or wood).
Before you begin:
Check that all mounting hardware is included. Also find a flat surface for assembly where neither the storage cabinet nor the floor can be damaged (preferably assemble on a mat or on the cardboard packaging the storage cabinet was delivered in).
Choose installation method:
A. Elfa system (top track + hang standards)
When using the Elfa system: The hang standards must be installed with an exact 600 mm center‑to‑center spacing. Secure the hang standards through the top holes so they cannot be lifted or slide.
B. Freestanding with casters (sold separately)
C. Freestanding with adjustable feet (sold separately)
Assembly of storage cabinet frame (applies to all methods)
Step 1: Base & brackets
Note the orientation of the storage cabinet base. Place the lower left and right corner brackets into the slots on the base panel.
Step 2: Side panels
Attach the left and right side panels to the base of the storage cabinet using 2 screws (B).
Step 3: Lower corner protectors
Install corner protectors BL (left) and BR (right) onto the side panels using 2 screws (B). Note the direction of the cut‑outs.
Step 4: Back panel
Position the back panel on the unit and fasten it to the top of the side panels using 2 screws (C).
Step 5: Storage cabinet top
Stand the unit upright. Place the corner brackets under the storage cabinet top (check the slot direction in the brackets) and position the top.
Step 6: Upper corner protectors
Install corner protectors TL (left) and TR (right) on the storage cabinet top using 2 screws (B).
Step 7: Securing
Lay the storage cabinet down with the back facing up. Secure the back panel and the top firmly using 8 screws (C).
Step 8: Details
Stand the storage cabinet upright. Press in 4 hole plugs (D) into the top and bottom. Attach the door stops (A) at both the top and bottom.
Choose installation method
Option A: Installation in Elfa system (hang standards)
Step 1: Hanging brackets
Press the left and right hanging brackets into the side panels and fasten them to the back panel using 2 screws (E). The ends of the hooks must protrude through the back of the storage cabinet.
Step 2: Support feet
Lay the storage cabinet on its back and install 2 support feet along the front edge of the cabinet.
Step 3: Hanging
Lift the storage cabinet and angle the hooks into the inner profile of the hang standards.
NOTE: The hang standards must be securely fastened to the wall in advance.
Step 4: Adjustment
Adjust the support feet so they rest firmly on the floor and relieve the load.
Option B: Freestanding with casters
Step 1: Rear casters
Lay the storage cabinet on its back. Install 2 casters at the rear using 8 screws.
Step 2: Front casters
Install 2 lockable casters at the front using 8 screws.
Step 3: Positioning
Carefully stand the storage cabinet upright. The lockable casters should be positioned at the front for easy access.
Option C: Freestanding with adjustable feet
Step 1: Installation
Lay the storage cabinet on its back and install 4 adjustable feet in the base.
Step 2: Leveling
Stand the storage cabinet upright and adjust the feet individually until the cabinet is completely level.
Interior fittings and doors
Shelves:
Insert the 8 shelf supports diagonally into the slots in the side panels at the same height. Place the shelf on top and press down firmly until it locks into place.
Doors:
Start with the left door. Insert the lower pin into the hole, press down the spring‑loaded upper pin, and insert it into the upper hole. Repeat for the right door.
Final check:
Ensure the doors make proper contact with the door stops and that the storage cabinet feels stable. Install the handles.