Specification
Specification
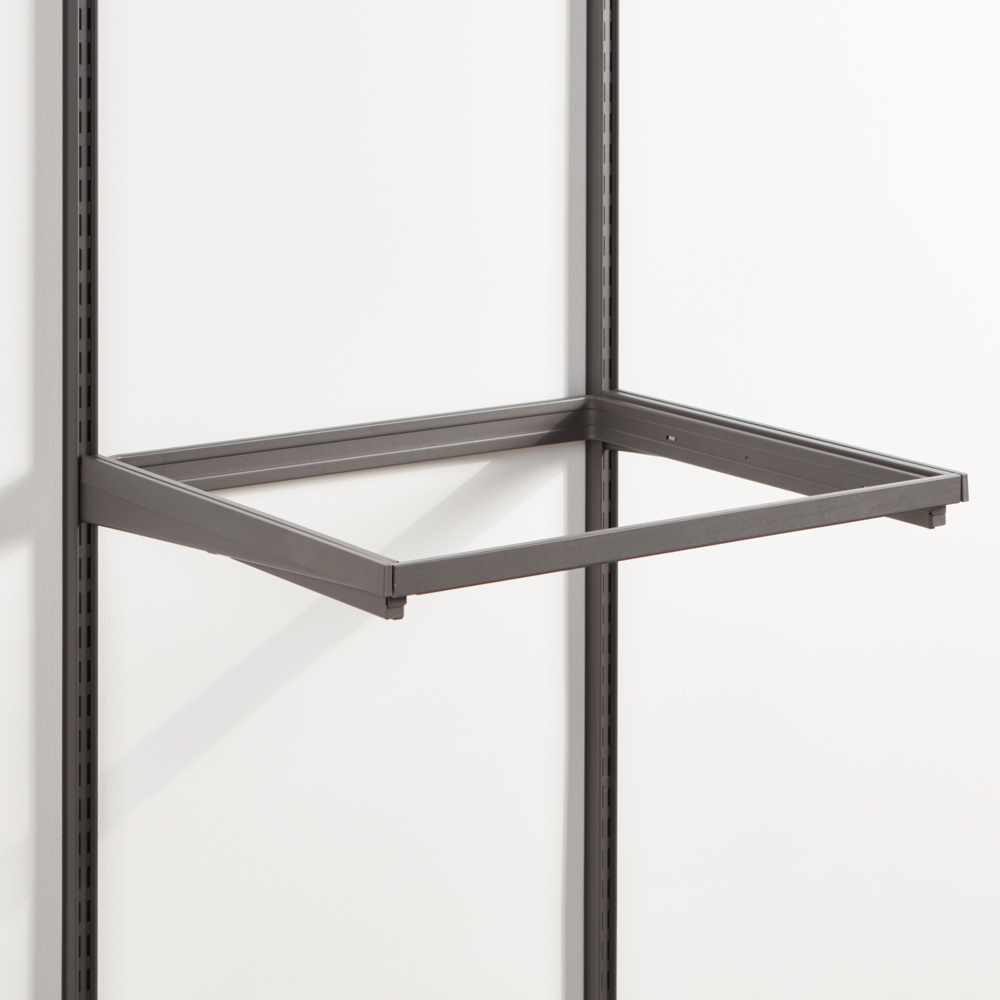
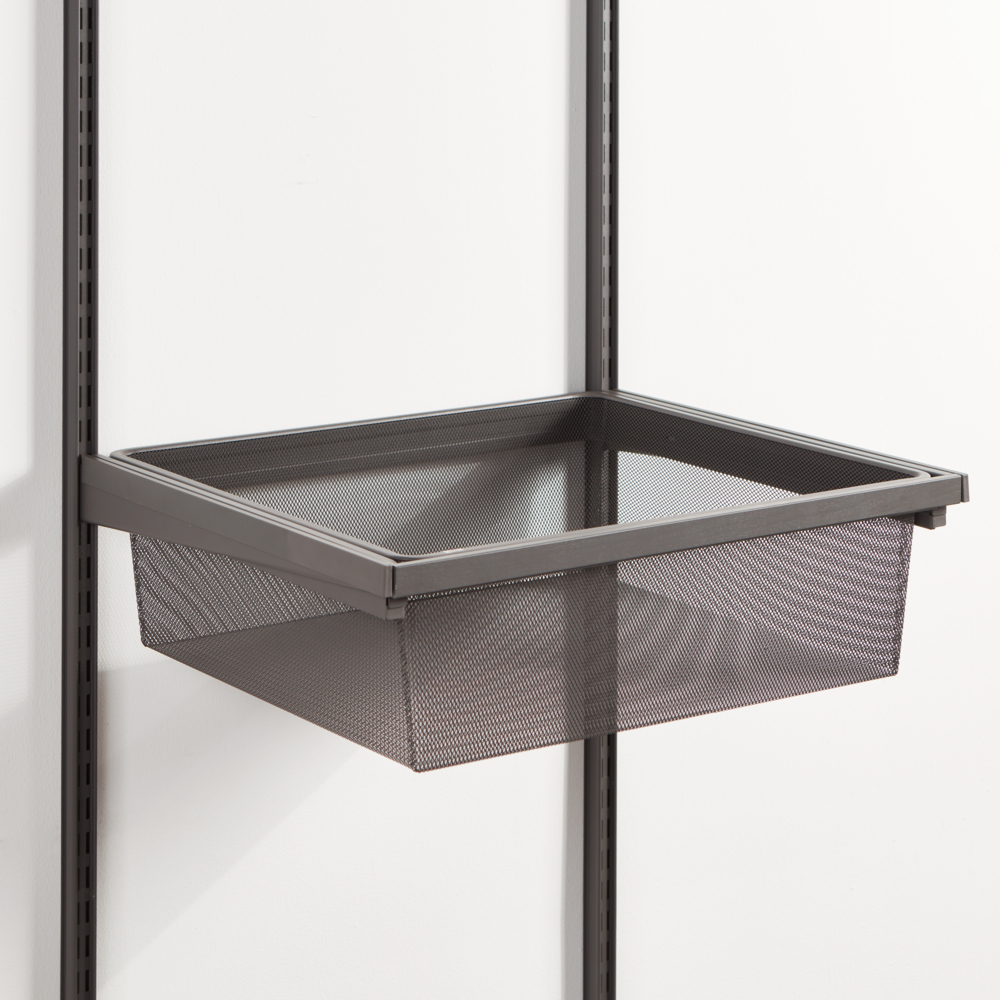
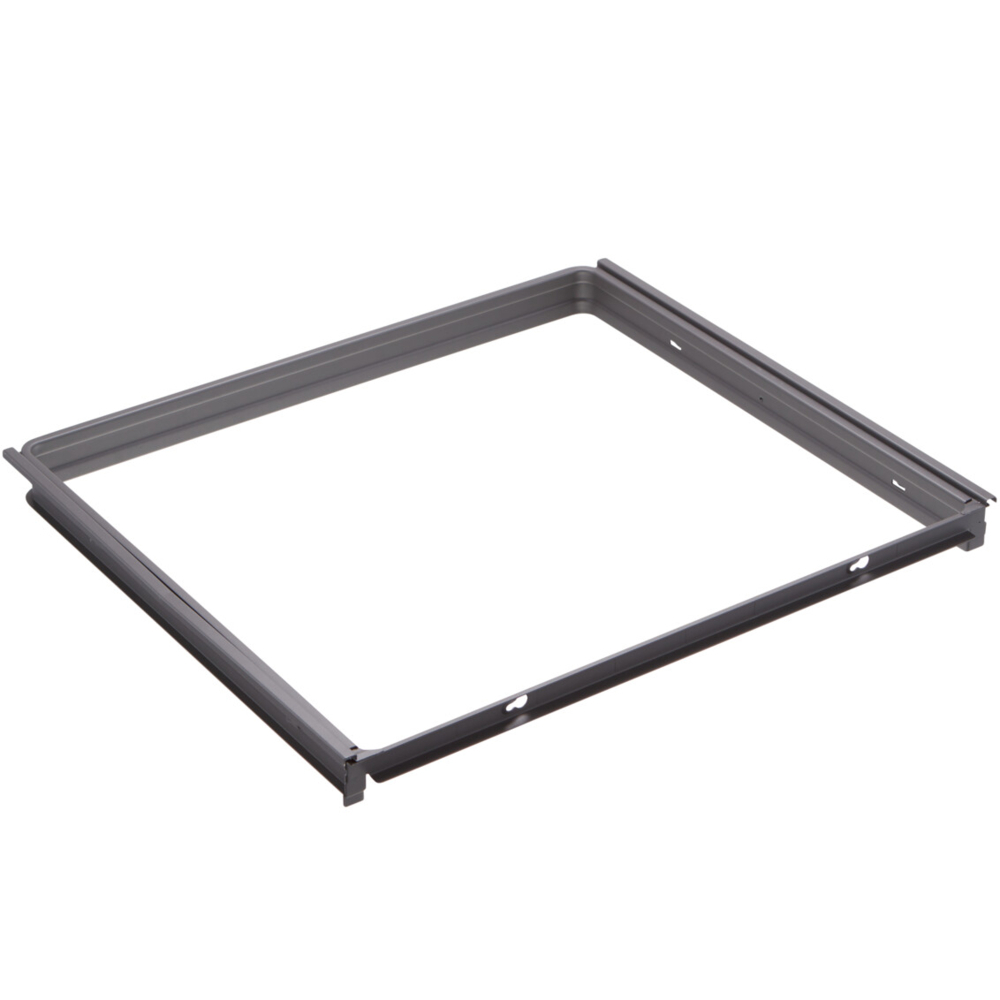
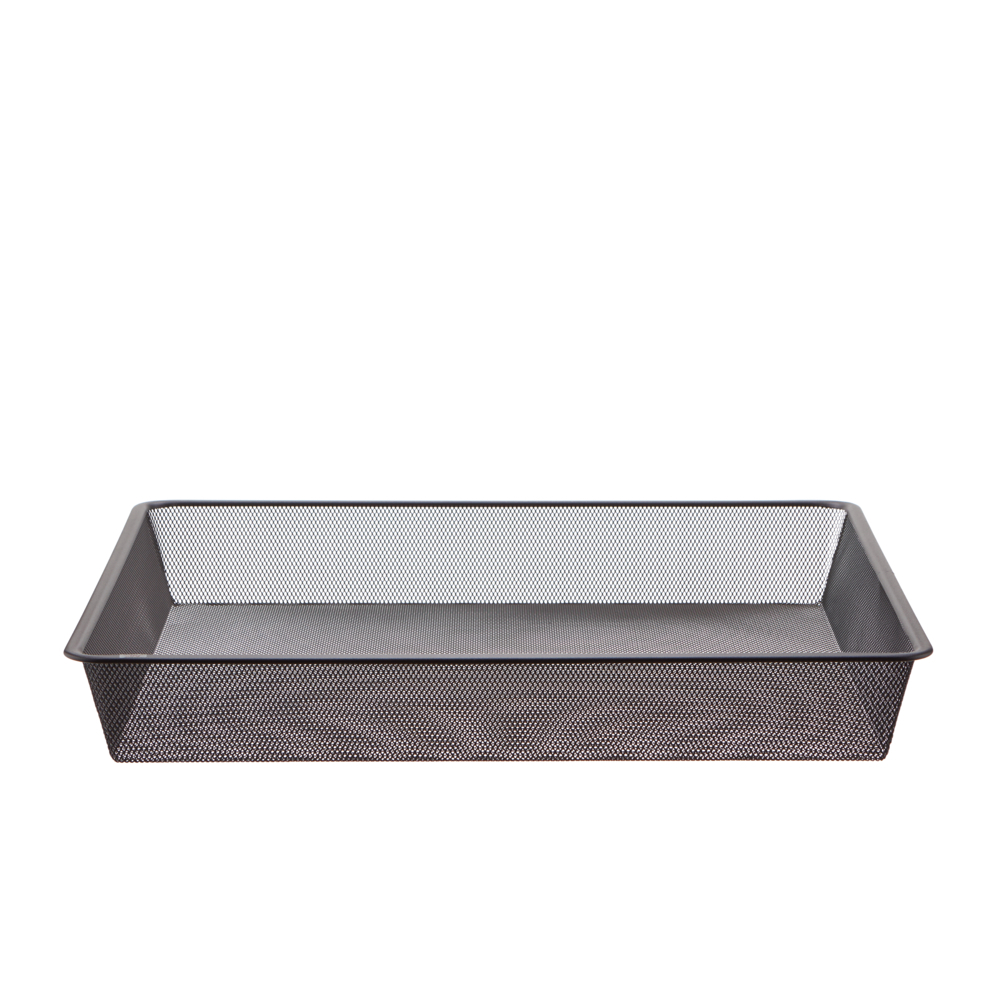
Upgrade your storage with Garage+ gliding frame. Includes full-extension and soft-close features. No tools required – just click it between two brackets. The frame also includes a composite trim made from a unique durable composite mix, adding a natural, yet heavy-duty, look to your gliding frame. Combine the gliding frame with mesh baskets of your choice.
ColorMatte grey
Width (mm)604
Depth (mm)535
Height50
Weight Recommendation8 kg
Technical description
Technical description
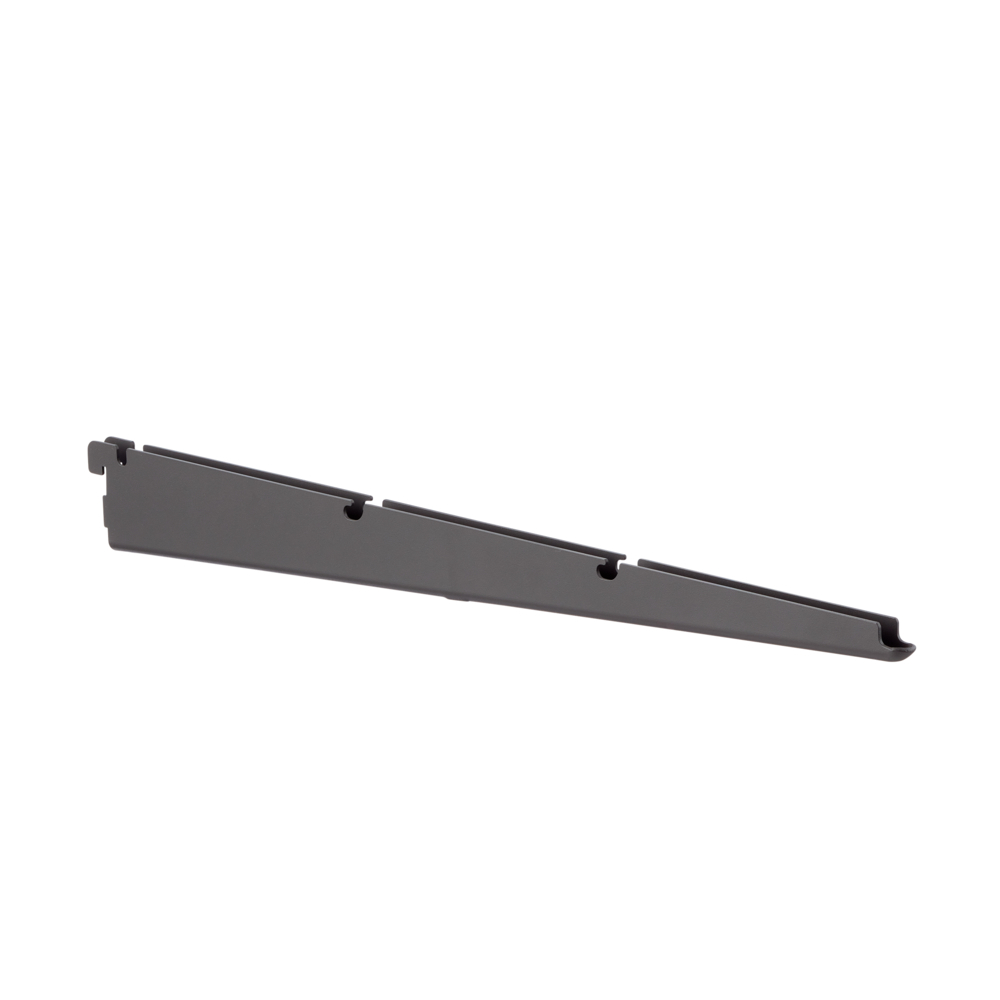
The Garage+ gliding frame features full extension and soft close and easily clicks into place between two brackets, with no tools needed. Supplement with mesh drawers. The packaging includes a composite trim to provide a nice finish.
Gliding frame made from high strength steel. Side covers in steel, to be assembled with premounted magnets.
Preassembled full extension slides with soft close.
Trim made from a composite mix of nylon (PA6), glass fiber and calcium carbonate. Hardware included.
Colour:
Matte Grey (polyester colour) NCS S 7500-N, fine texture, gloss 5
Planning rules
Planning rules
When planning in Elfa Planner, the design tool will automatically combine the gliding frame with a mesh basket and provide you with a composite trim. The design tool will also help you plan gliding functions above and next to eachother.
We recommend that a deep mesh drawer has 5 pairs of free slots below to the bracket holding the next drawer
In full extension the gliding frame pulls out 1050 mm (41-3/8”) from the wall.
Safety and care
Safety and care
Warranty & Quality
The daily use of Elfa storage solutions requires both materials and craftsmanship of the highest quality. We develop products designed to last, and our 10-year warranty is a promise of exactly that.
Elfa products are covered by a 10-year warranty from the date of purchase.
What is covered by the warranty?
The warranty covers defects in materials and workmanship under normal residential use. It also covers functional defects in moving components such as wheels, soft-close mechanisms, and pull-out functions.
This commercial warranty does not affect your statutory rights under applicable consumer protection legislation.
Warranty Provider
The warranty provider is Elfa International AB, Sweden.
How to make a claim
If there is an issue with your product, contact the retailer/store where you made your purchase and bring your receipt. The store will then inform Elfa. We at Elfa will do everything we can to provide a response to your claim as quickly as possible. However, it is important that you report any defect promptly, and therefore we recommend that you unpack and inspect your delivery immediately.
If you cannot bring the product to the store, please take a photo showing the defect. Take one photo from approximately 1 metre away and one close-up photo with a nearby object (for example, a matchbox or pen) for size comparison in the case of surface damage.
How we help you
In the event of an approved claim, Elfa undertakes, at no cost to you as a consumer, to repair or replace the defective product or component.
Repair or replacement of individual parts is prioritised in order to extend the product's lifespan. If this is not possible, the product will be replaced with a new or equivalent item.
Limitations
Naturally, we expect that you take good care of your Elfa products. A product that has been stored, assembled, or used incorrectly is not covered by the warranty. External damage and consequential damage occurring after your delivery has been accepted are not covered by the warranty.