Storage inspiration for every room – with smart solutions that combine style and function. Create a home where every surface becomes a storage opportunity.
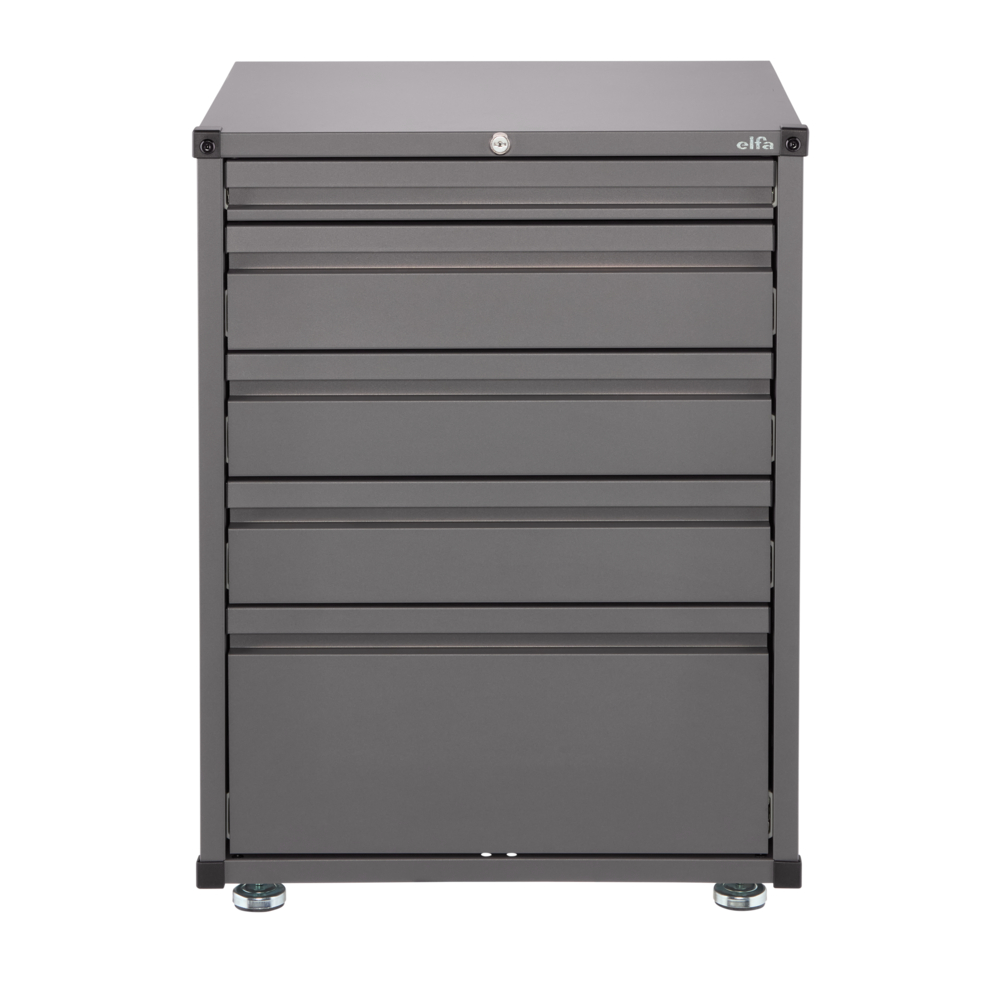
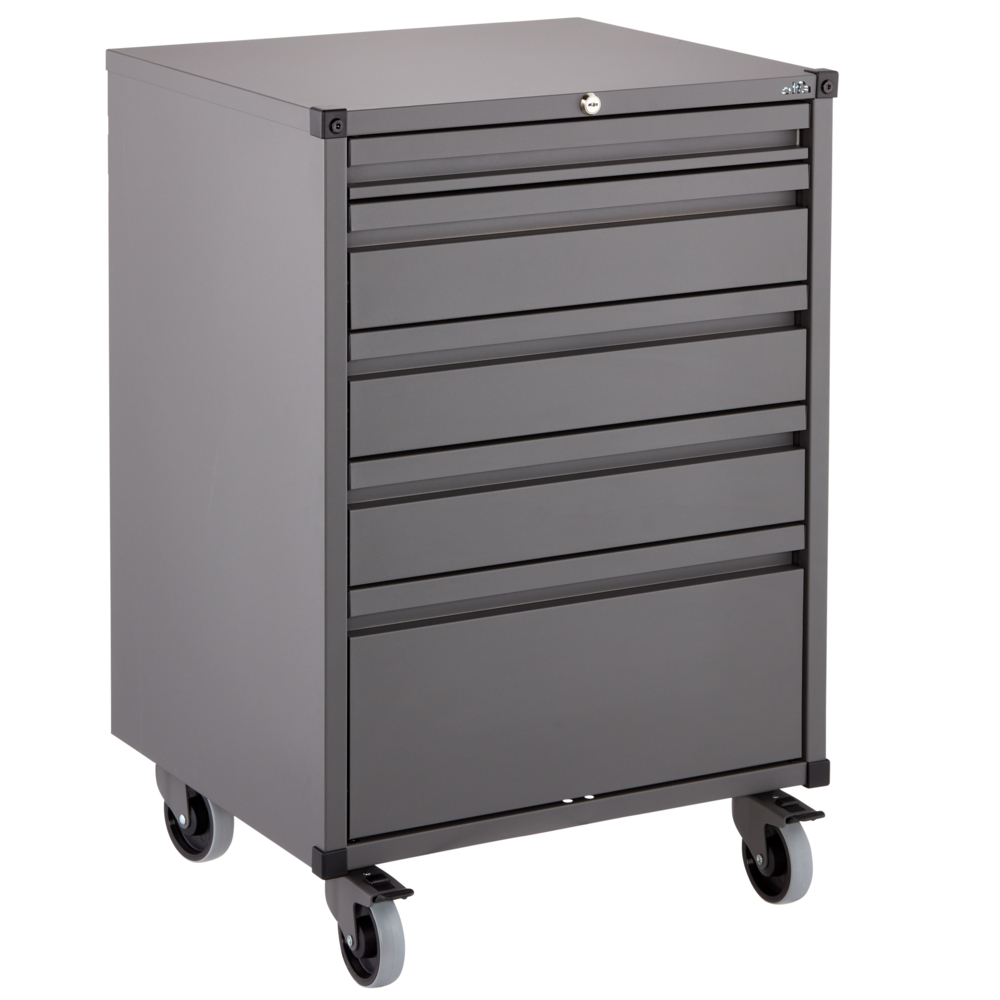
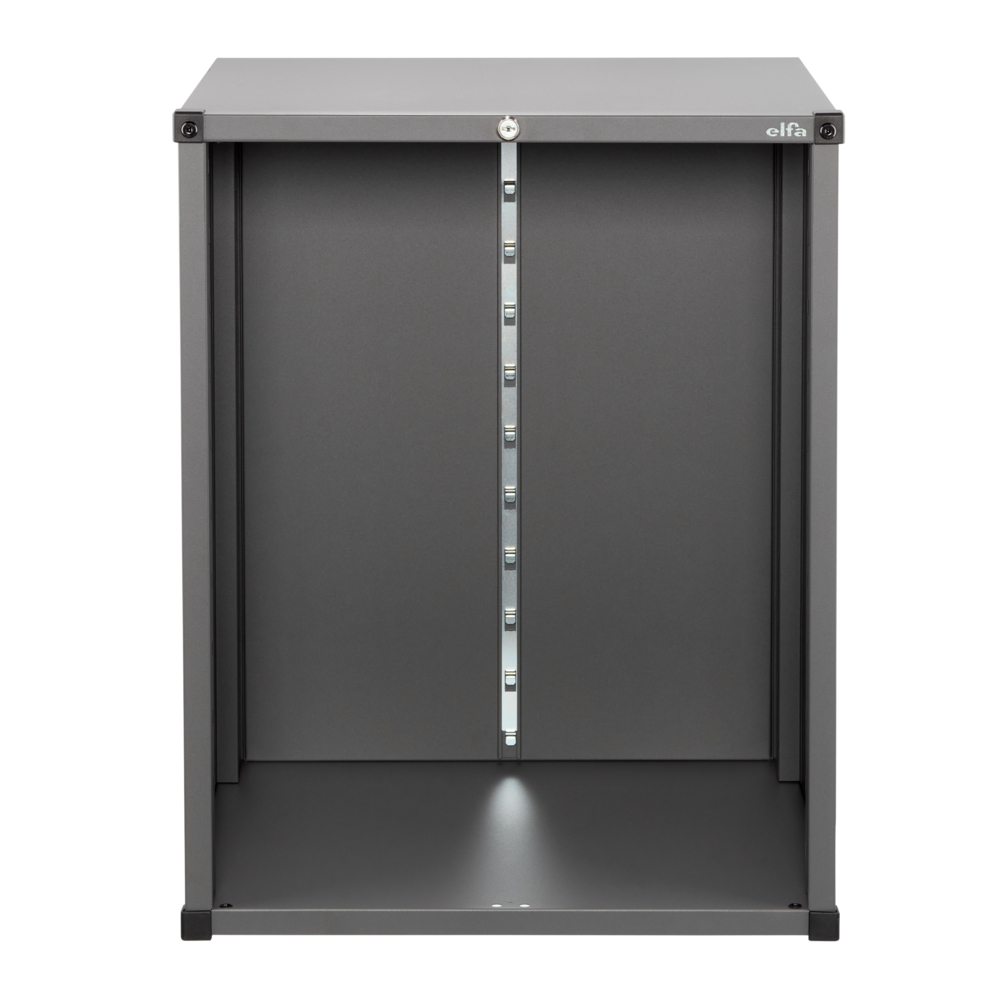
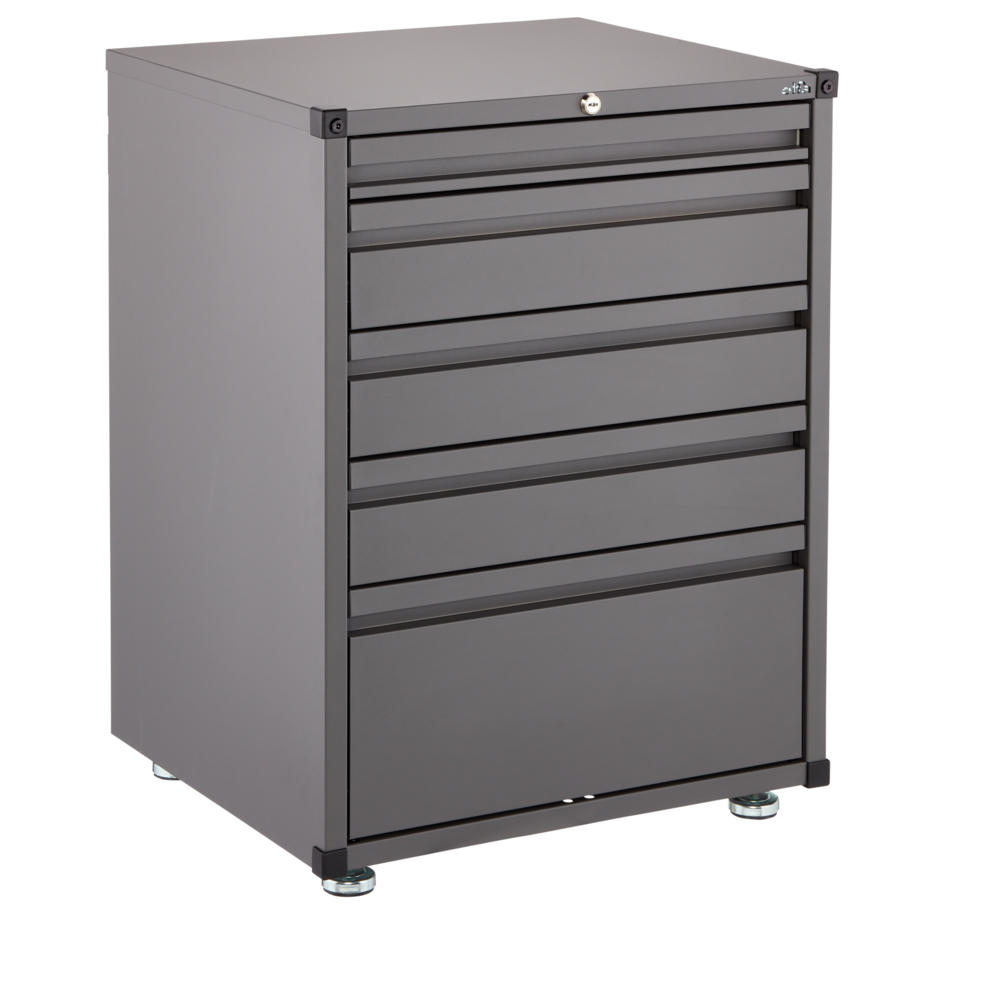
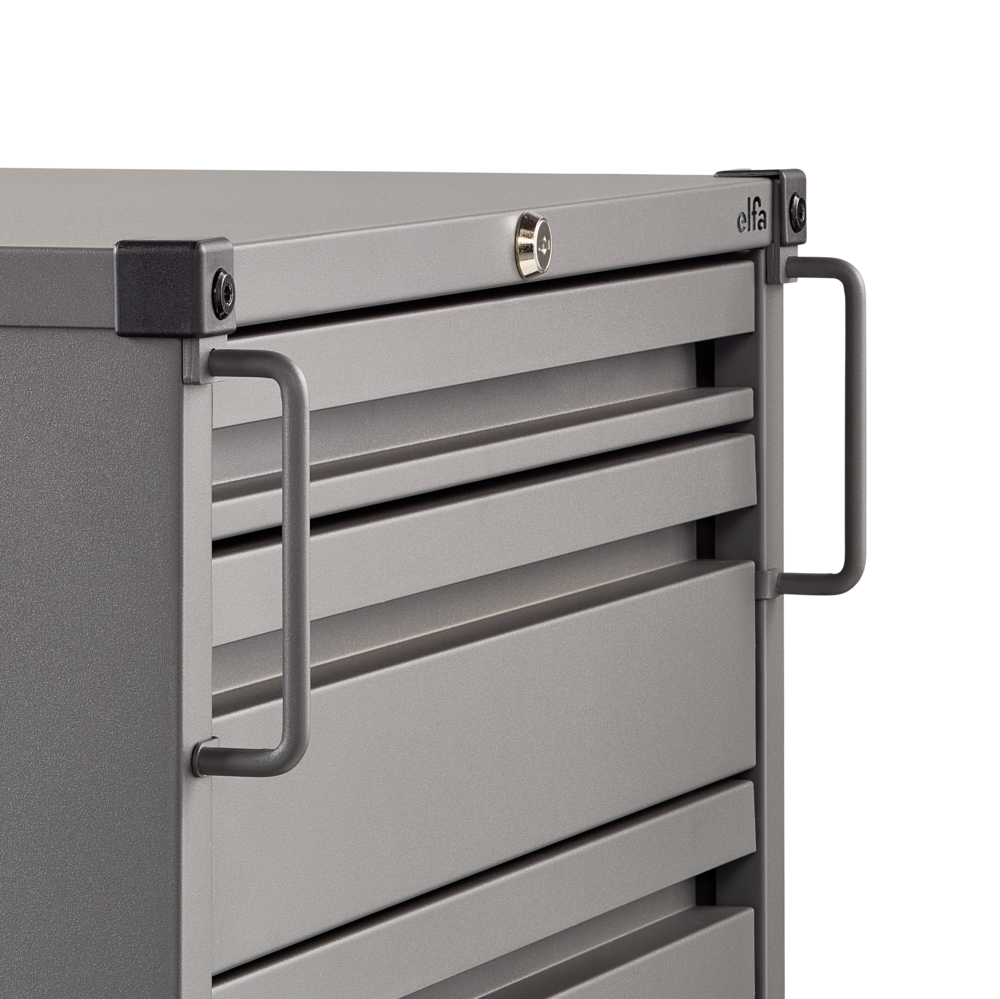
Elevate your garage storage with our lower cabinet frame, designed specifically to create a versatile drawer cabinet. The robust steel frame features corner protection in PP-plastic and offers a locking mechanism for the drawers. Mount it in Garage+ standards using the cabinet standard mounting kit or place it freestanding with adjustable feet - or make it mobile with casters.
A cabinet frame to be able to create a lower cabinet with drawers. Add drawers for cabinet.
Lower cabinet frame for drawers is a different product than the lower cabinet frame included in the lower cabinet kit (7400028) due to locking function components in top and back. Therefore, a lower cabinet shelf (4700105) can not be mounted in a lower cabinet frame for drawers.
Lower cabinet can be:
* hung in the standards with cabinet standard mounting kit
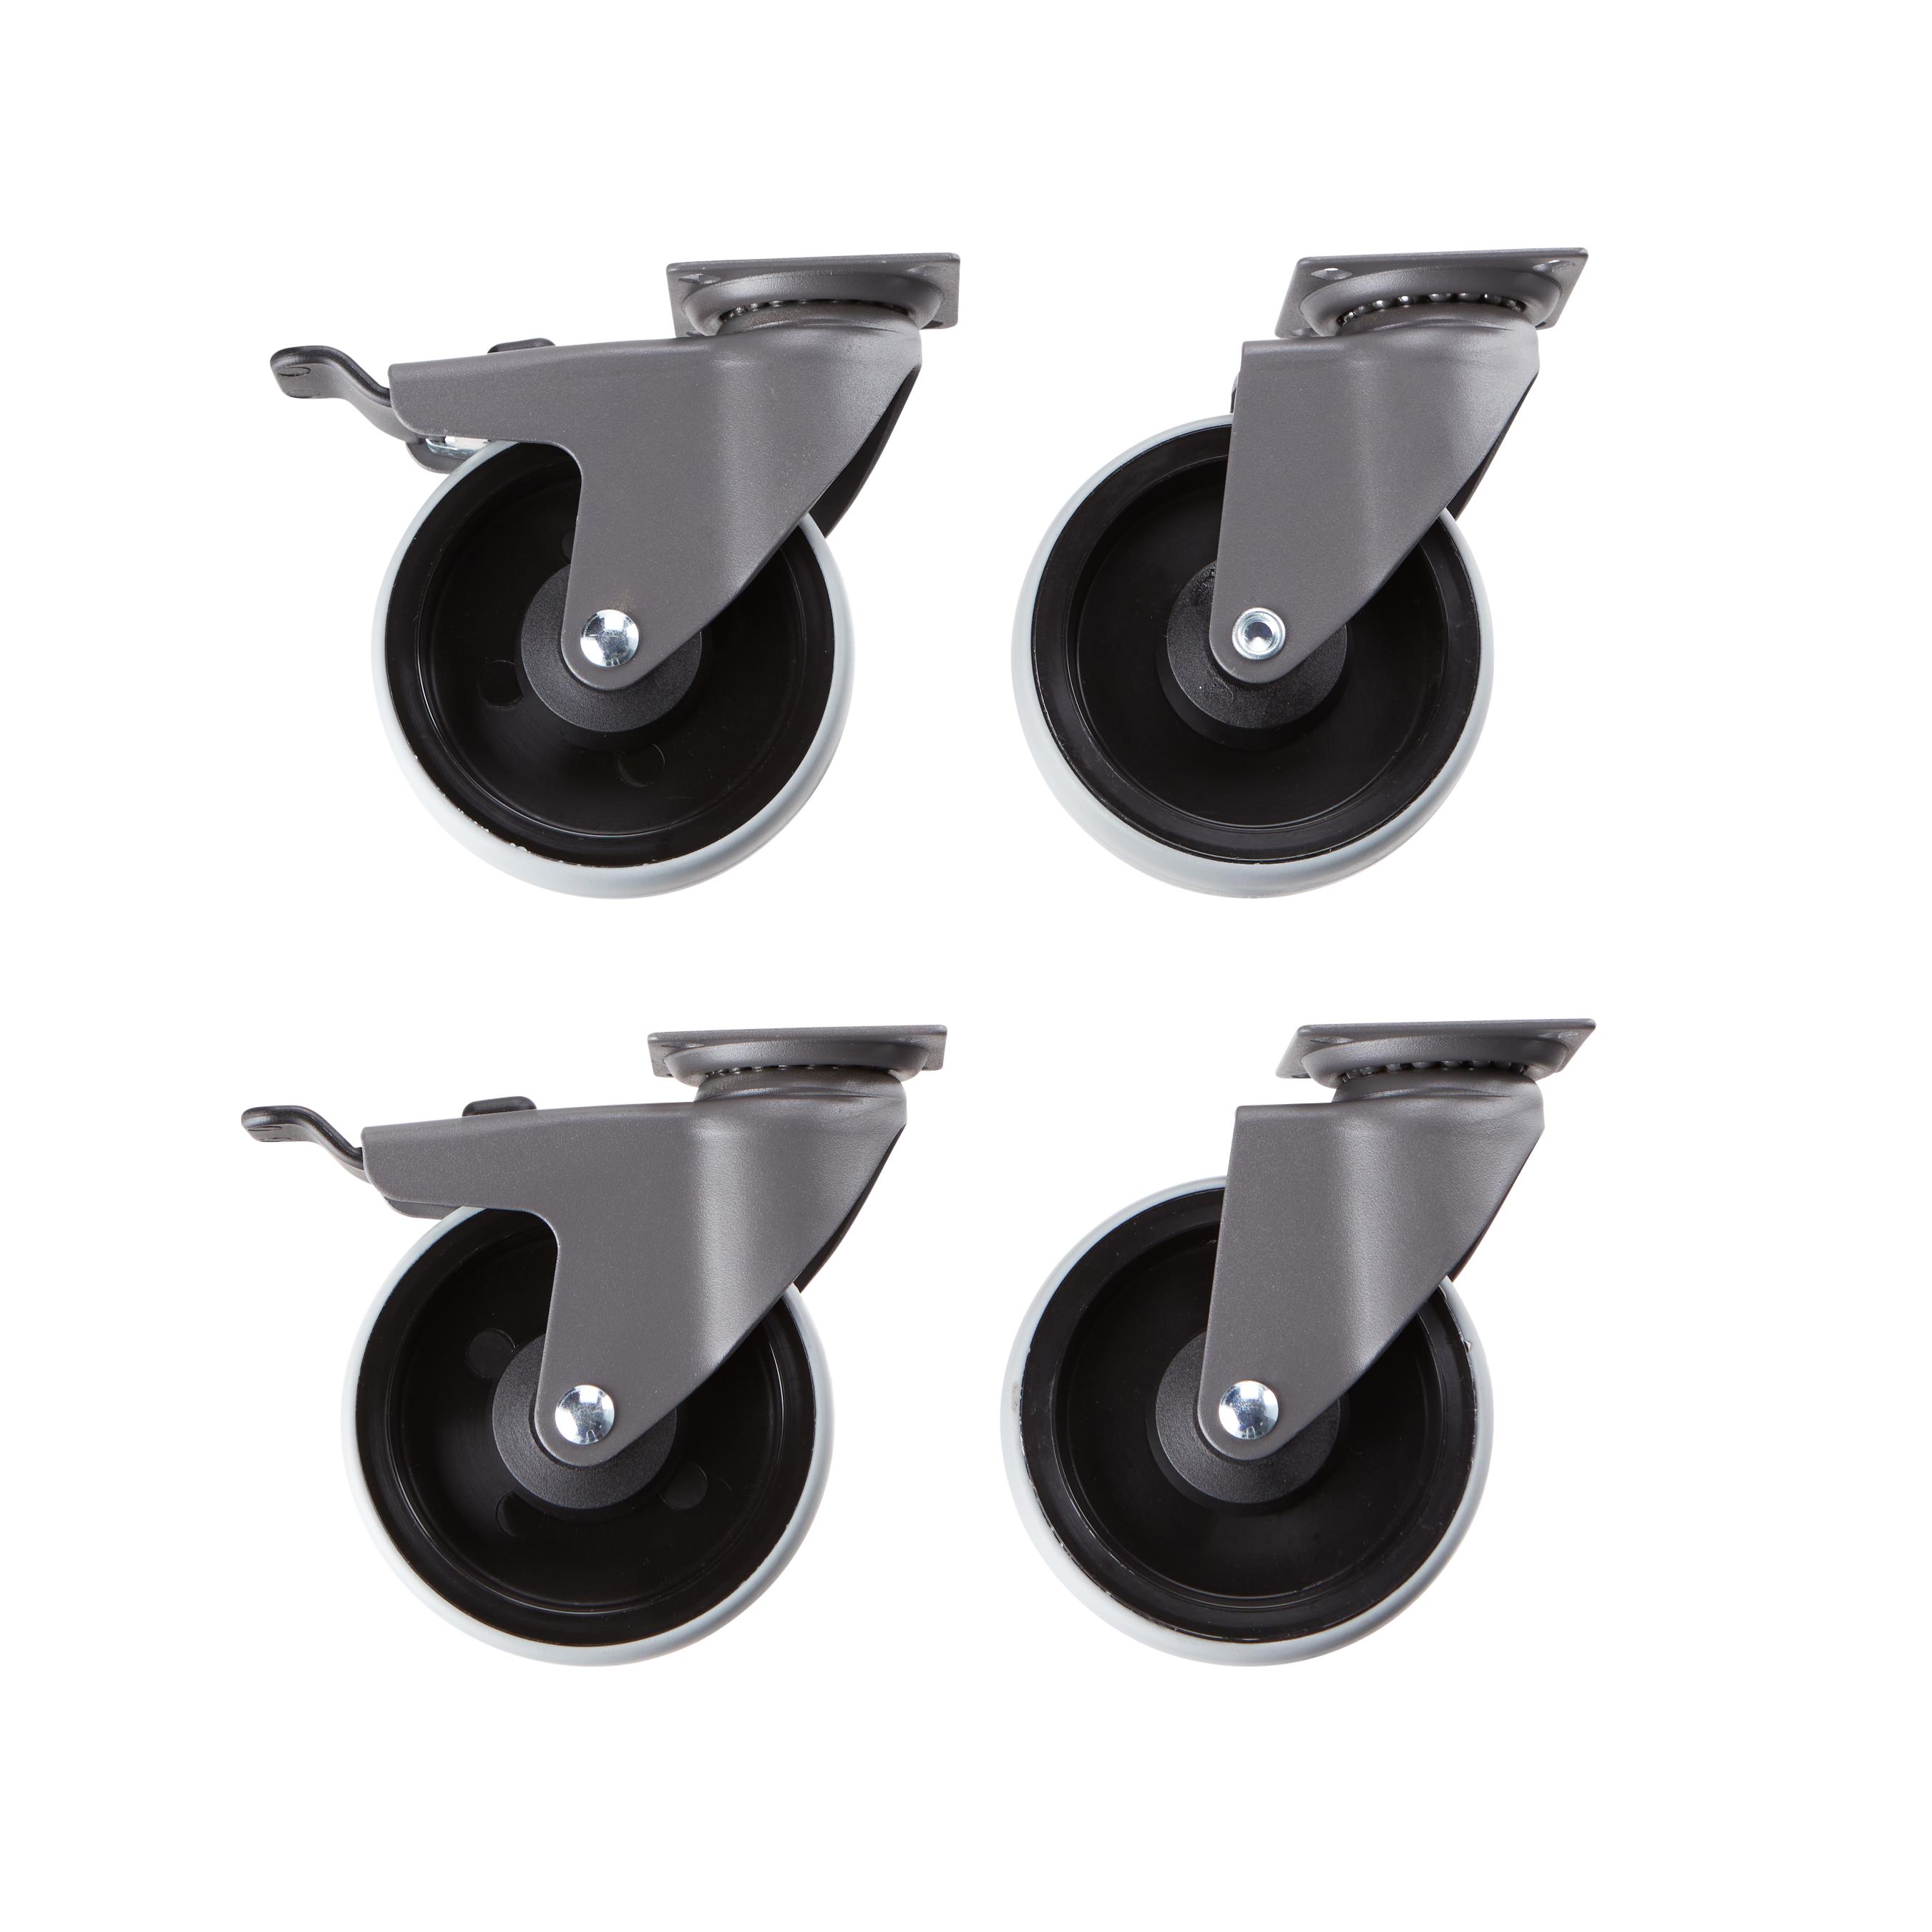
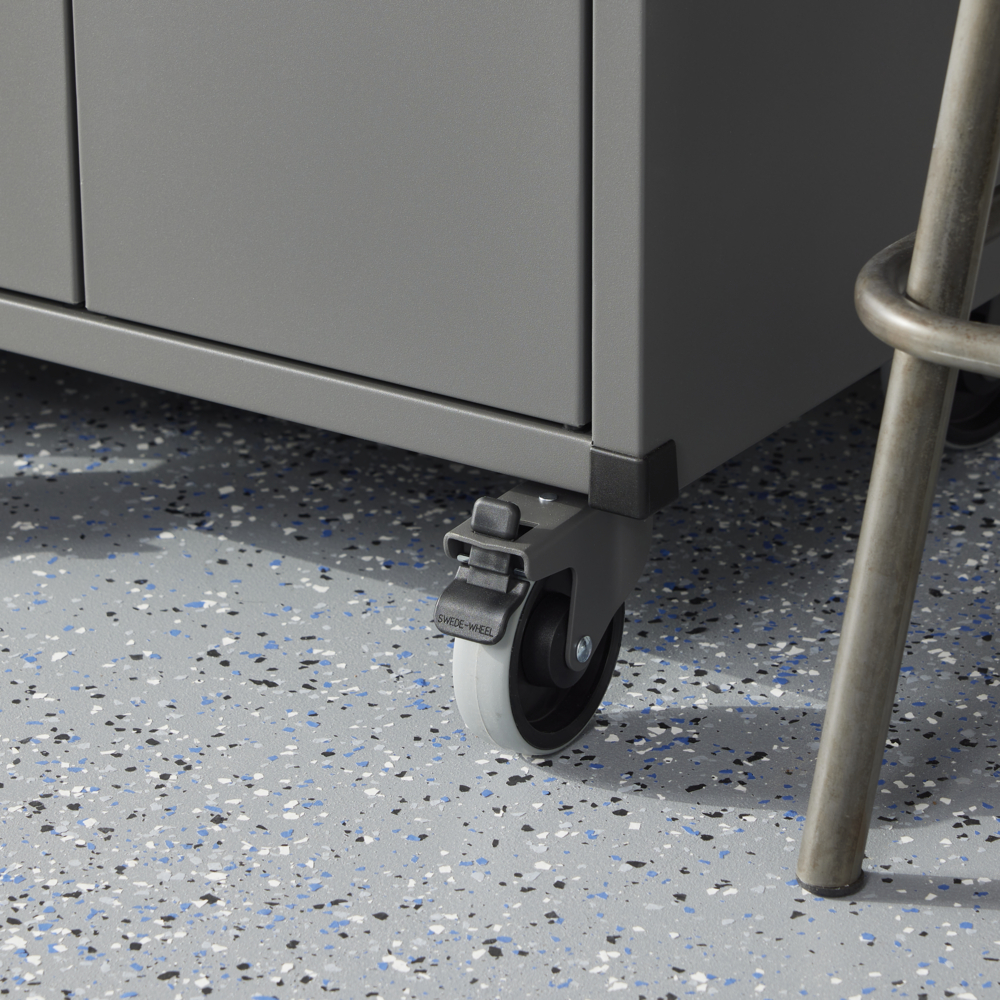
* movable with casters
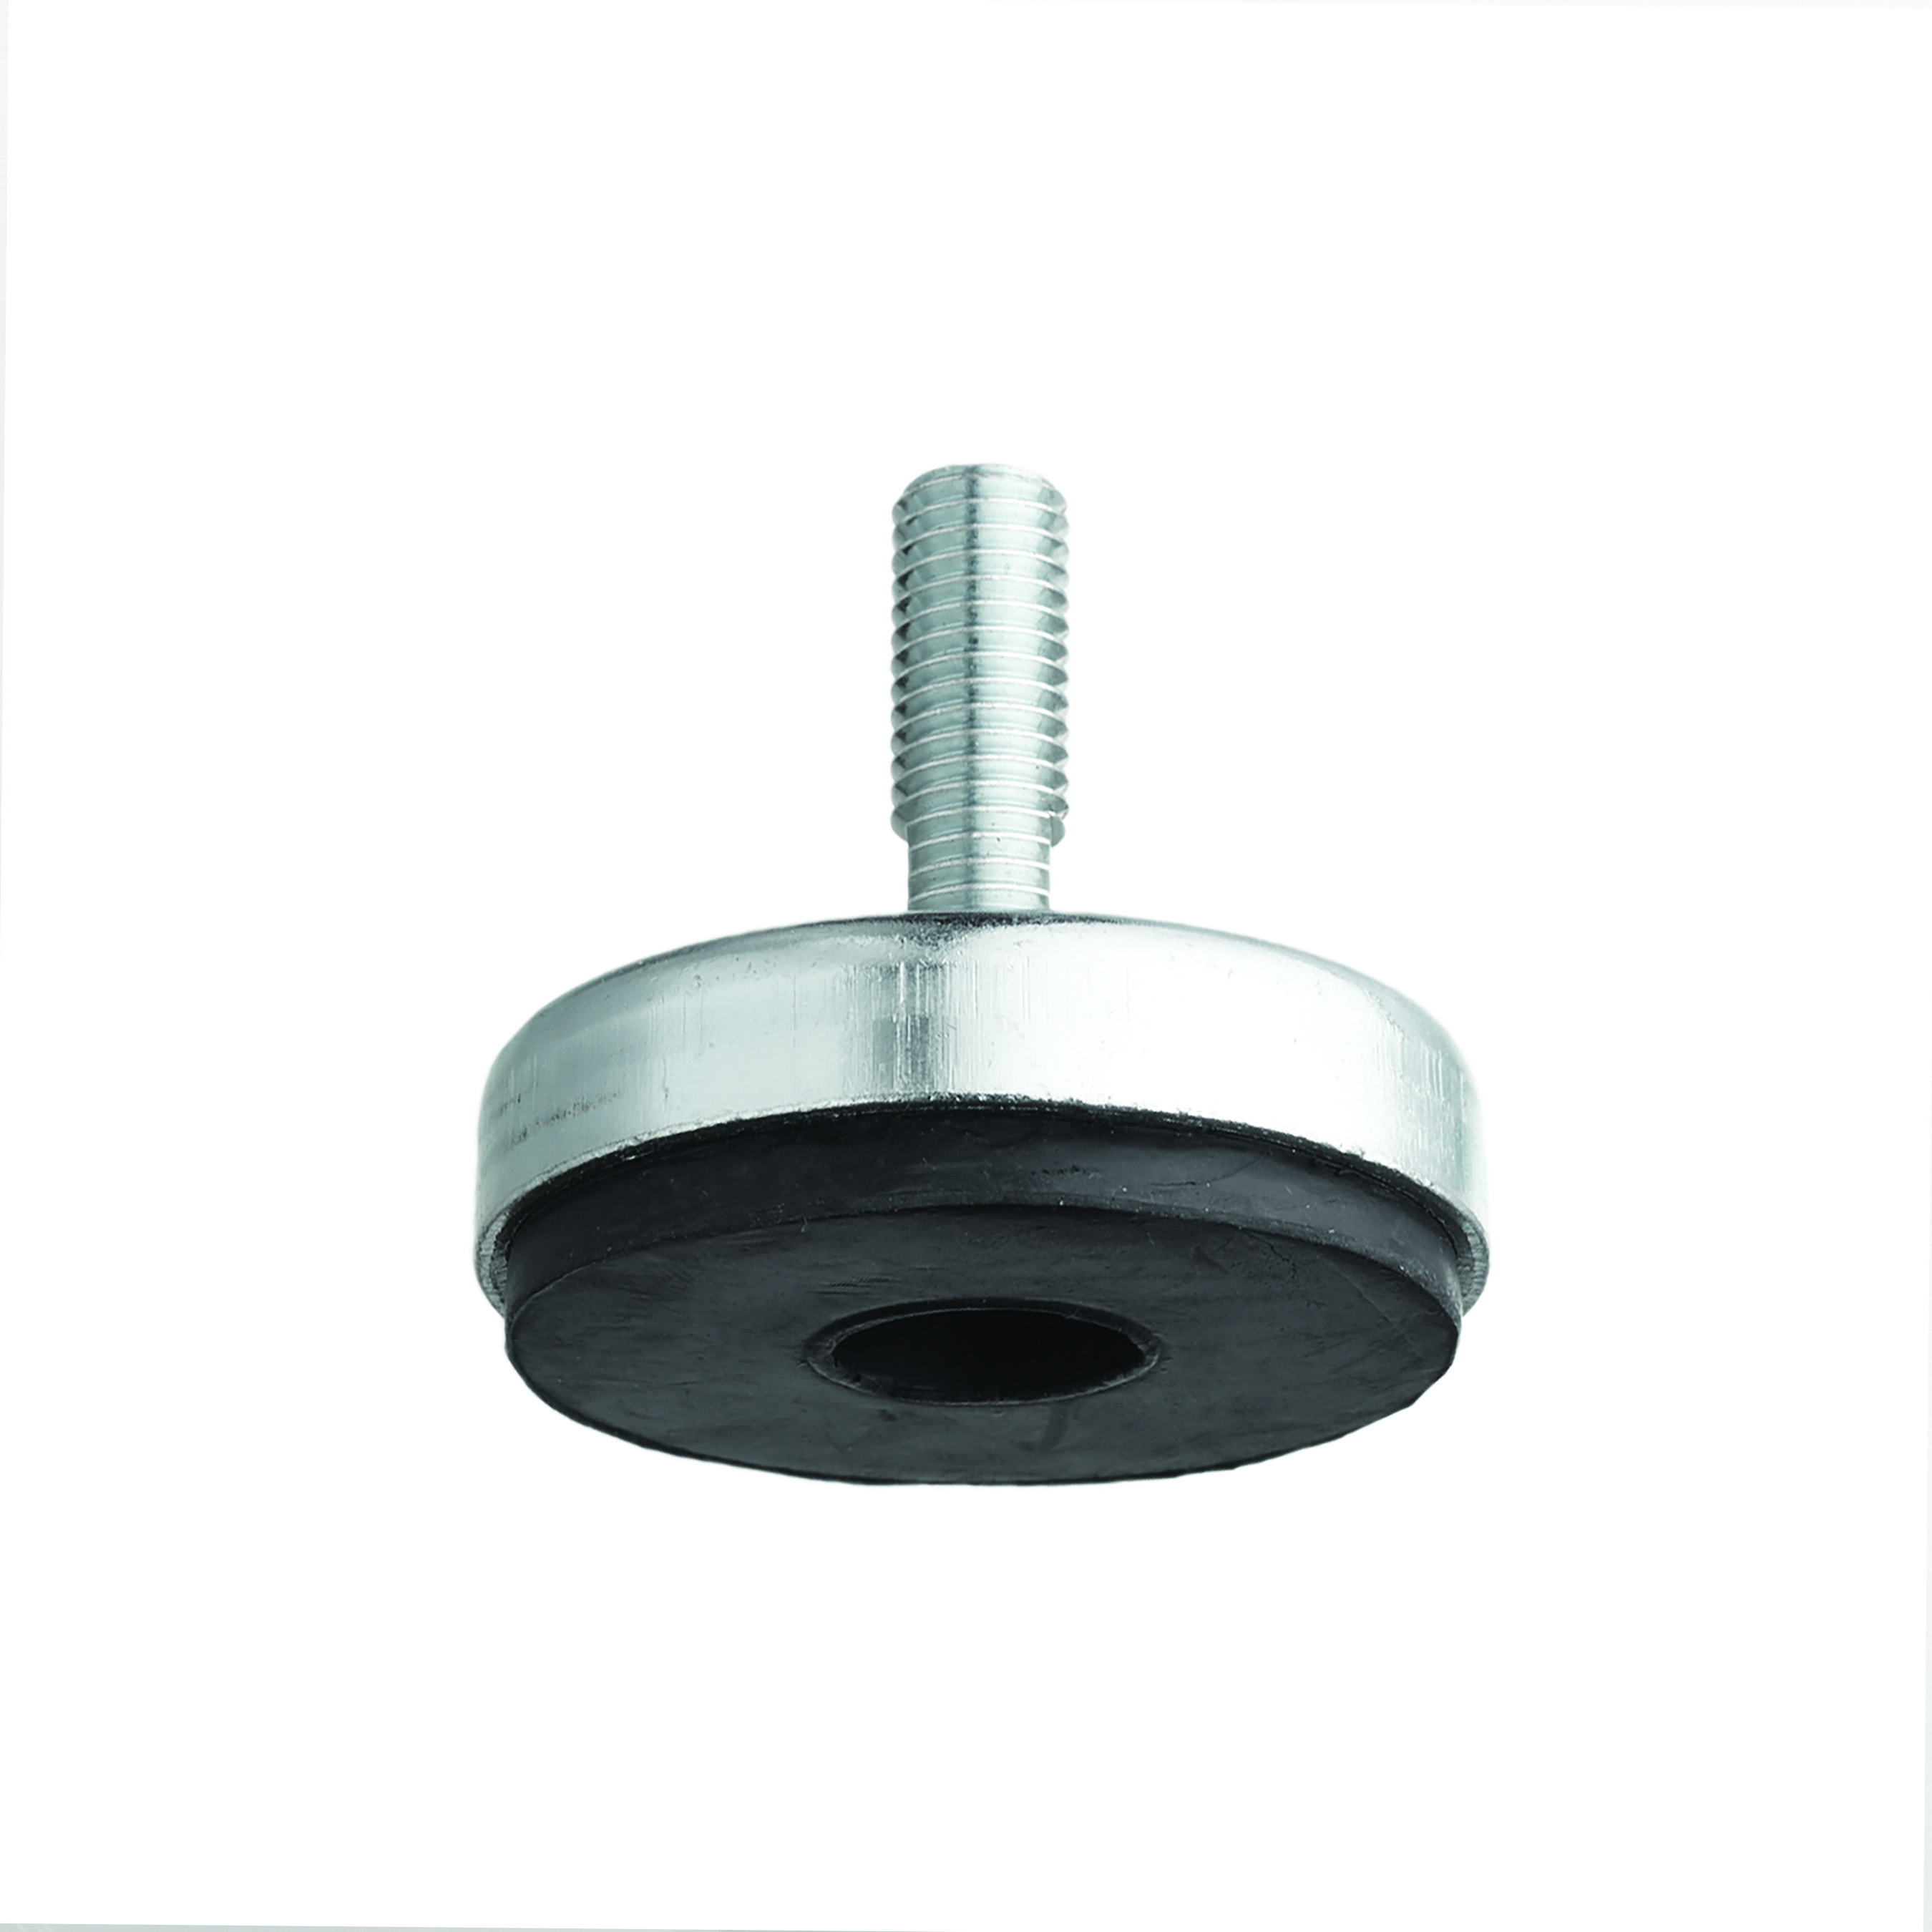
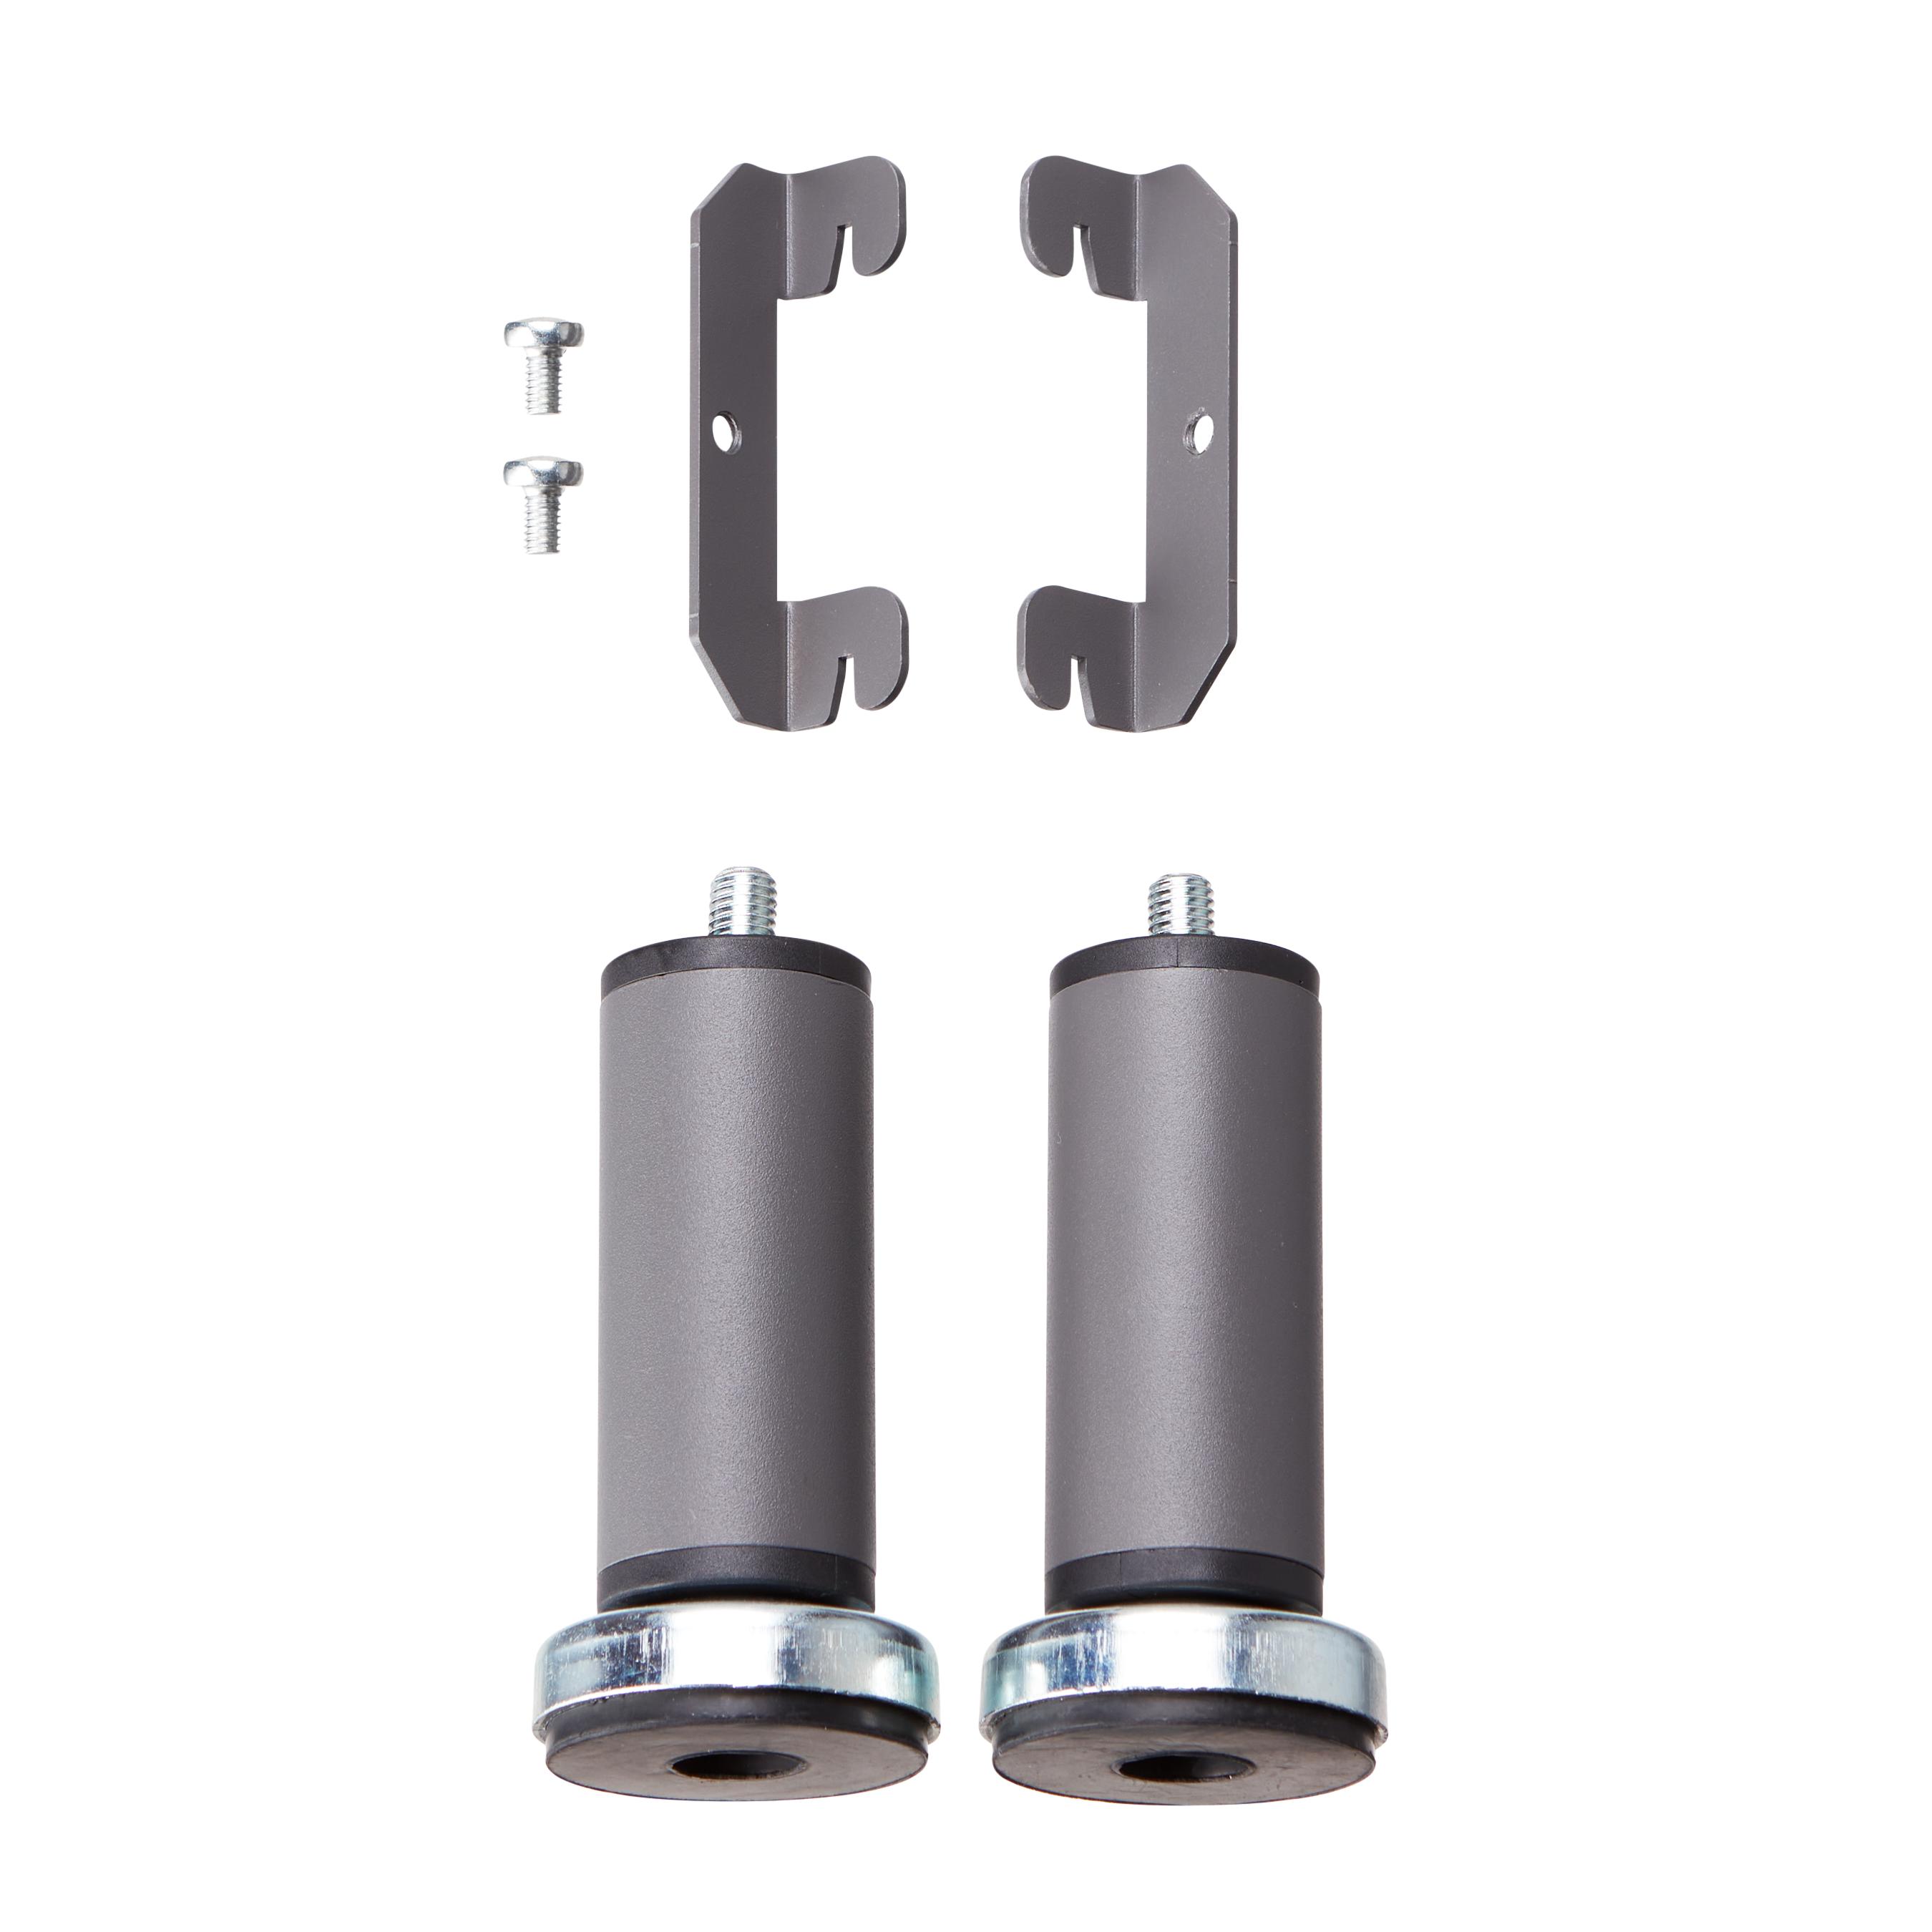
* freestanding with adjustable feet.
To get a complete lower cabinet with drawers you need the following items:
* Lower cabinet frame for drawers (4700099)
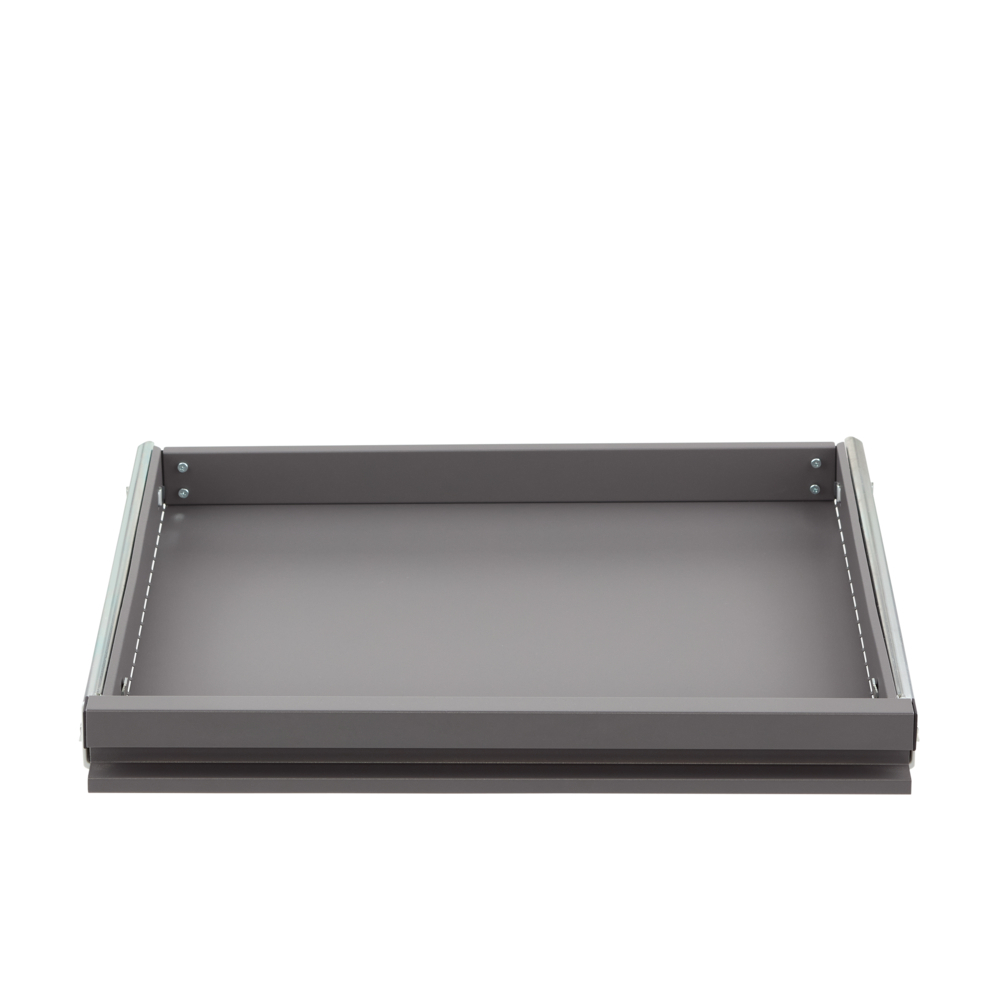
* Lower cabinet chest drawer (4700101) and/or Lower cabinet shallow drawer (4700102) and/or Lower cabinet deep drawer (4700103). See planning rules for possible configurations.
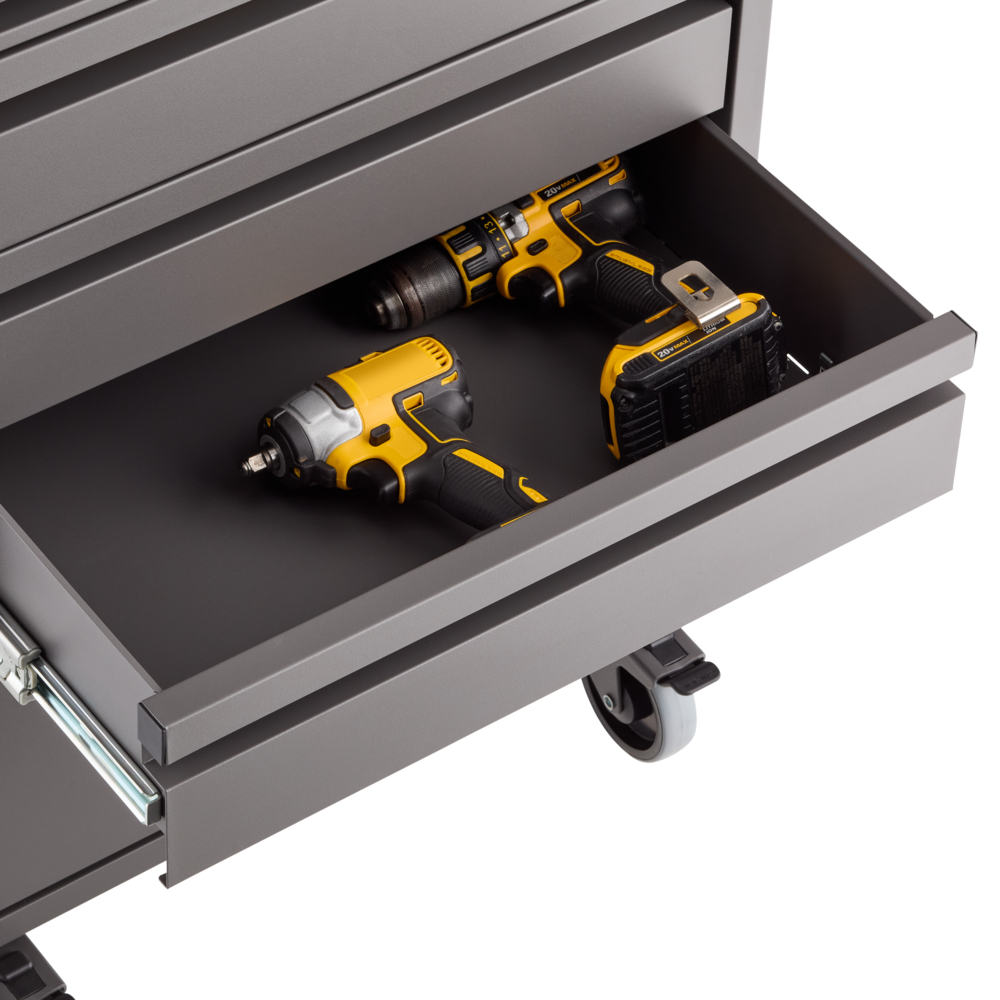
Cabinet Drawers come in 3 heights, have an integrated handle in the Front with end caps in plastic, are flat packed and feature heavy duty slides and all needed hardware included in the packaging.
Possible additions to the lower cabinet for drawers (depending on mounting option):
* Lower Cabinet Casters (4700123)
* Cabinet Standard Mounting Kit (4800082)
* Cabinet adjustable feet (4700119)
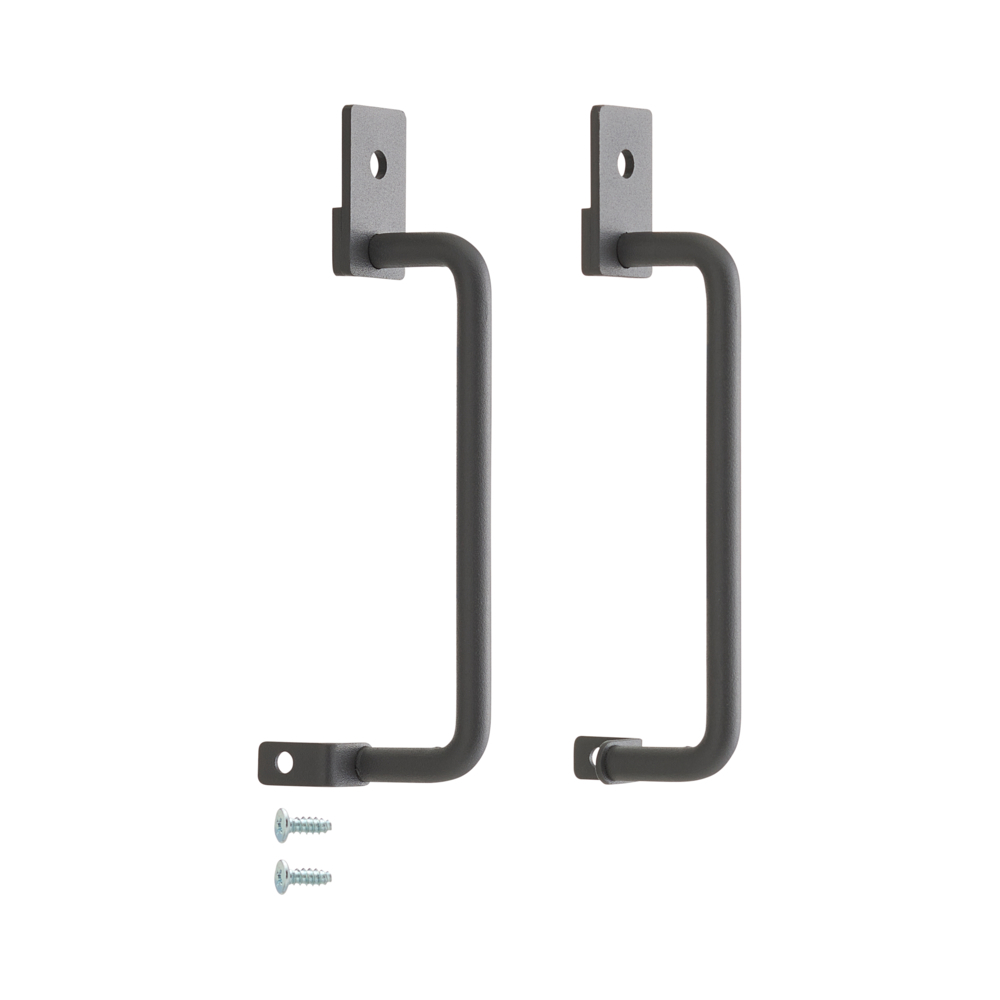
* Lower cabinet handles (4700134)
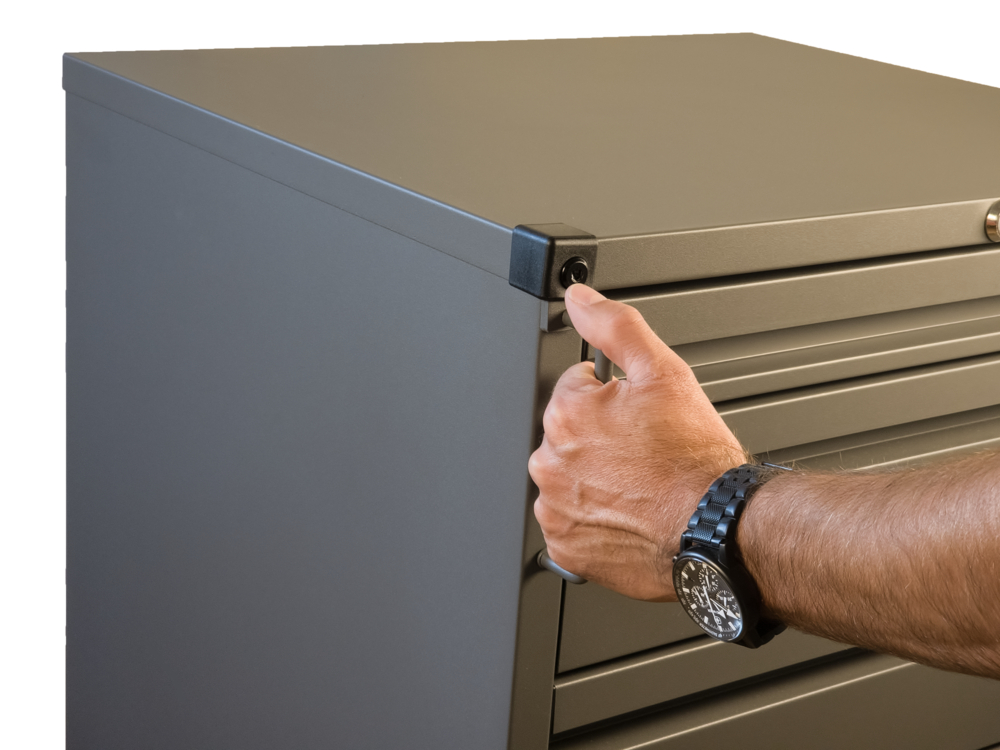
Corner protection in black PP-plastic.
The top of the cabinet can be used as a shelf. Top is reinforced for this cabinet
Cut out logo with zinc-plated corner bracket behind.
Colour:
Matte Grey NCS S 7500-N
Planning rules
<
Planning rules
When planning in Elfa Planner, the design tool will help you plan your different cabinet features.
There are 11 positions for drawers in the lower cabinet for drawers:
Chest drawer = 1 position: height 59 mm (2-3/8")
Shallow drawer = 2 positions: height 123 mm (4-7/8")
Deep drawer = 4 positions: height 251 mm (9-7/8")
The sum must equal a total of 11 positions.
Safety and care
<
Safety and care
Safety
Maximum load capacity per section: 200 kg (Classic by Elfa, click-in top-hung system) and 240 kg (Garage+/Décor+).
Avoid overloading individual storage components and distribute the weight evenly across the system. Different products have different recommended maximum load capacities. For more information, please refer to the Product Information section for each product, as well as Measure & Plan.
Before installation, check the wall material and condition. Elfa's product range is generally designed for normal use in residential indoor environments.
Care
Wipe clean with a cloth dampered with a mild cleaner. Wipe dry with a clean cloth.
Assembly Instructions
<
Assembly Instructions
Lower cabinets can be installed in hang standards using the cabinet standard mounting kit, be freestanding and movable with casters, or be freestanding with cabinet adjustable feet.
Note: If you hang the cabinet in hang standards, wait to install doors and drawers until the cabinet is hung.
Step 1: Start with the cabinet bottom. Attach the left and right parts (F) according to the illustration.
Step 2: Install one side by first aligning the front corner with the cabinet bottom as shown.
Step 3: Once the first side is in place, install the second side in the same way.
Step 4: Attach the corner protectors marked (BL) and (BR) using 2 screws (B). Also secure 2 screws (B) in the rear corners.
Step 5: When both sides are installed and secured, turn the unit so that the front is facing the floor.
Step 6: Install the cabinet back panel.
Step 7: Fasten 2 screws (C) in the marked holes to secure the back panel.
Note: Do not insert additional screws (C) at this stage. Then turn the cabinet upright.
Step 8 (IMPORTANT): Install the locking bar in the rail with the locking hooks on the top of the cabinet. Insert the rail into the holder mounted on the back panel.
Step 9: Slide down the locking bar and the top of the cabinet as shown.
Step 10: Lower the top fully so that it is aligned with the sides.
Step 11: Install both parts (E) in the inner, upper, front corners according to the illustration.
Step 12 (if installing handles): Handles are optional. If you install handles, they should be fastened underneath the two corner protectors (TL and TR) as shown.
Note: Holes for attaching the lower part of the handles are located on the inside edge of the cabinet.
Step 13: Secure the lower part of the handles with 2 screws (C).
Step 14: Fasten 6 screws (C) in the lower part of the back panel.
Step 15: Fasten 2 screws (C) to secure the upper part of the back panel.
Step 16 (if installing casters): Align the casters with the holes in the cabinet bottom. Secure each caster with the 4 included screws.
Note: The 2 casters with brakes must be mounted at the front.
Recommended price (Prices may vary between retailers)
295,60
Elevate your garage storage with our lower cabinet frame, designed specifically to create a versatile drawer cabinet. The robust steel frame features corner protection in PP-plastic and offers a locking mechanism for the drawers. Mount it in Garage+ standards using the cabinet standard mounting kit or place it freestanding with adjustable feet - or make it mobile with casters.
Add casters to create a mobile drawer cabinet., The reinforced top of the cabinet can be used as a shelf., Holds up to 180 kg.
Elevate your garage storage with our lower cabinet frame, designed specifically to create a versatile drawer cabinet. The robust steel frame features corner protection in PP-plastic and offers a locking mechanism for the drawers. Mount it in Garage+ standards using the cabinet standard mounting kit or place it freestanding with adjustable feet - or make it mobile with casters.
A cabinet frame to be able to create a lower cabinet with drawers. Add drawers for cabinet.
Lower cabinet frame for drawers is a different product than the lower cabinet frame included in the lower cabinet kit (7400028) due to locking function components in top and back. Therefore, a lower cabinet shelf (4700105) can not be mounted in a lower cabinet frame for drawers.
Lower cabinet can be:
* hung in the standards with cabinet standard mounting kit
* movable with casters
* freestanding with adjustable feet.
To get a complete lower cabinet with drawers you need the following items:
* Lower cabinet frame for drawers (4700099)
* Lower cabinet chest drawer (4700101) and/or Lower cabinet shallow drawer (4700102) and/or Lower cabinet deep drawer (4700103). See planning rules for possible configurations.
Cabinet Drawers come in 3 heights, have an integrated handle in the Front with end caps in plastic, are flat packed and feature heavy duty slides and all needed hardware included in the packaging.
Possible additions to the lower cabinet for drawers (depending on mounting option):
* Lower Cabinet Casters (4700123)
* Cabinet Standard Mounting Kit (4800082)
* Cabinet adjustable feet (4700119)
* Lower cabinet handles (4700134)
Corner protection in black PP-plastic.
The top of the cabinet can be used as a shelf. Top is reinforced for this cabinet
Cut out logo with zinc-plated corner bracket behind.
Colour:
Matte Grey NCS S 7500-N
Planning rules
<
Planning rules
When planning in Elfa Planner, the design tool will help you plan your different cabinet features.
There are 11 positions for drawers in the lower cabinet for drawers:
Chest drawer = 1 position: height 59 mm (2-3/8")
Shallow drawer = 2 positions: height 123 mm (4-7/8")
Deep drawer = 4 positions: height 251 mm (9-7/8")
The sum must equal a total of 11 positions.
Safety and care
<
Safety and care
Safety
Maximum load capacity per section: 200 kg (Classic by Elfa, click-in top-hung system) and 240 kg (Garage+/Décor+).
Avoid overloading individual storage components and distribute the weight evenly across the system. Different products have different recommended maximum load capacities. For more information, please refer to the Product Information section for each product, as well as Measure & Plan.
Before installation, check the wall material and condition. Elfa's product range is generally designed for normal use in residential indoor environments.
Care
Wipe clean with a cloth dampered with a mild cleaner. Wipe dry with a clean cloth.
Assembly Instructions
<
Assembly Instructions
Lower cabinets can be installed in hang standards using the cabinet standard mounting kit, be freestanding and movable with casters, or be freestanding with cabinet adjustable feet.
Note: If you hang the cabinet in hang standards, wait to install doors and drawers until the cabinet is hung.
Step 1: Start with the cabinet bottom. Attach the left and right parts (F) according to the illustration.
Step 2: Install one side by first aligning the front corner with the cabinet bottom as shown.
Step 3: Once the first side is in place, install the second side in the same way.
Step 4: Attach the corner protectors marked (BL) and (BR) using 2 screws (B). Also secure 2 screws (B) in the rear corners.
Step 5: When both sides are installed and secured, turn the unit so that the front is facing the floor.
Step 6: Install the cabinet back panel.
Step 7: Fasten 2 screws (C) in the marked holes to secure the back panel.
Note: Do not insert additional screws (C) at this stage. Then turn the cabinet upright.
Step 8 (IMPORTANT): Install the locking bar in the rail with the locking hooks on the top of the cabinet. Insert the rail into the holder mounted on the back panel.
Step 9: Slide down the locking bar and the top of the cabinet as shown.
Step 10: Lower the top fully so that it is aligned with the sides.
Step 11: Install both parts (E) in the inner, upper, front corners according to the illustration.
Step 12 (if installing handles): Handles are optional. If you install handles, they should be fastened underneath the two corner protectors (TL and TR) as shown.
Note: Holes for attaching the lower part of the handles are located on the inside edge of the cabinet.
Step 13: Secure the lower part of the handles with 2 screws (C).
Step 14: Fasten 6 screws (C) in the lower part of the back panel.
Step 15: Fasten 2 screws (C) to secure the upper part of the back panel.
Step 16 (if installing casters): Align the casters with the holes in the cabinet bottom. Secure each caster with the 4 included screws.
Note: The 2 casters with brakes must be mounted at the front.