
Products
Functional storage makes your everyday life easier. Elfa has different product lines adapted to different storage needs.


Note! Do not place Elfa products in direct contact with water.
Wipe clean with a cloth dampered with a mild cleaner. Wipe dry with a clean cloth.
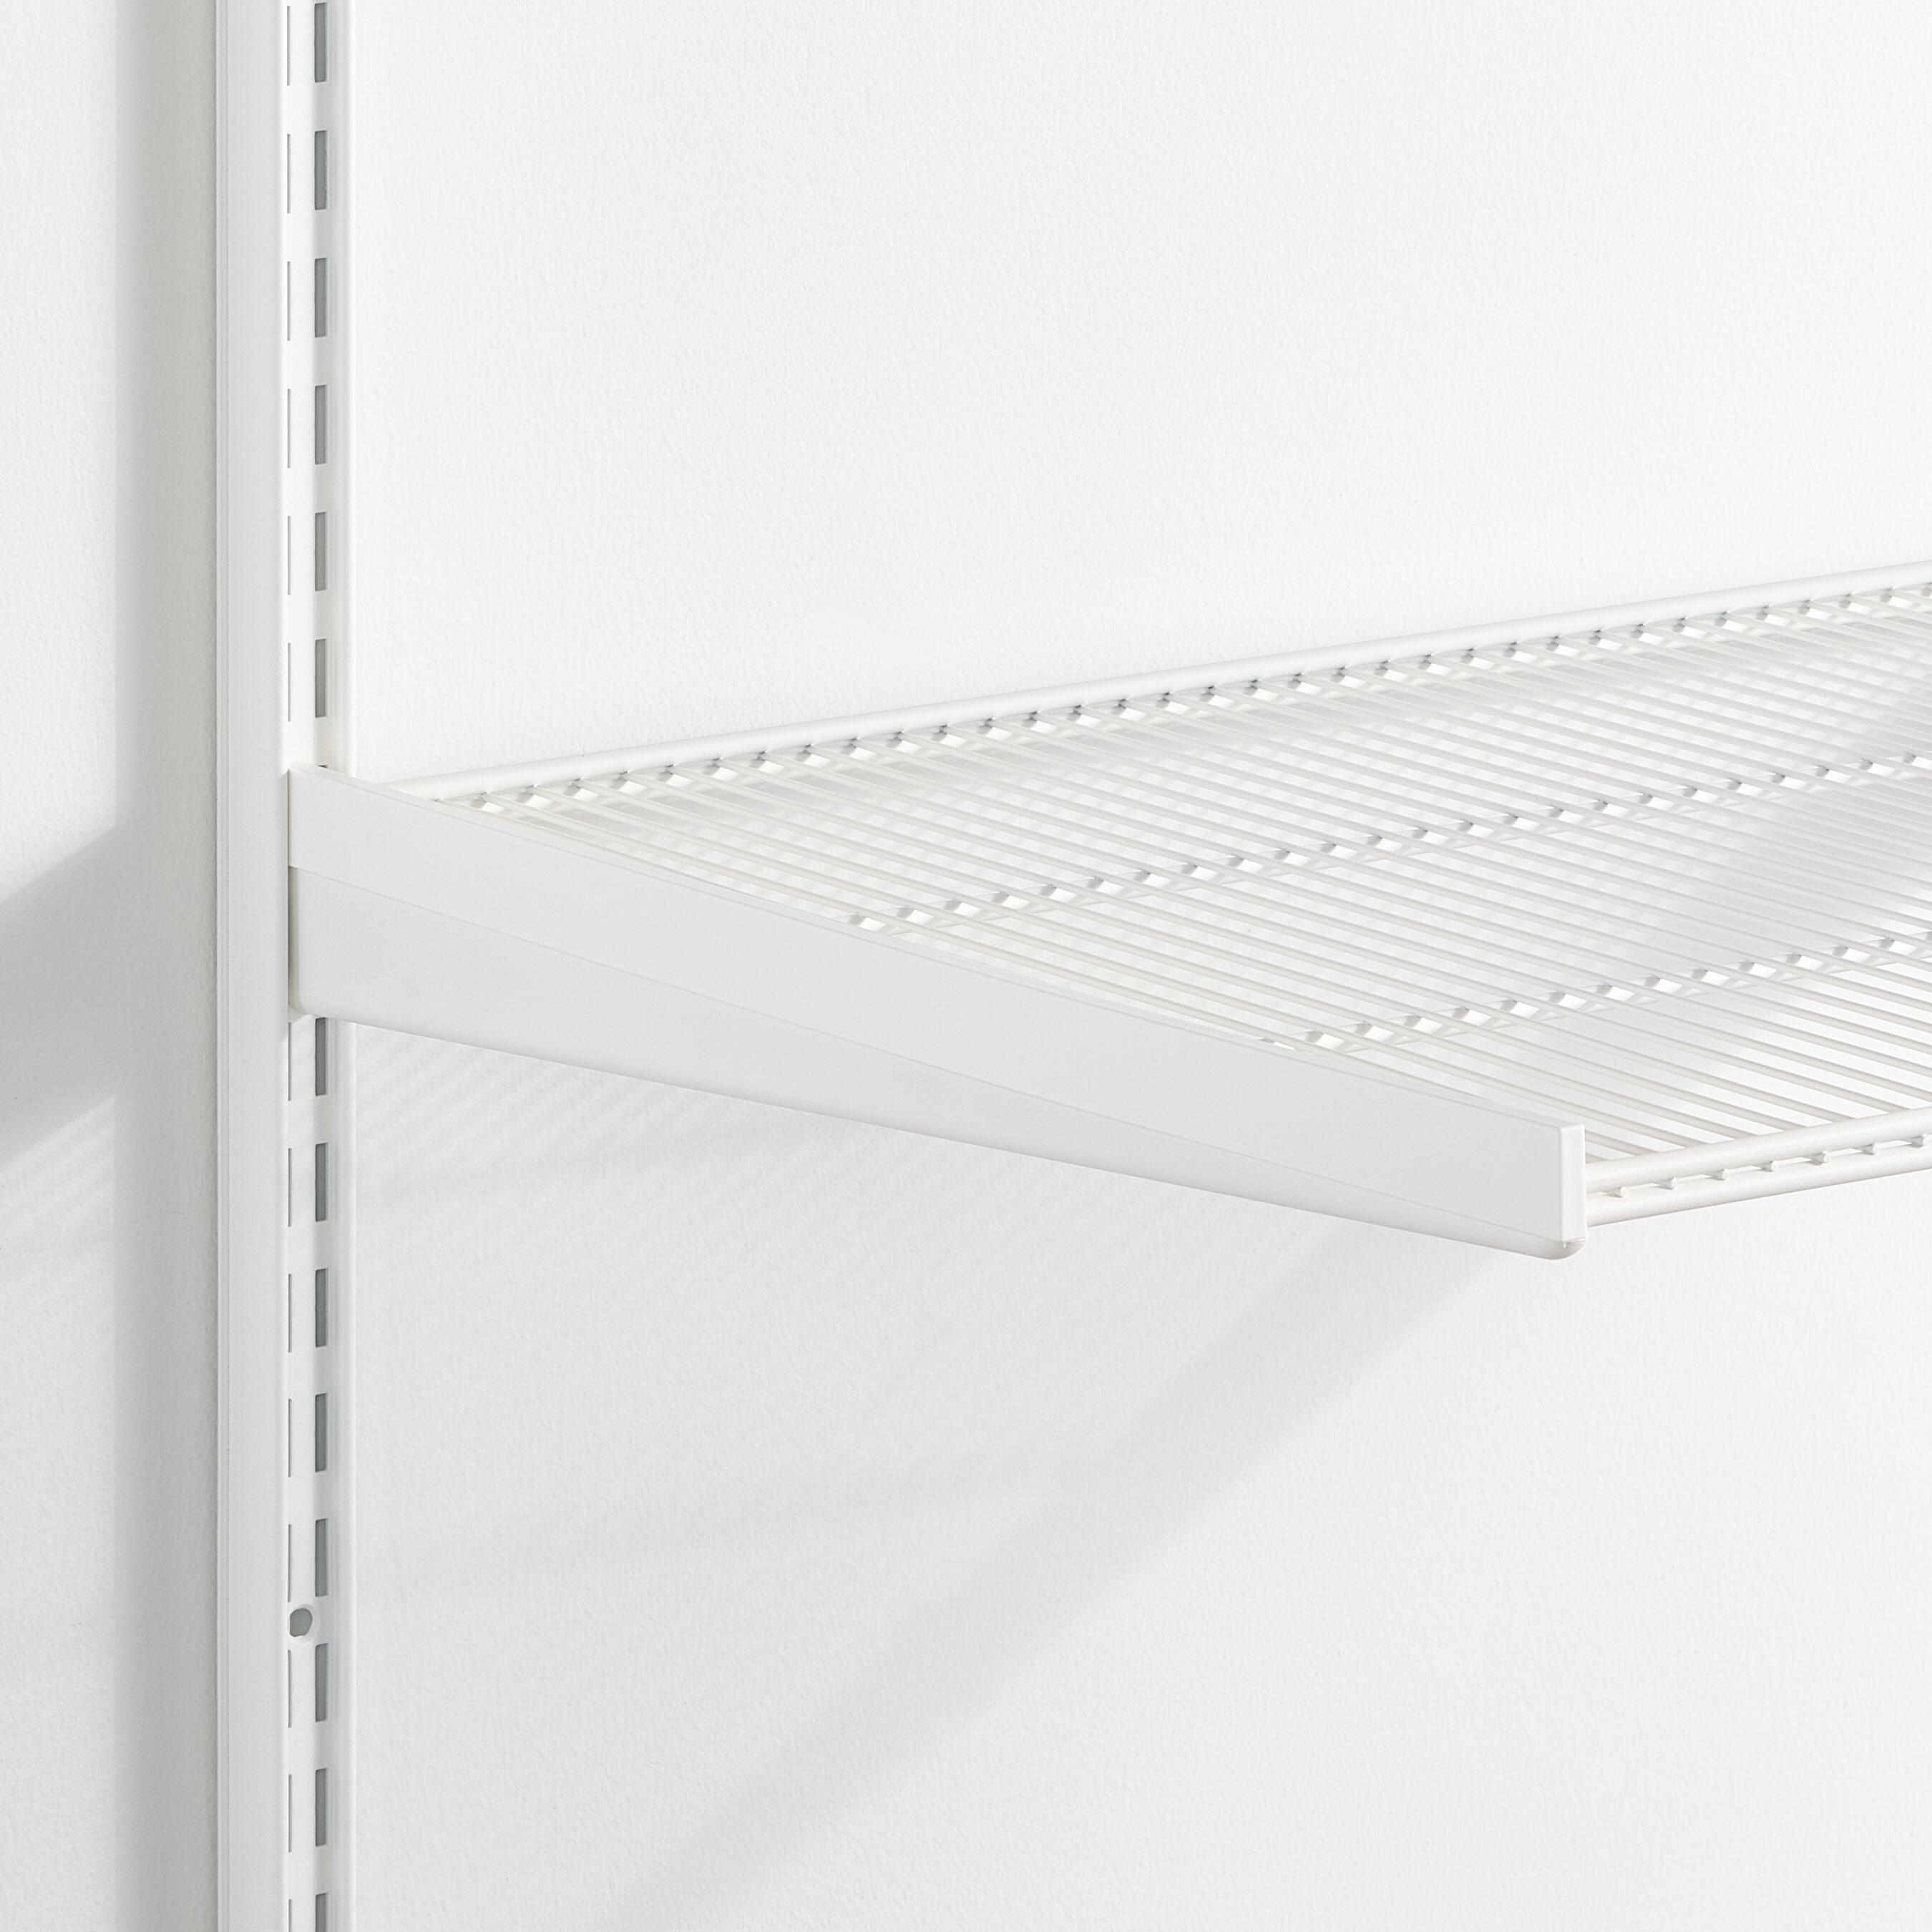
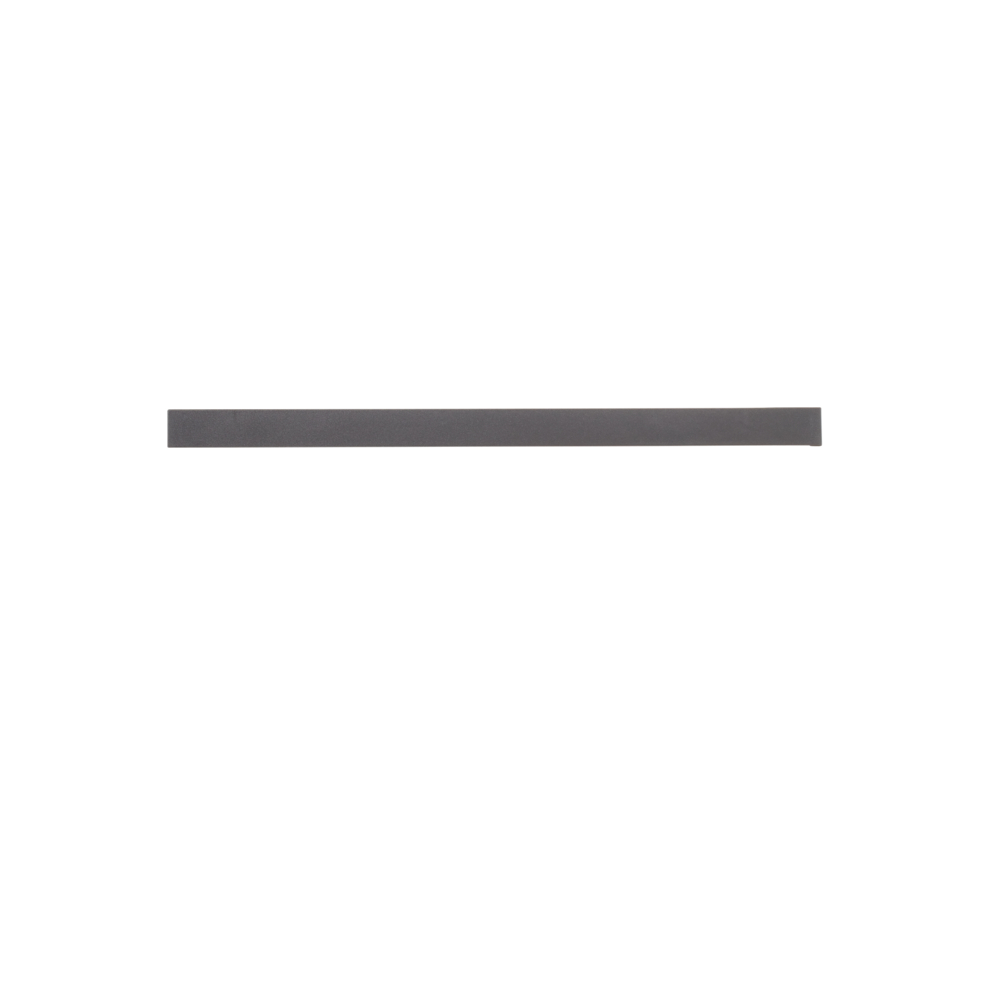
Elevate the aesthetics of your Décor+ system with the bracket cover. Designed to create a clean look and shield against dirt and dust, this cover clicks seamlessly into place on the bracket. Keep your setup tidy while adding a touch of style. Note that left and right bracket covers are not interchangeable.
Color
Size

Width (mm): 8
Depth (mm): 324
Height: 25
2,90
Width (mm): 8
Depth (mm): 324
Height: 25
2,90
Width (mm): 8
Depth (mm): 425
Height: 25
3,10

Width (mm): 8
Depth (mm): 425
Height: 25
3,10
Needs To Have
Décor+
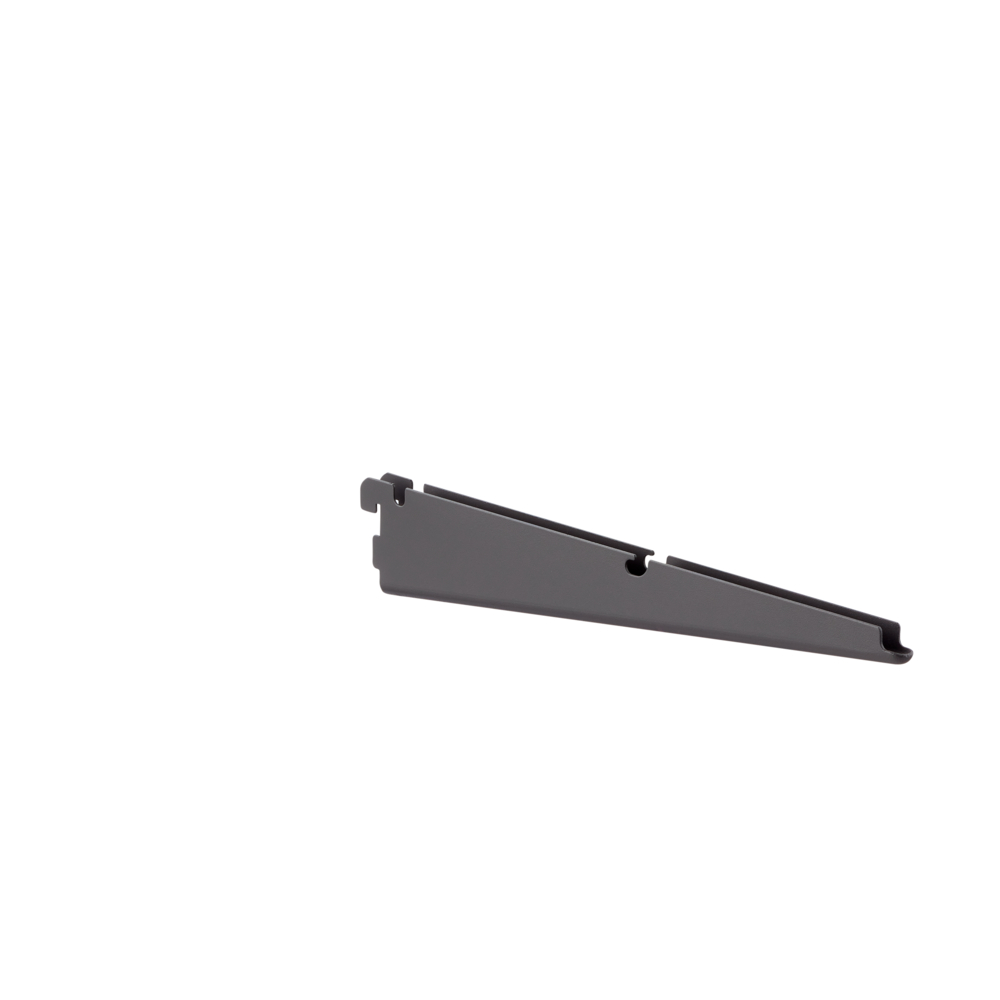
Bracket D: 30 Matte grey
4,70
Note! Do not place Elfa products in direct contact with water.
Wipe clean with a cloth dampered with a mild cleaner. Wipe dry with a clean cloth.