Storage inspiration for every room – with smart solutions that combine style and function. Create a home where every surface becomes a storage opportunity.
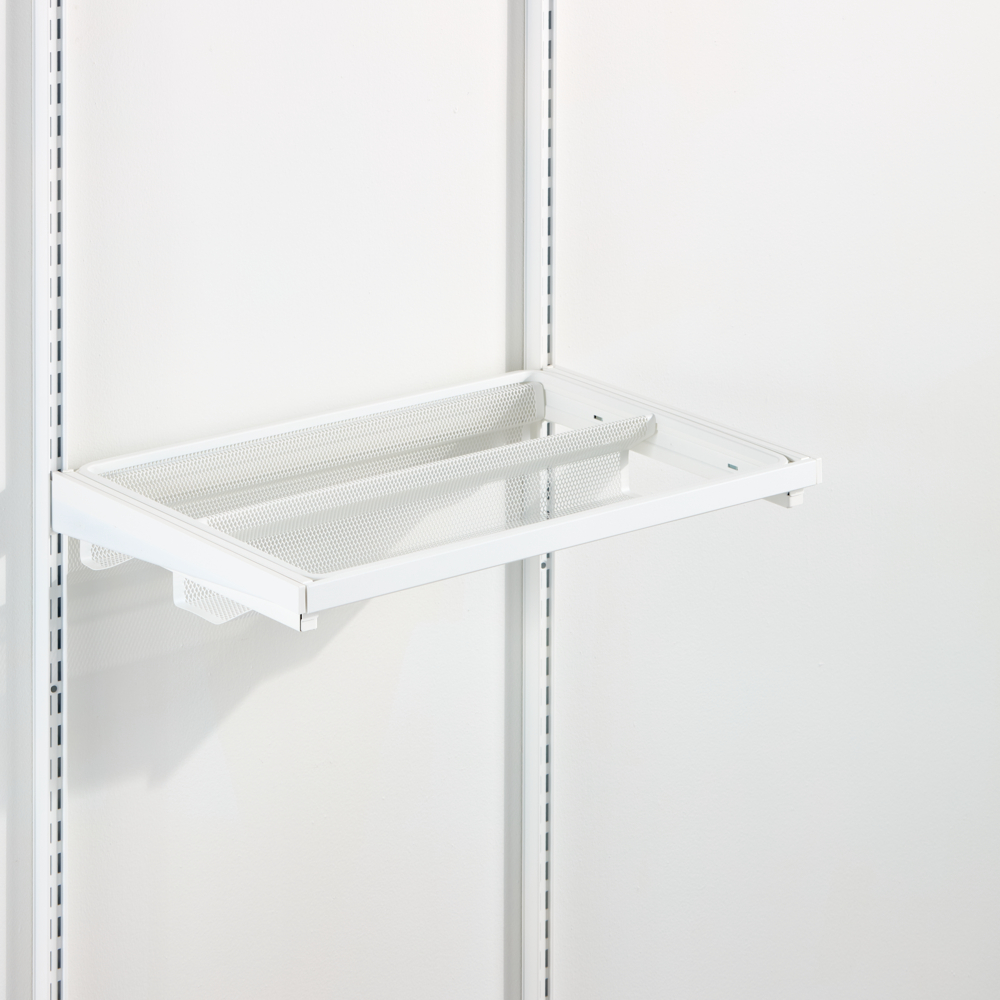
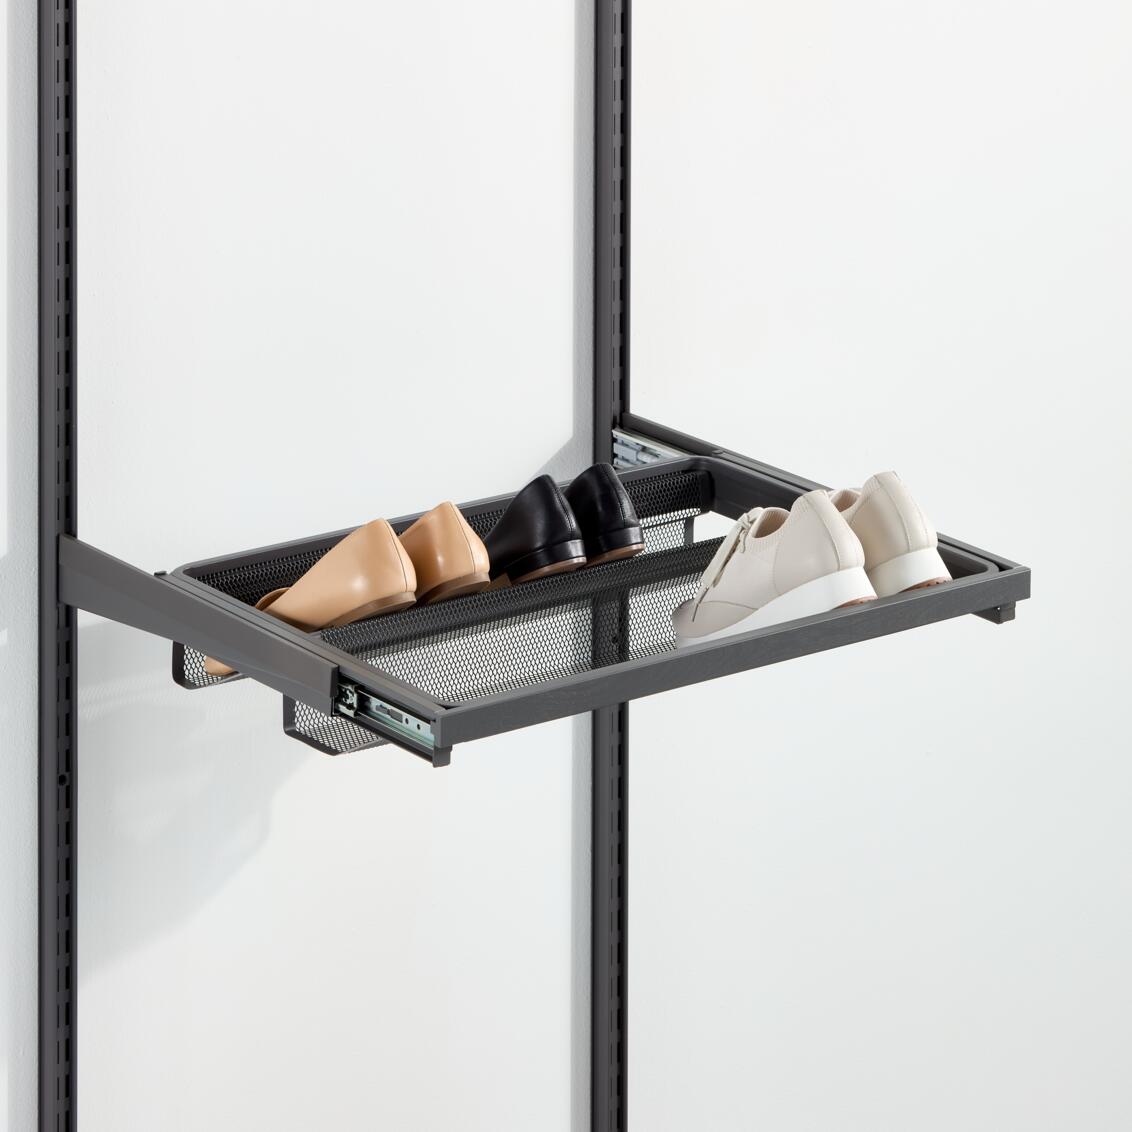
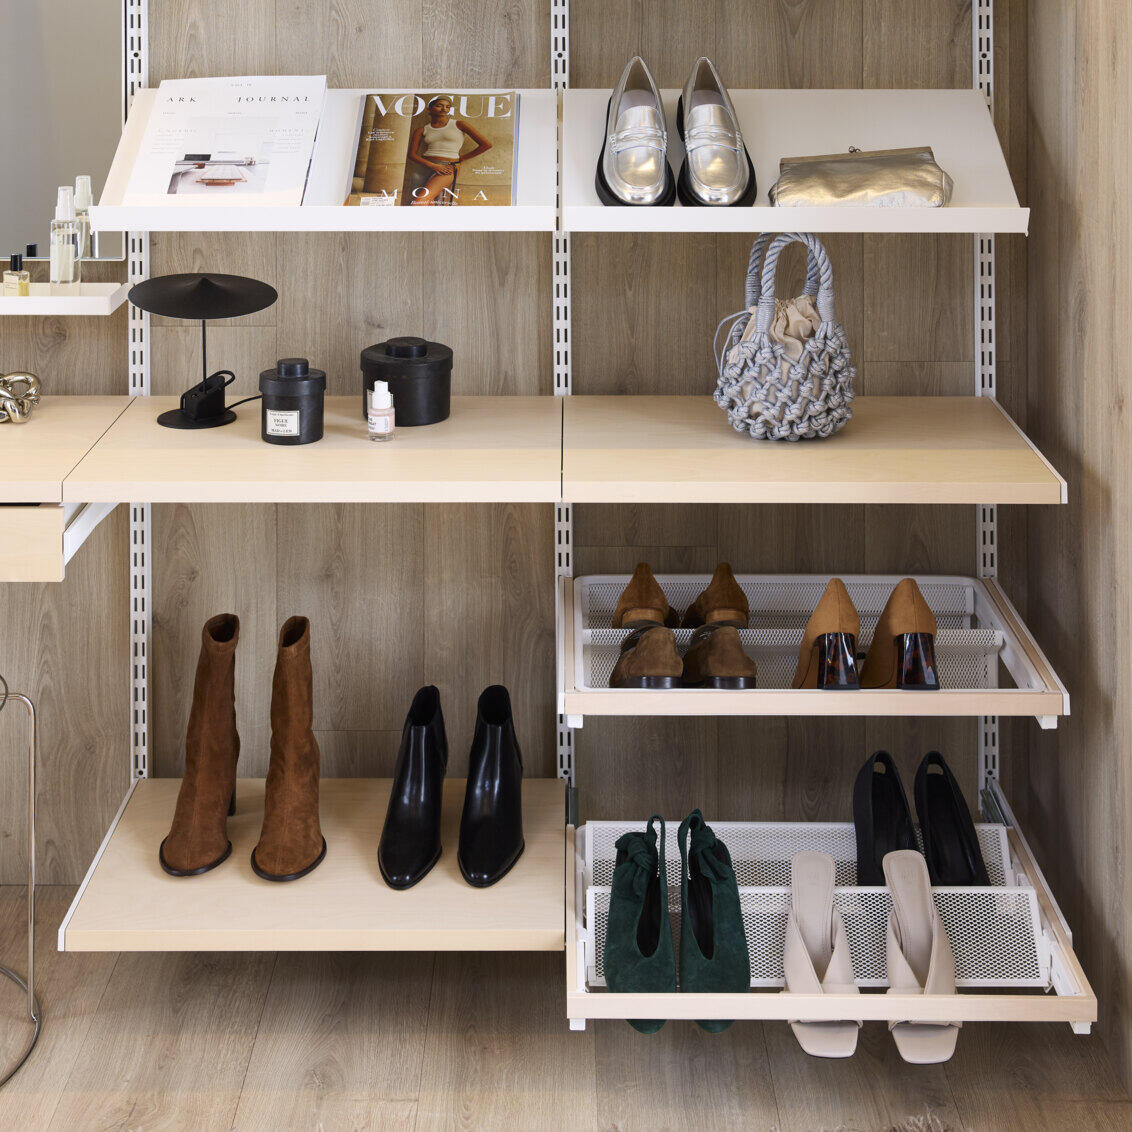
Experience a new way to achieve great shoe organization with our Shoe shelf, suitable for both flat soles and heels. This smart and beautiful shoe shelf, featuring both full-extension and soft-close, offers both easy-access and a clear overview of your shoe collection. With the added decorative trim, attached to the front edge of the Gliding frame, you will achieve a stylish and functional addition to your shoe storage.
268950 | Shoe shelf insert for Gliding frame W: 60 D: 40 Matte white , Matte white 557x426x95 mm
ColorMatte white/White
Width (mm)605
Depth (mm)432
Height95
Technical description
<
Technical description
A complete solution with gliding frame, shoe shelf insert and a trim for gliding frame. Features full extension and soft close. Easy assembly between Décor+ brackets. The Décor+ gliding frame features full extension and soft close and easily clicks into place between two brackets, with no tools needed. * Gliding frame made from high strength steel. Side covers in steel, to be assembled with premounted magnets. * Preassembled full extension slides with soft close. * In full extension the gliding frame pulls out 854 mm (33-5/8”) from the wall in total. The shoe shelf insert designed for storing shoes. Creates a good overview and easy access. * Made from a durable epoxy-bonded steel mesh construction. The trim for gliding frame is made of solid birch wood. * Easy assembly onto the gliding frame using pre-assembled screws. Gliding frame and shoe shelf insert come in 2 unique metal colour options: Matte White (polyester colour) NCS S 0300-N, fine texture, gloss 5 Matte Grey (polyester colour) NCS S 7500-N, fine texture, gloss 5 Shelf trim available in the following colours/finishes: Natural birch: A matte-lacquered light birch Grey: NCS S 7500-N, gloss 5 White: NCS S 0300-N, gloss 5
Planning rules
<
Planning rules
When planning in Elfa Planner, the design tool will guide you where a gliding frame with a shoe rack insert can be placed. A shoe shelf (W: 60 / 2') can hold up to 6 pairs of shoes. Be sure to leave sufficient room for a feature above the shoe shelf, so that your shoes/boots do not collide with the function above. We recommend around 4 pairs of slots free from features above, when storing shoes (depending on height of the shoes).
Safety and care
<
Safety and care
Assembly Instructions
<
Assembly Instructions
Before you start: Mount the hang standards and brackets.
Assembly of gliding frame and trim:
Step 1: Position the gliding frame over the brackets with the tabs on the side of the frame over the notches in the bracket. Ensure that the locking tabs are in the right position. The tabs should be pointing towards the wall. Push down so that the tabs are completely down into the bracket notches (until you hear a click). Then push the frame back towards the wall, until you hear a click.
Step 2: Identify which of the slide covers is left/right. The outside of the cover is the flat side and the thinner part of the "triangle shape" should be backward pointing. Attach the slide covers so that they are completely flush towards the front tabs of the gliding frame.
Step 3: Assemble the shelf trim onto the front of the gliding frame. Push the screws on the back of the shelf trim through the wider part of the holes on the front of the gliding frame and then push the shelf trim to the left in order to lock it into place. Then tighten the screws.
Assembly of pant rack rods:
Angle in the first pant rack rod into the gliding frame, starting from the left. The clip on the back of each rod snaps around the upper part of the gliding frame.
Continue to position all rods into the gliding frame, withouit locking them in the front. This in order to secure that you are happy with the positioning, before locking them (the rods are possible to slide and adjust in position sideways).
When you have placed the pant rack rods in the desired positions, push them firmly down in the front (for locking). When pressing down, simultaniously hold on the underside of the gliding frame as support.
Recommended price (Prices may vary between retailers)
56,70
Experience a new way to achieve great shoe organization with our Shoe shelf, suitable for both flat soles and heels. This smart and beautiful shoe shelf, featuring both full-extension and soft-close, offers both easy-access and a clear overview of your shoe collection. With the added decorative trim, attached to the front edge of the Gliding frame, you will achieve a stylish and functional addition to your shoe storage.
Color
Size
Width: 605 mm Depth: 432 mm
<
Select size
Width (mm): 605
Depth (mm): 432
Height: 95
56,70
Specification
<
Specification
Experience a new way to achieve great shoe organization with our Shoe shelf, suitable for both flat soles and heels. This smart and beautiful shoe shelf, featuring both full-extension and soft-close, offers both easy-access and a clear overview of your shoe collection. With the added decorative trim, attached to the front edge of the Gliding frame, you will achieve a stylish and functional addition to your shoe storage.
268950 | Shoe shelf insert for Gliding frame W: 60 D: 40 Matte white , Matte white 557x426x95 mm
ColorMatte white/White
Width (mm)605
Depth (mm)432
Height95
Technical description
<
Technical description
A complete solution with gliding frame, shoe shelf insert and a trim for gliding frame. Features full extension and soft close. Easy assembly between Décor+ brackets. The Décor+ gliding frame features full extension and soft close and easily clicks into place between two brackets, with no tools needed. * Gliding frame made from high strength steel. Side covers in steel, to be assembled with premounted magnets. * Preassembled full extension slides with soft close. * In full extension the gliding frame pulls out 854 mm (33-5/8”) from the wall in total. The shoe shelf insert designed for storing shoes. Creates a good overview and easy access. * Made from a durable epoxy-bonded steel mesh construction. The trim for gliding frame is made of solid birch wood. * Easy assembly onto the gliding frame using pre-assembled screws. Gliding frame and shoe shelf insert come in 2 unique metal colour options: Matte White (polyester colour) NCS S 0300-N, fine texture, gloss 5 Matte Grey (polyester colour) NCS S 7500-N, fine texture, gloss 5 Shelf trim available in the following colours/finishes: Natural birch: A matte-lacquered light birch Grey: NCS S 7500-N, gloss 5 White: NCS S 0300-N, gloss 5
Planning rules
<
Planning rules
When planning in Elfa Planner, the design tool will guide you where a gliding frame with a shoe rack insert can be placed. A shoe shelf (W: 60 / 2') can hold up to 6 pairs of shoes. Be sure to leave sufficient room for a feature above the shoe shelf, so that your shoes/boots do not collide with the function above. We recommend around 4 pairs of slots free from features above, when storing shoes (depending on height of the shoes).
Safety and care
<
Safety and care
Assembly Instructions
<
Assembly Instructions
Before you start: Mount the hang standards and brackets.
Assembly of gliding frame and trim:
Step 1: Position the gliding frame over the brackets with the tabs on the side of the frame over the notches in the bracket. Ensure that the locking tabs are in the right position. The tabs should be pointing towards the wall. Push down so that the tabs are completely down into the bracket notches (until you hear a click). Then push the frame back towards the wall, until you hear a click.
Step 2: Identify which of the slide covers is left/right. The outside of the cover is the flat side and the thinner part of the "triangle shape" should be backward pointing. Attach the slide covers so that they are completely flush towards the front tabs of the gliding frame.
Step 3: Assemble the shelf trim onto the front of the gliding frame. Push the screws on the back of the shelf trim through the wider part of the holes on the front of the gliding frame and then push the shelf trim to the left in order to lock it into place. Then tighten the screws.
Assembly of pant rack rods:
Angle in the first pant rack rod into the gliding frame, starting from the left. The clip on the back of each rod snaps around the upper part of the gliding frame.
Continue to position all rods into the gliding frame, withouit locking them in the front. This in order to secure that you are happy with the positioning, before locking them (the rods are possible to slide and adjust in position sideways).
When you have placed the pant rack rods in the desired positions, push them firmly down in the front (for locking). When pressing down, simultaniously hold on the underside of the gliding frame as support.