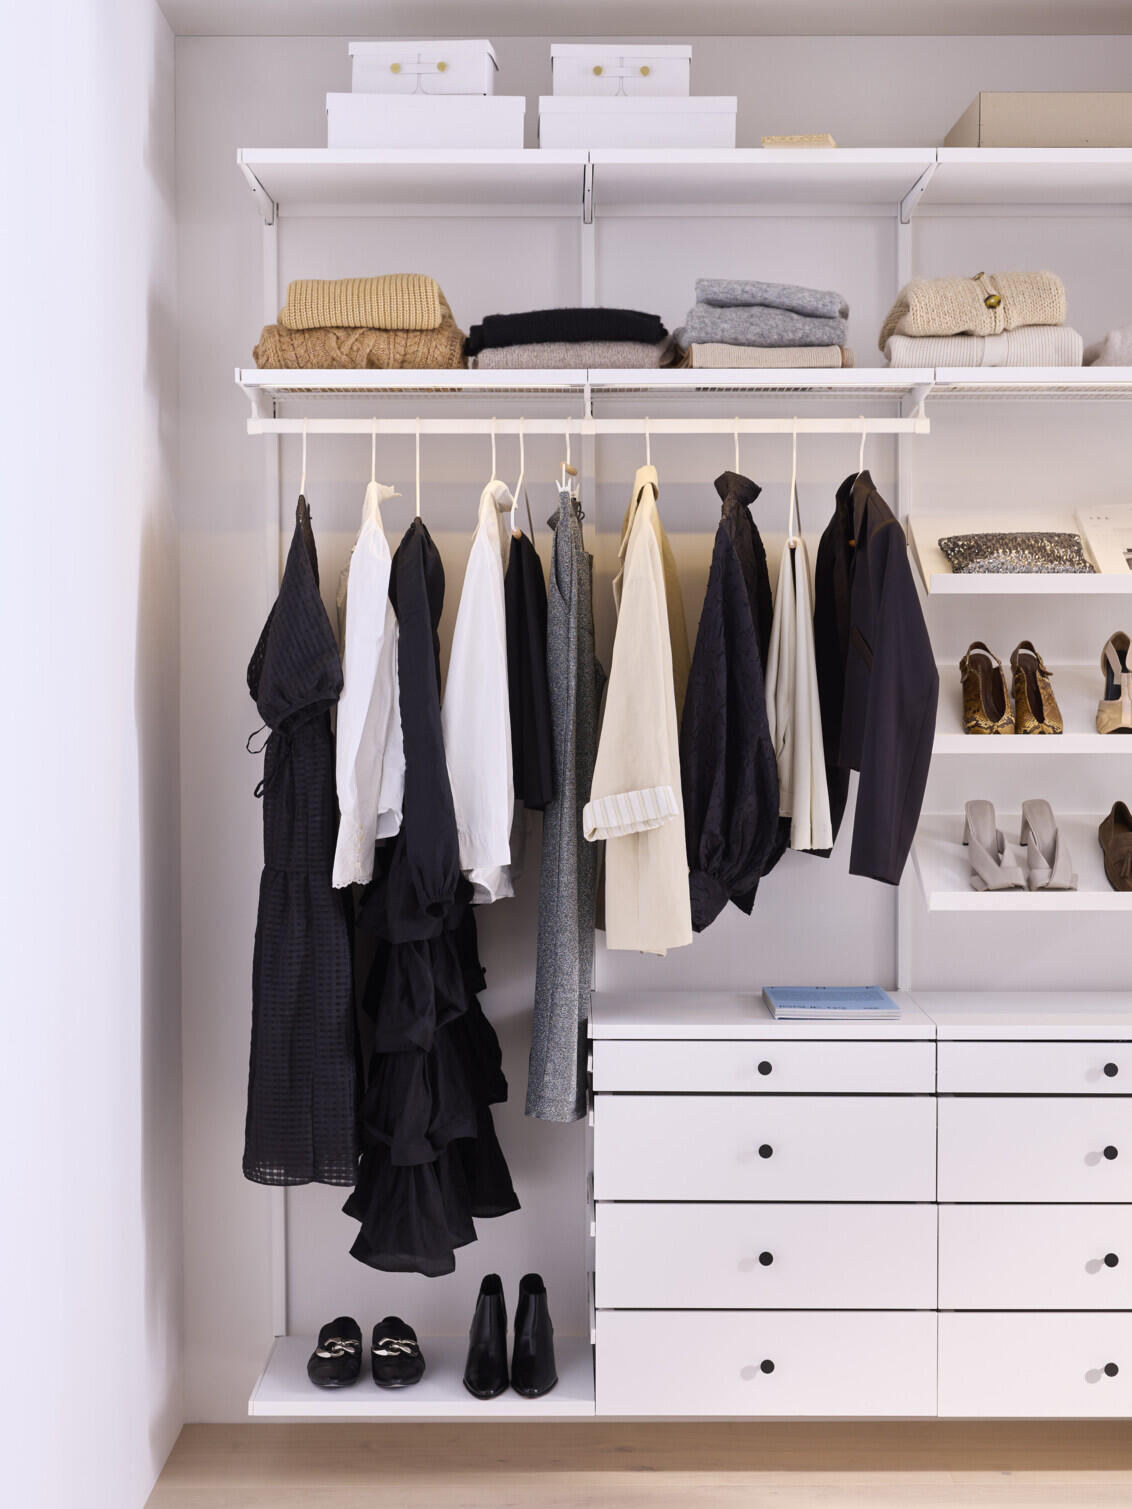
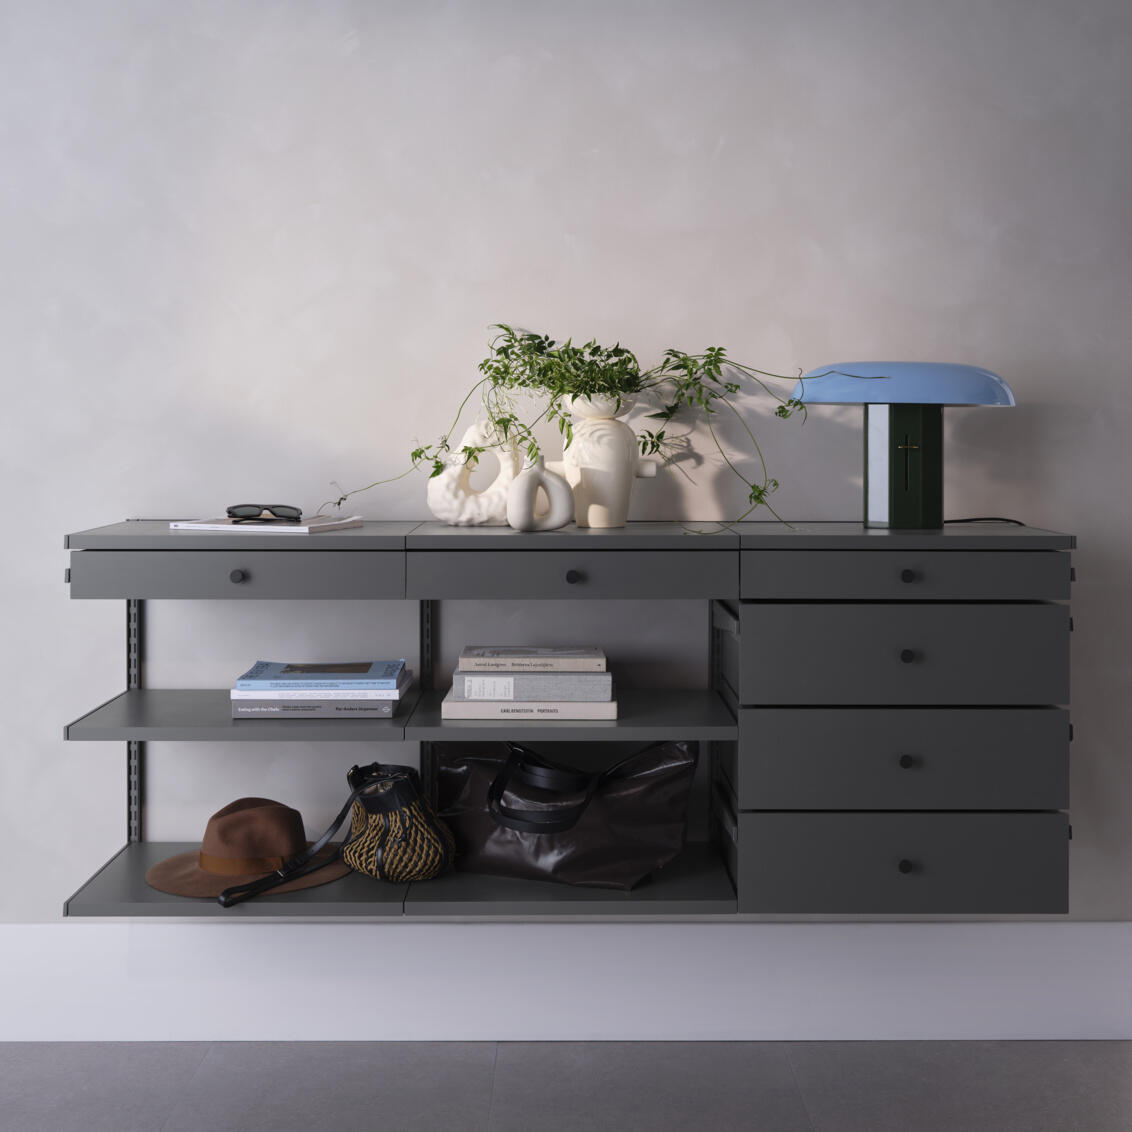
Storage inspiration for every room – with smart solutions that combine style and function. Create a home where every surface becomes a storage opportunity.
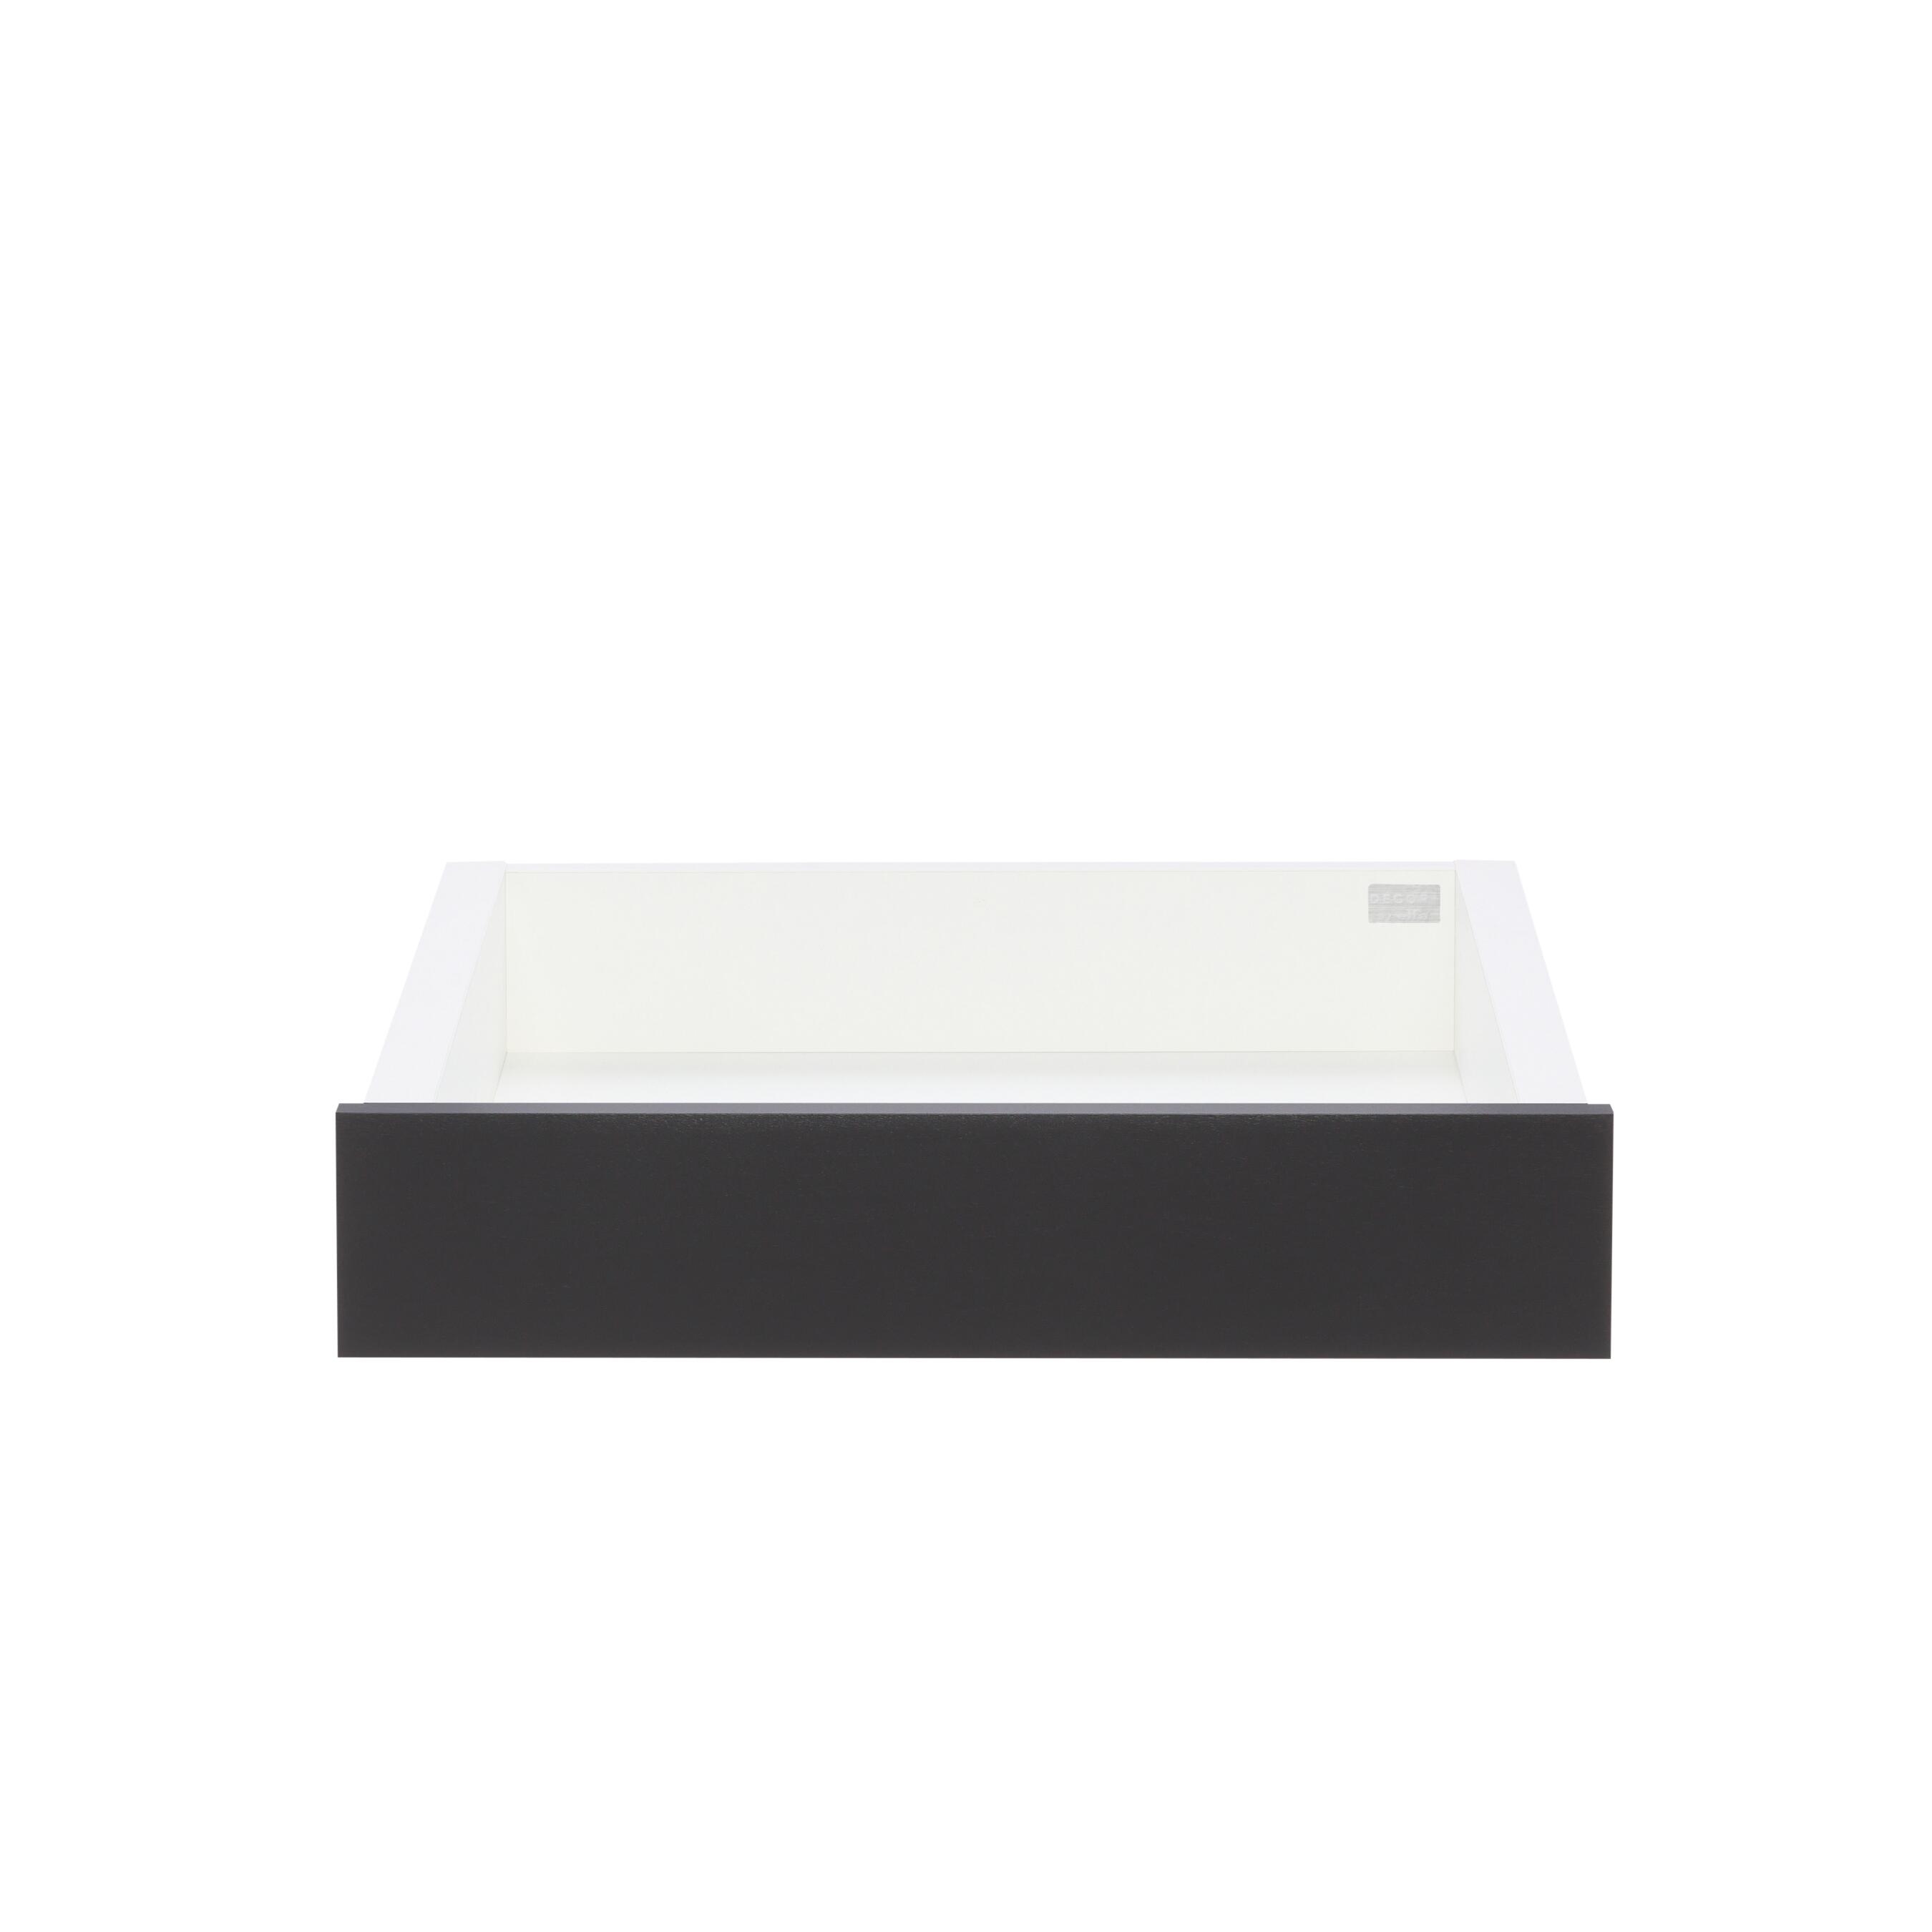
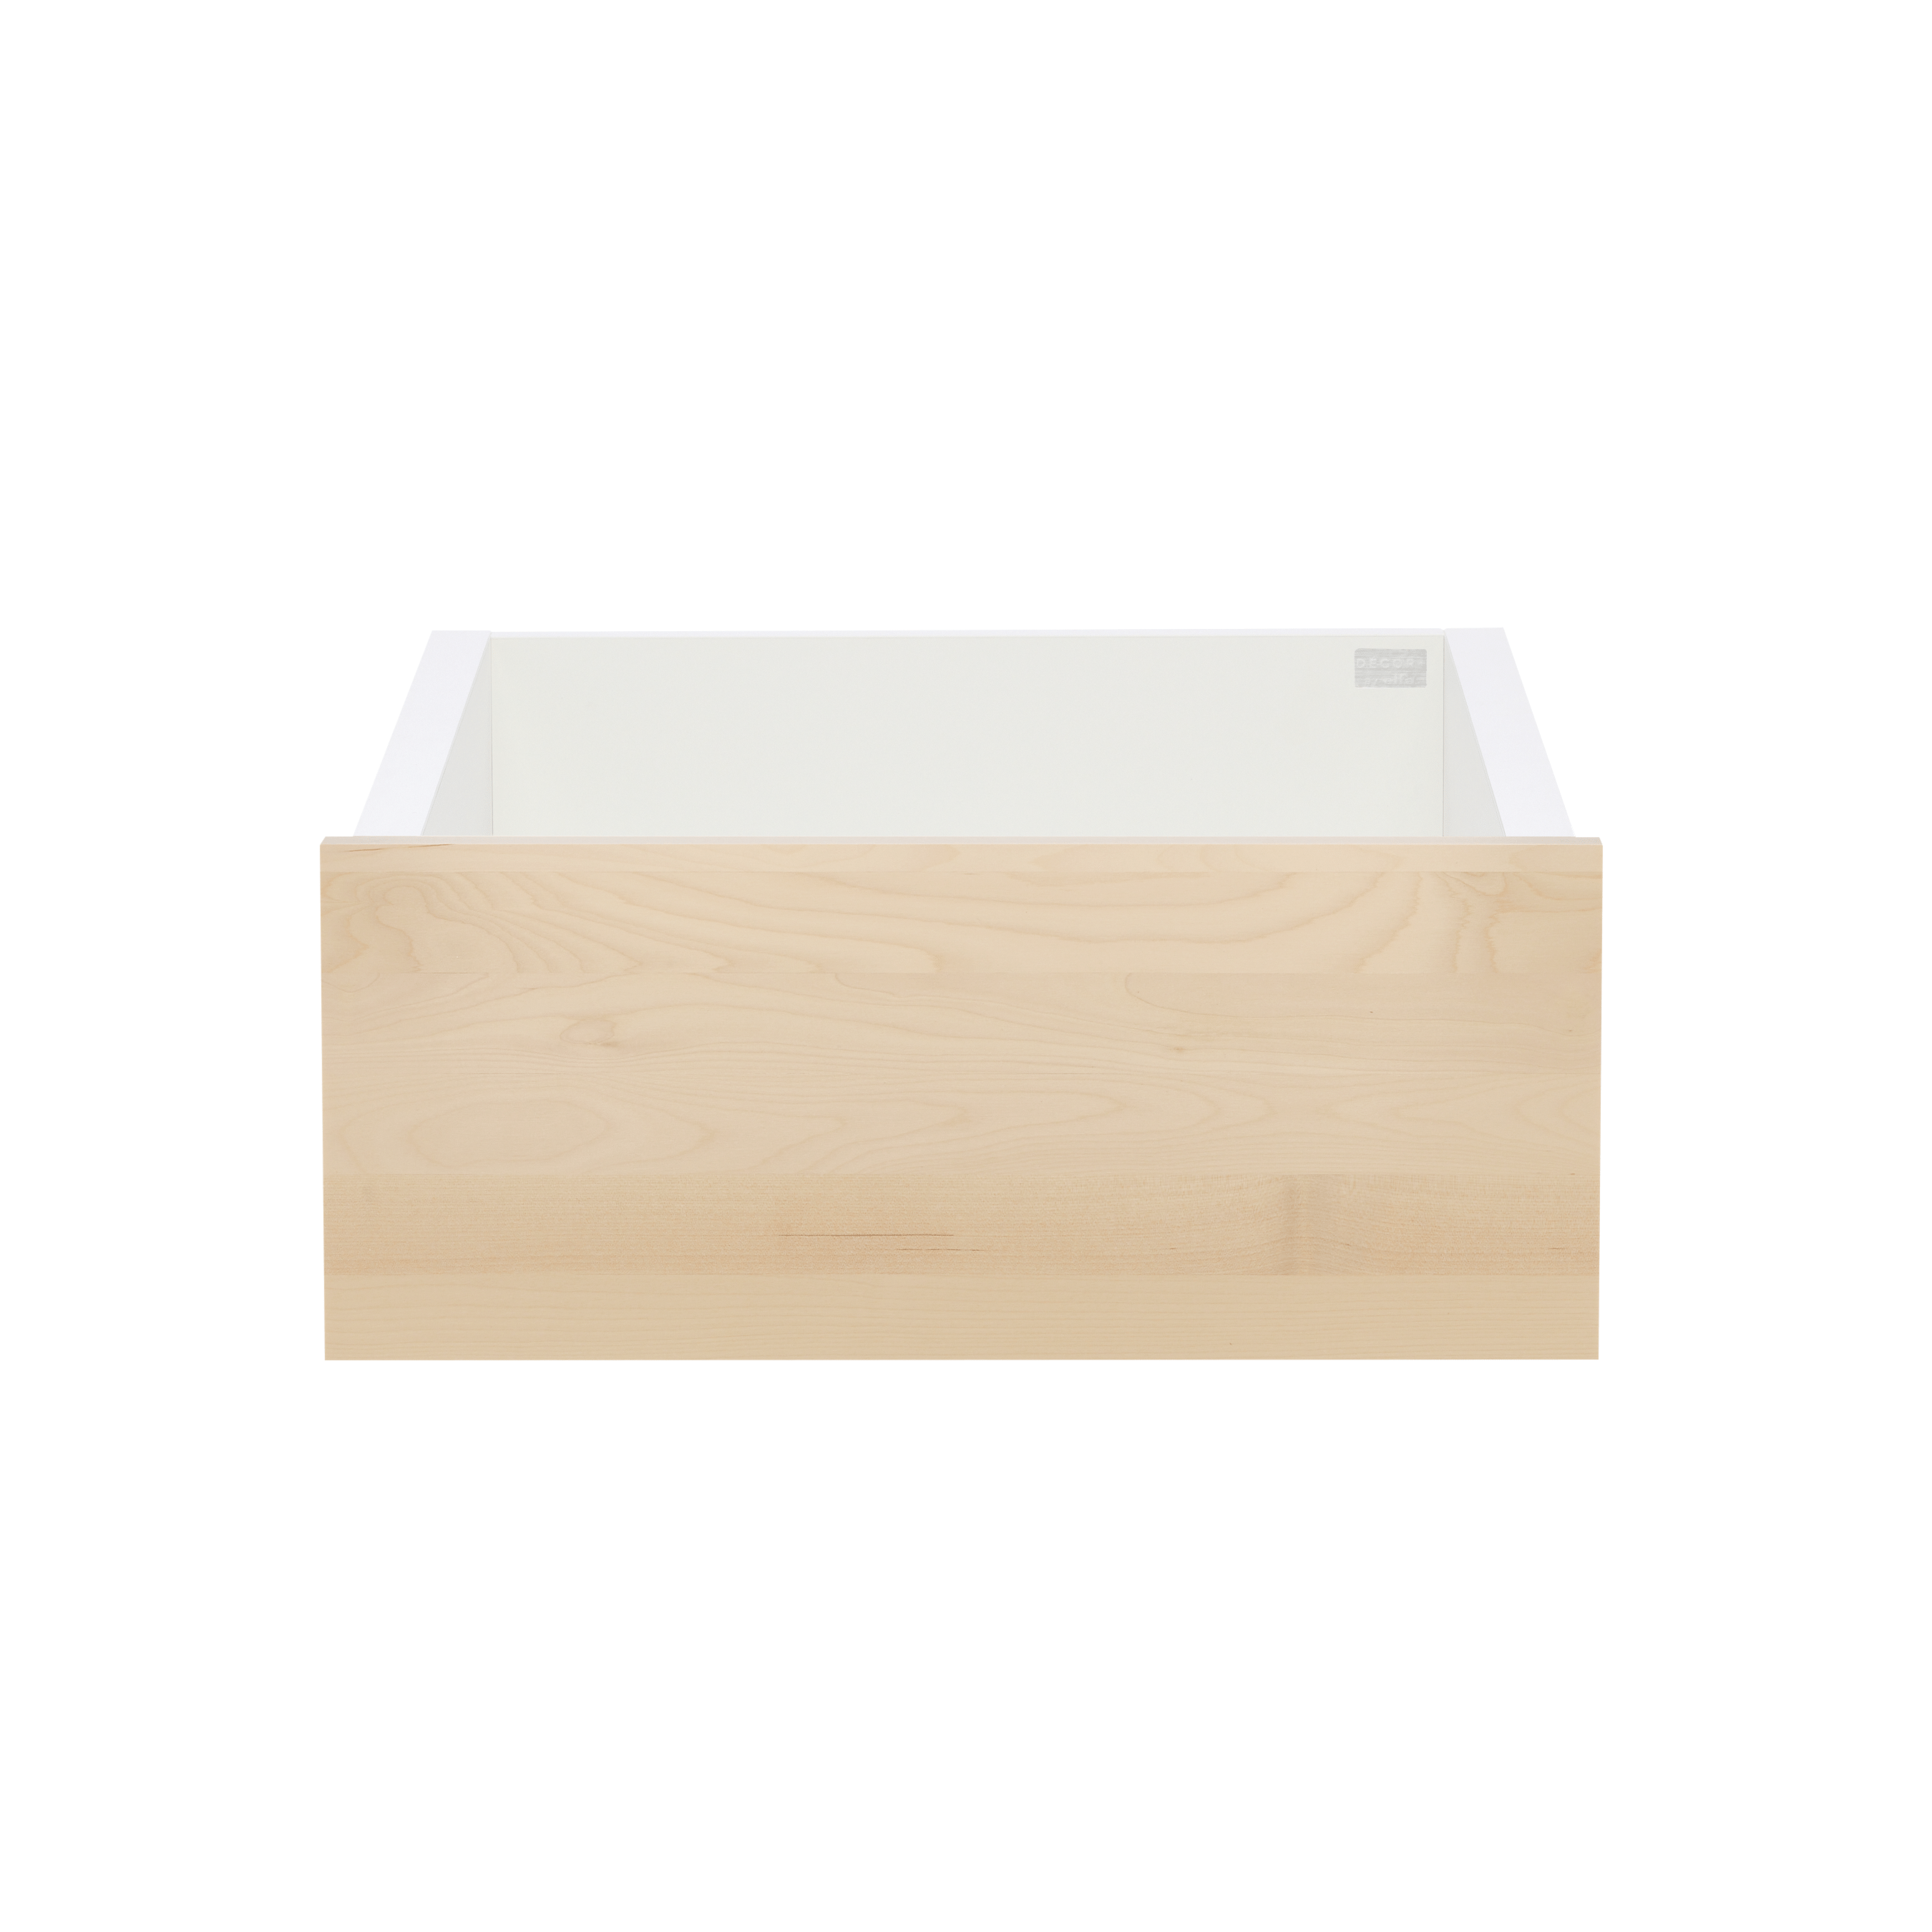
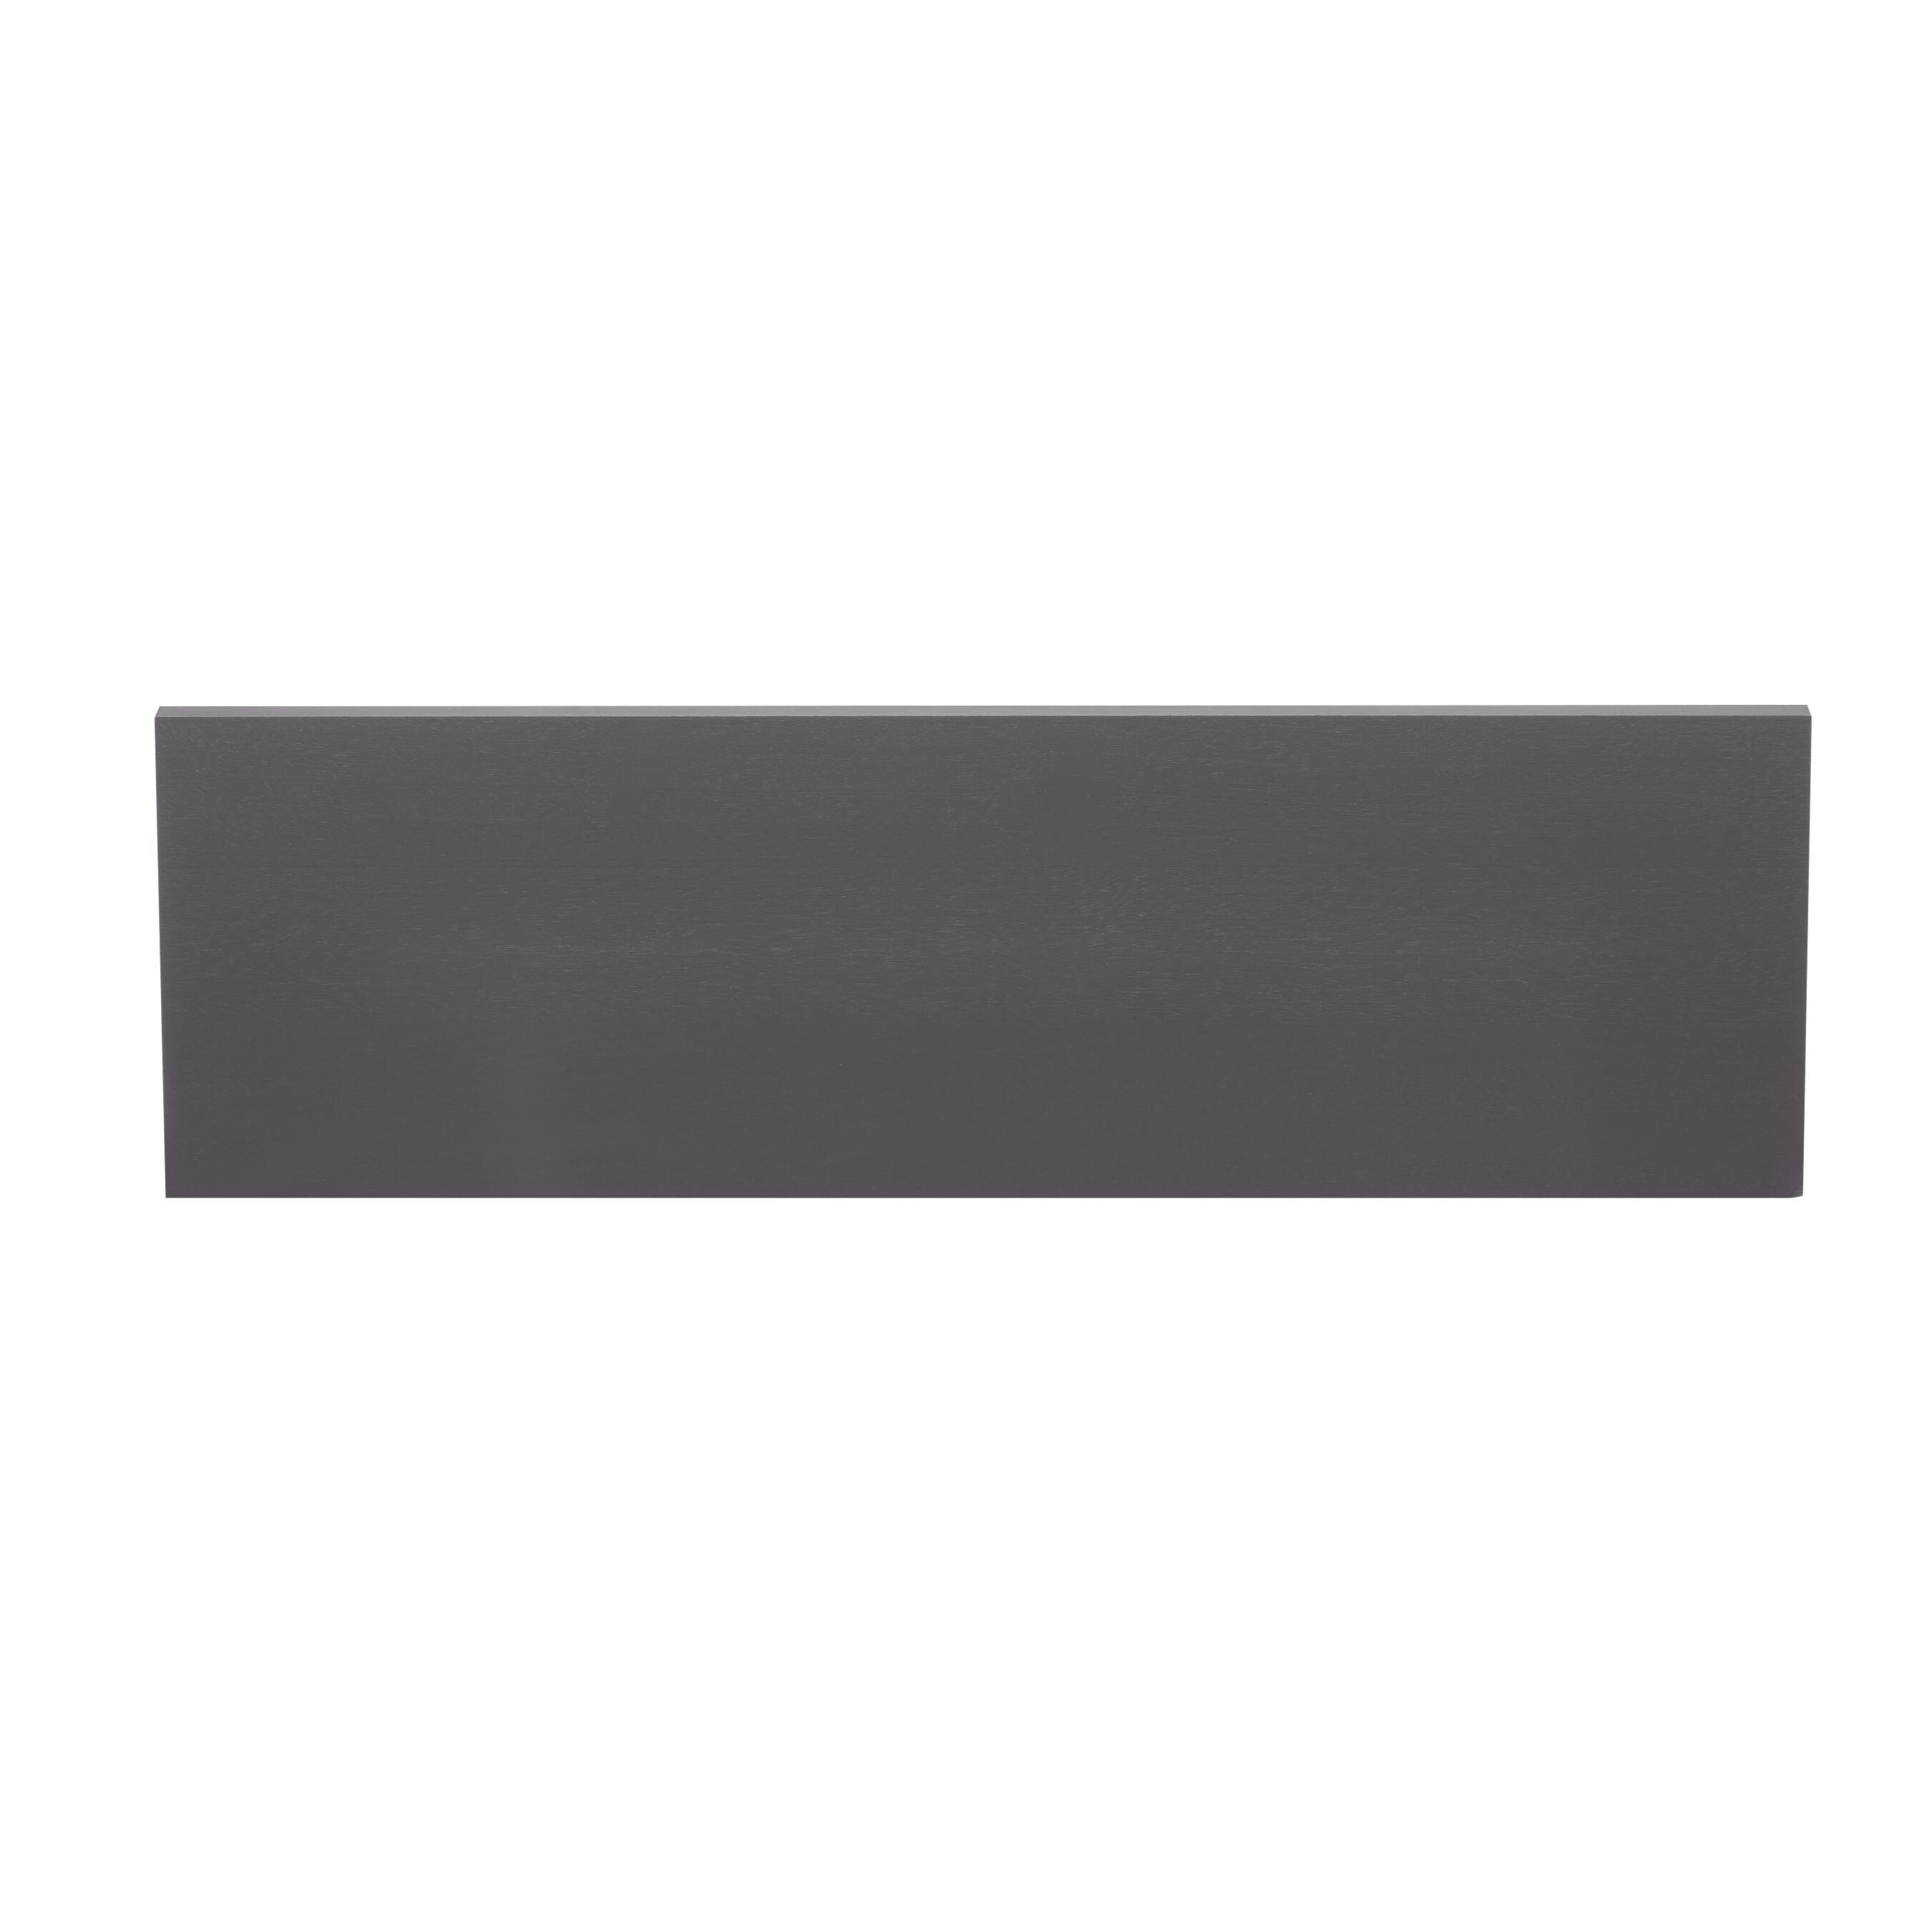
Upgrade your storage solutions with our solid drawer front, designed to fit with our soft-closing and full-extension drawer. Mounts easily onto a drawer box. Customize your drawer front by pairing it with one of our knobs, creating a storage solution that perfectly fits your needs.
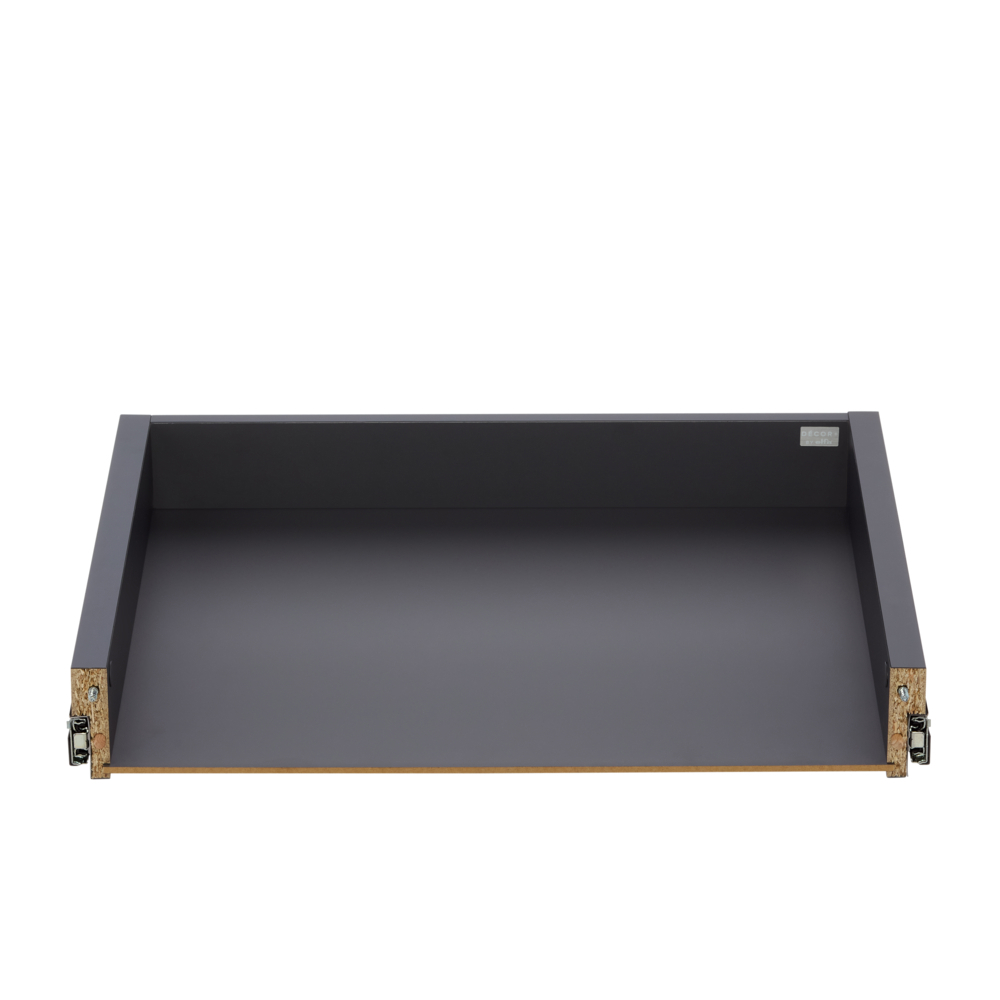
Drawer front to be assembled onto the front of a Décor+ drawer box in corresponding width/height. Add a knob.
Drawer fronts are made from edge-glued solid birch.
Drawer fronts are not able to be cut to size.
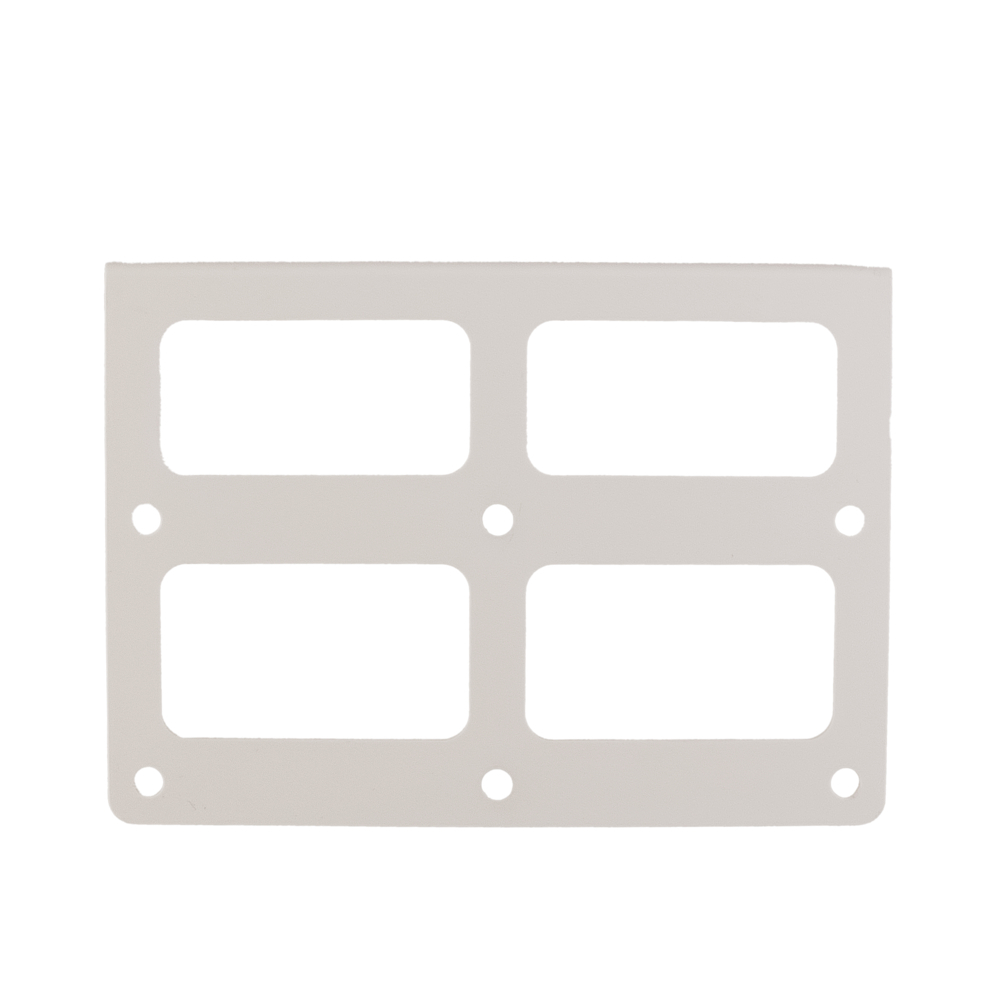
Optional knobs (or handles) are to be added to get a complete drawer. The drawer fronts do not have predrilled holes for knob/handle hardware to be mounted. Use drilling template.
Grey: NCS S 7500-N (water-based), gloss 5
White: NCS S 0300-N (water-based), gloss 5
Natural birch: matte lacquered, gloss 5
Stained birch: matte lacquered, gloss 5 (only available at The Container Store)
Planning rules
<
Planning rules
When planning in Elfa Planner, the design tool will automatically combine the Décor+ drawer box with a matching drawer front. The design tool will also help you plan drawers above eachother.
Multiple drawers can be placed next to eachother, sharing the same bracket, but can not be placed next to products that require 1 slot (such as angled shelf or a shelf tray).
Make sure to plan drawers directly above eachother, in order to avoid a gap.
Also, leave sufficient space in front of a solution containing drawers, in order to be able to extend fully. In full extension, a Décor+ drawer D: 40 / D: 16" pulls out 855 mm (33-5/8”) from the wall.
Don't forget to add drawer box accessory trays if you want to create the perfect organization for jewellery and othe small accessories.
* Shallow drawer is 76 mm (3”) deep inside and provides a storage volume of 16 liters for W: 60 / W: 2’ drawer.
* Deep drawer is 172 mm (6-6/8”) deep inside and provides a storage volume of 36 liters for W: 60 / W: 2’ drawer.
Safety and care
<
Safety and care
Safety
Maximum load capacity per section: 200 kg (Classic by Elfa, click-in top-hung system) and 240 kg (Garage+/Décor+).
Avoid overloading individual storage components and distribute the weight evenly across the system. Different products have different recommended maximum load capacities. For more information, please refer to the Product Information section for each product, as well as Measure & Plan.
Before installation, check the wall material and condition. Elfa's product range is generally designed for normal use in residential indoor environments.
Care
Wipe clean with a cloth dampered with a mild cleaner. Wipe dry with a clean cloth.
Assembly Instructions
<
Assembly Instructions
You need the following to assemble: Screwdriver
NOTE: Install the lower drawer boxes first and work your way up.
Assembly of drawer box:
Step 1: Lay out the three sides of the drawer with grooves facing up. Insert the dowels in two outside holes.
Step 2: Insert the screw side of the metal post of the camlock into the center hole in each side of drawer using a screwdriver.
Step 3: Attach the sides to the back pushing dowels into place firmly.
Step 4: Insert the larger size round camlock into the two side panels. Use a screwdriver to lock the camlock. Hand tighten until it stops.
Step 5: Slide the bottom panel into channel in base of drawer.
Attach drawer front:
Step 1: Insert dowels into the front facing of drawer. Use a screwdriver to insert metal post into center hole. Push firmly in place.
Step 2: Tighten camlocks with screwdriver. Snap covers over camlock holes in interior of drawer
Attach knobs to the drawer front:
NOTE: Measure carefully where the drill hole for the knob should be placed, before starting to drill into the front. Always drill from the front of the drawer front to secure the best looking condition of the screw hole!
Step 1: Use a drilling template to mark the position of hole desired for your selected handles/knobs. Use a ruler to ensure that the placement is centered on the drawer front.
Step 2: Check the width of the handle/knob screw. If mounting an Elfa knob, use a 5mm (3/16") drill bit. Drill the hole.
Step 3: Attach the knob through the hole.
Attach drawer box into brackets:
Step 1: Line up the metal tabs of the drawer glides on drawer box with the notches in brackets. Push down.
Step 2: Position hands on either side of the drawer box and push backwards. Ensure that the locking tabs are in correct position.
Recommended price (Prices may vary between retailers)
31,90
Upgrade your storage solutions with our solid drawer front, designed to fit with our soft-closing and full-extension drawer. Mounts easily onto a drawer box. Customize your drawer front by pairing it with one of our knobs, creating a storage solution that perfectly fits your needs.
Creates closed storage within your system., To be added to our soft-closing and full-extension Décor+ drawer box., Add a knob.
Upgrade your storage solutions with our solid drawer front, designed to fit with our soft-closing and full-extension drawer. Mounts easily onto a drawer box. Customize your drawer front by pairing it with one of our knobs, creating a storage solution that perfectly fits your needs.
Drawer front to be assembled onto the front of a Décor+ drawer box in corresponding width/height. Add a knob.
Drawer fronts are made from edge-glued solid birch.
Drawer fronts are not able to be cut to size.
Optional knobs (or handles) are to be added to get a complete drawer. The drawer fronts do not have predrilled holes for knob/handle hardware to be mounted. Use drilling template.
Grey: NCS S 7500-N (water-based), gloss 5
White: NCS S 0300-N (water-based), gloss 5
Natural birch: matte lacquered, gloss 5
Stained birch: matte lacquered, gloss 5 (only available at The Container Store)
Planning rules
<
Planning rules
When planning in Elfa Planner, the design tool will automatically combine the Décor+ drawer box with a matching drawer front. The design tool will also help you plan drawers above eachother.
Multiple drawers can be placed next to eachother, sharing the same bracket, but can not be placed next to products that require 1 slot (such as angled shelf or a shelf tray).
Make sure to plan drawers directly above eachother, in order to avoid a gap.
Also, leave sufficient space in front of a solution containing drawers, in order to be able to extend fully. In full extension, a Décor+ drawer D: 40 / D: 16" pulls out 855 mm (33-5/8”) from the wall.
Don't forget to add drawer box accessory trays if you want to create the perfect organization for jewellery and othe small accessories.
* Shallow drawer is 76 mm (3”) deep inside and provides a storage volume of 16 liters for W: 60 / W: 2’ drawer.
* Deep drawer is 172 mm (6-6/8”) deep inside and provides a storage volume of 36 liters for W: 60 / W: 2’ drawer.
Safety and care
<
Safety and care
Safety
Maximum load capacity per section: 200 kg (Classic by Elfa, click-in top-hung system) and 240 kg (Garage+/Décor+).
Avoid overloading individual storage components and distribute the weight evenly across the system. Different products have different recommended maximum load capacities. For more information, please refer to the Product Information section for each product, as well as Measure & Plan.
Before installation, check the wall material and condition. Elfa's product range is generally designed for normal use in residential indoor environments.
Care
Wipe clean with a cloth dampered with a mild cleaner. Wipe dry with a clean cloth.
Assembly Instructions
<
Assembly Instructions
You need the following to assemble: Screwdriver
NOTE: Install the lower drawer boxes first and work your way up.
Assembly of drawer box:
Step 1: Lay out the three sides of the drawer with grooves facing up. Insert the dowels in two outside holes.
Step 2: Insert the screw side of the metal post of the camlock into the center hole in each side of drawer using a screwdriver.
Step 3: Attach the sides to the back pushing dowels into place firmly.
Step 4: Insert the larger size round camlock into the two side panels. Use a screwdriver to lock the camlock. Hand tighten until it stops.
Step 5: Slide the bottom panel into channel in base of drawer.
Attach drawer front:
Step 1: Insert dowels into the front facing of drawer. Use a screwdriver to insert metal post into center hole. Push firmly in place.
Step 2: Tighten camlocks with screwdriver. Snap covers over camlock holes in interior of drawer
Attach knobs to the drawer front:
NOTE: Measure carefully where the drill hole for the knob should be placed, before starting to drill into the front. Always drill from the front of the drawer front to secure the best looking condition of the screw hole!
Step 1: Use a drilling template to mark the position of hole desired for your selected handles/knobs. Use a ruler to ensure that the placement is centered on the drawer front.
Step 2: Check the width of the handle/knob screw. If mounting an Elfa knob, use a 5mm (3/16") drill bit. Drill the hole.
Step 3: Attach the knob through the hole.
Attach drawer box into brackets:
Step 1: Line up the metal tabs of the drawer glides on drawer box with the notches in brackets. Push down.
Step 2: Position hands on either side of the drawer box and push backwards. Ensure that the locking tabs are in correct position.
Elevate the style of your Décor+ drawers with our beautiful knobs, designed to be mounted on Décor+ drawer fronts. Each knob comes with a screw for easy mounting.