Storage inspiration for every room – with smart solutions that combine style and function. Create a home where every surface becomes a storage opportunity.
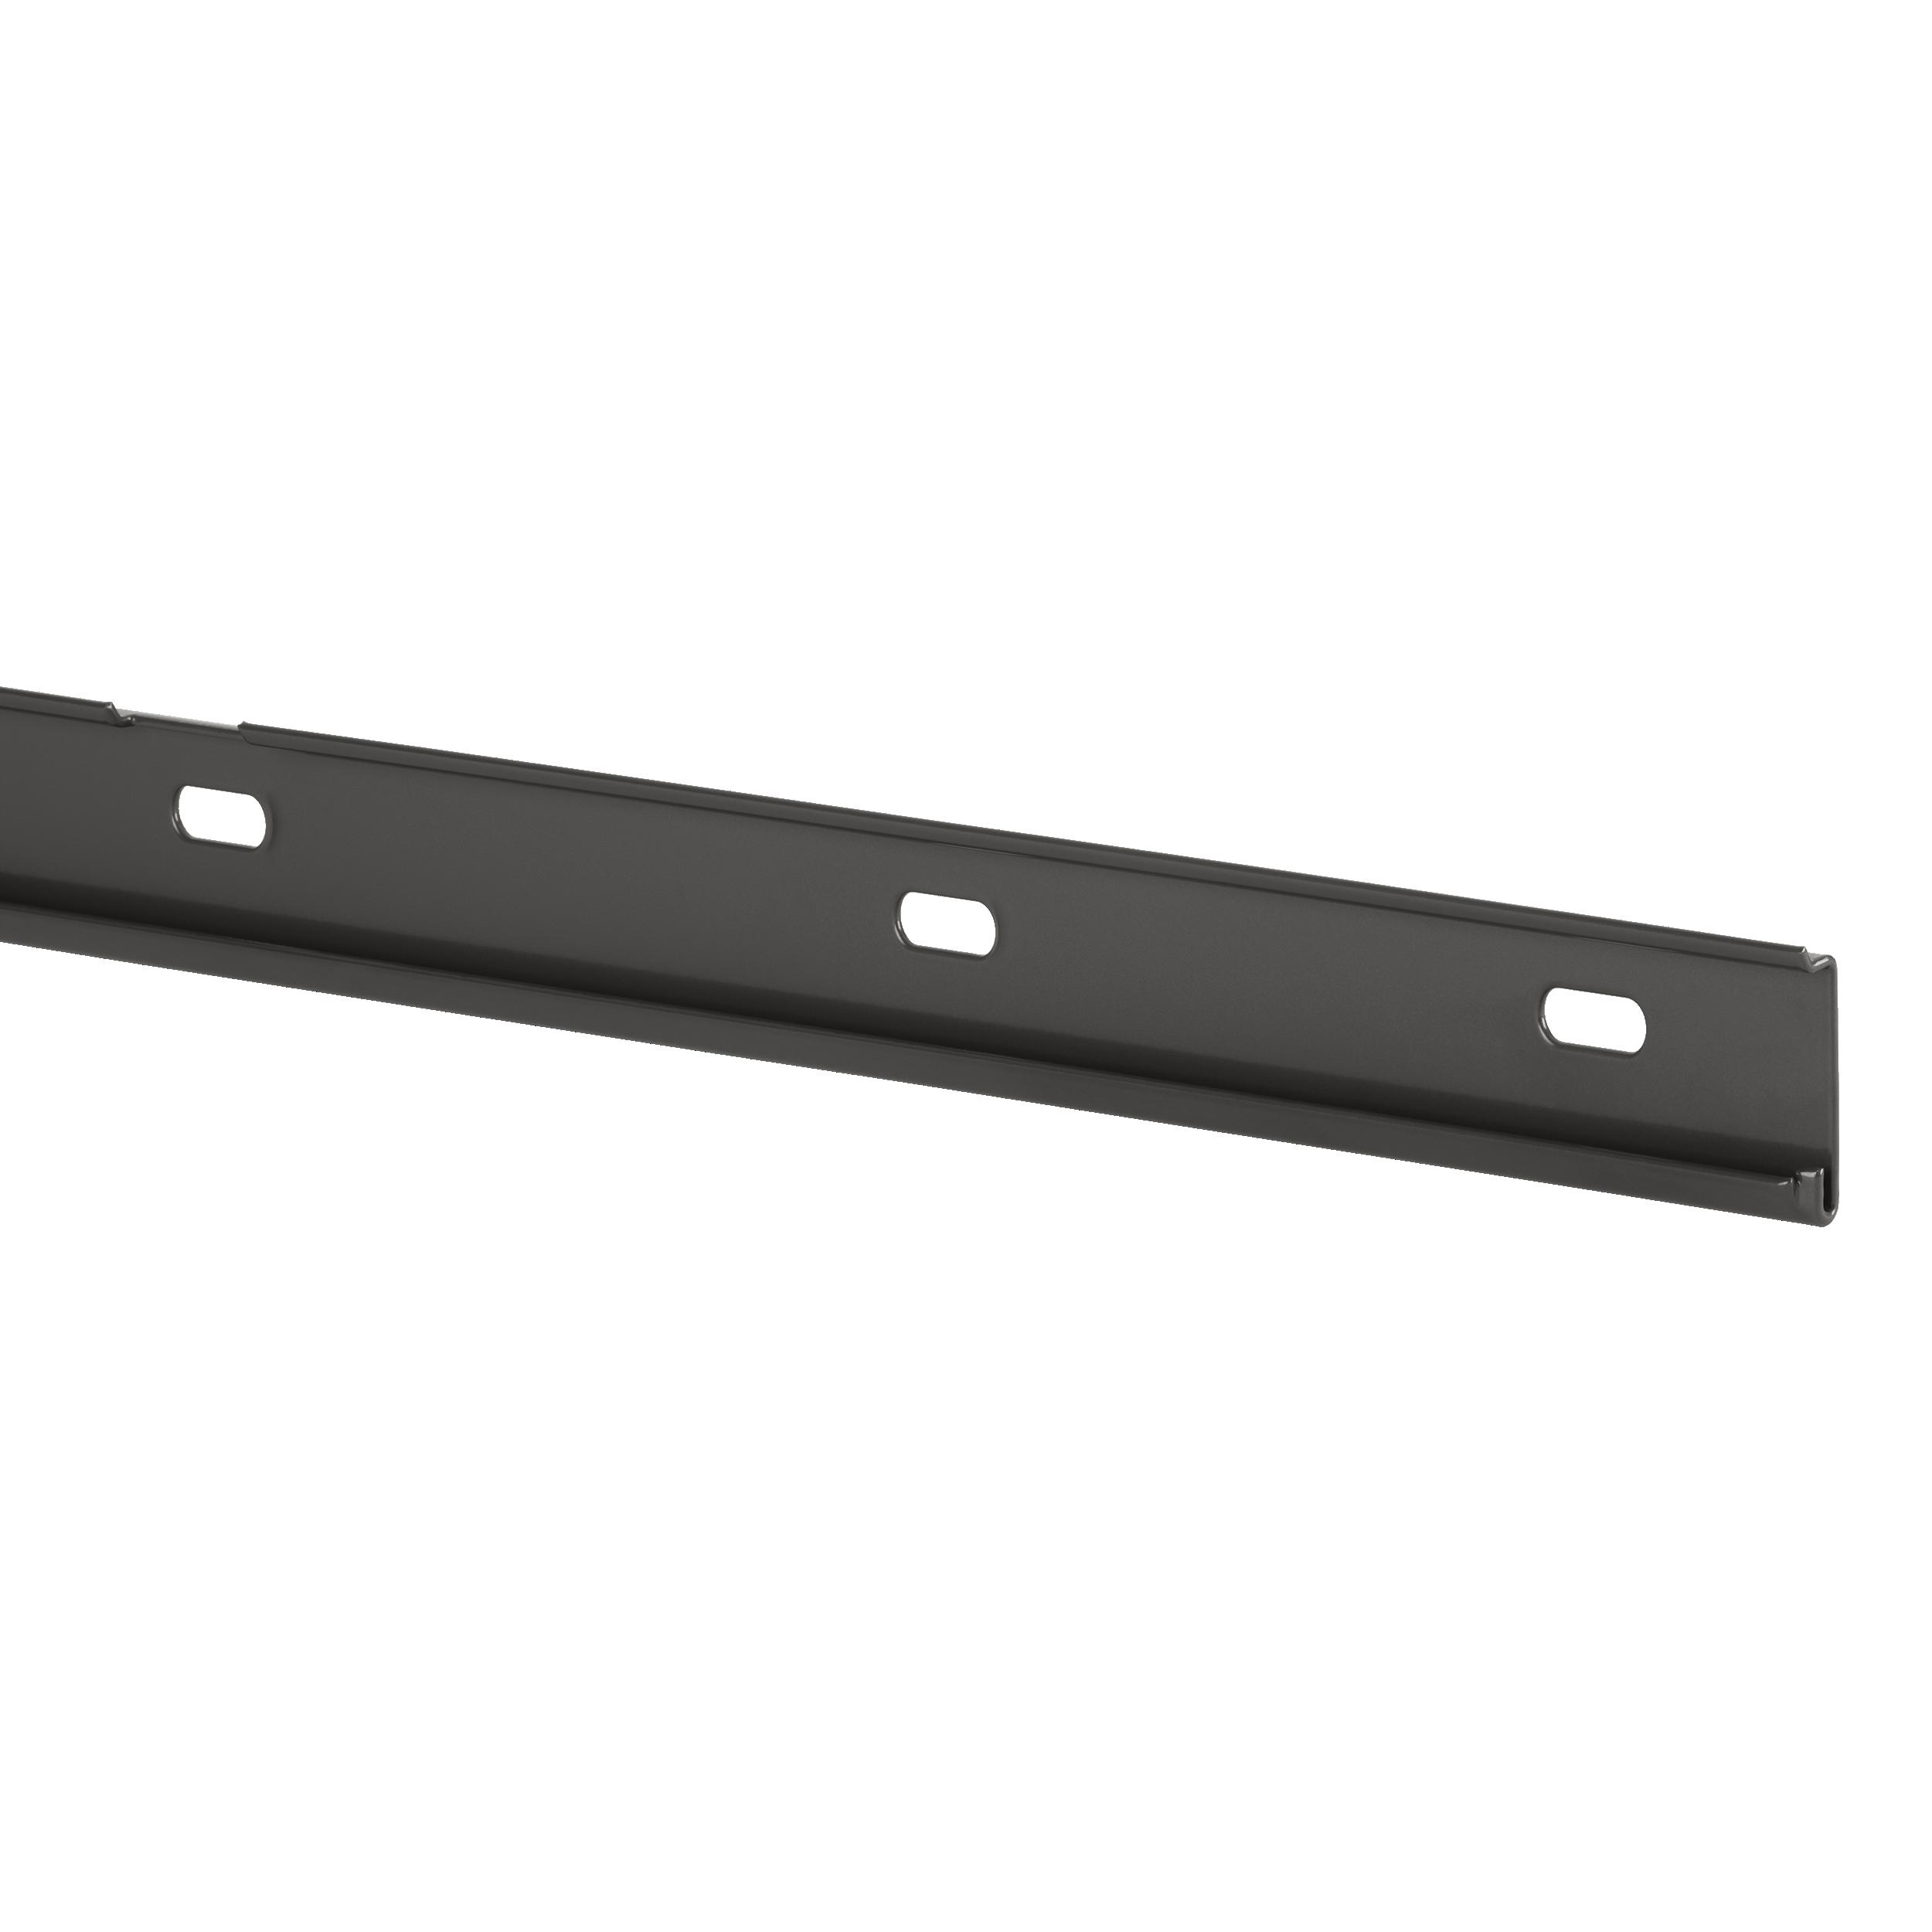
Upgrade your closet organization with the versatile Décor+ top track. This essential component serves as the backbone of the system, providing support for the standards. Easily mounted on the wall, it ensures flexibility and minimizes wall holes. Customize your setup by choosing from different widths and the option to cut. Pair with a top track cover for a polished appearance.
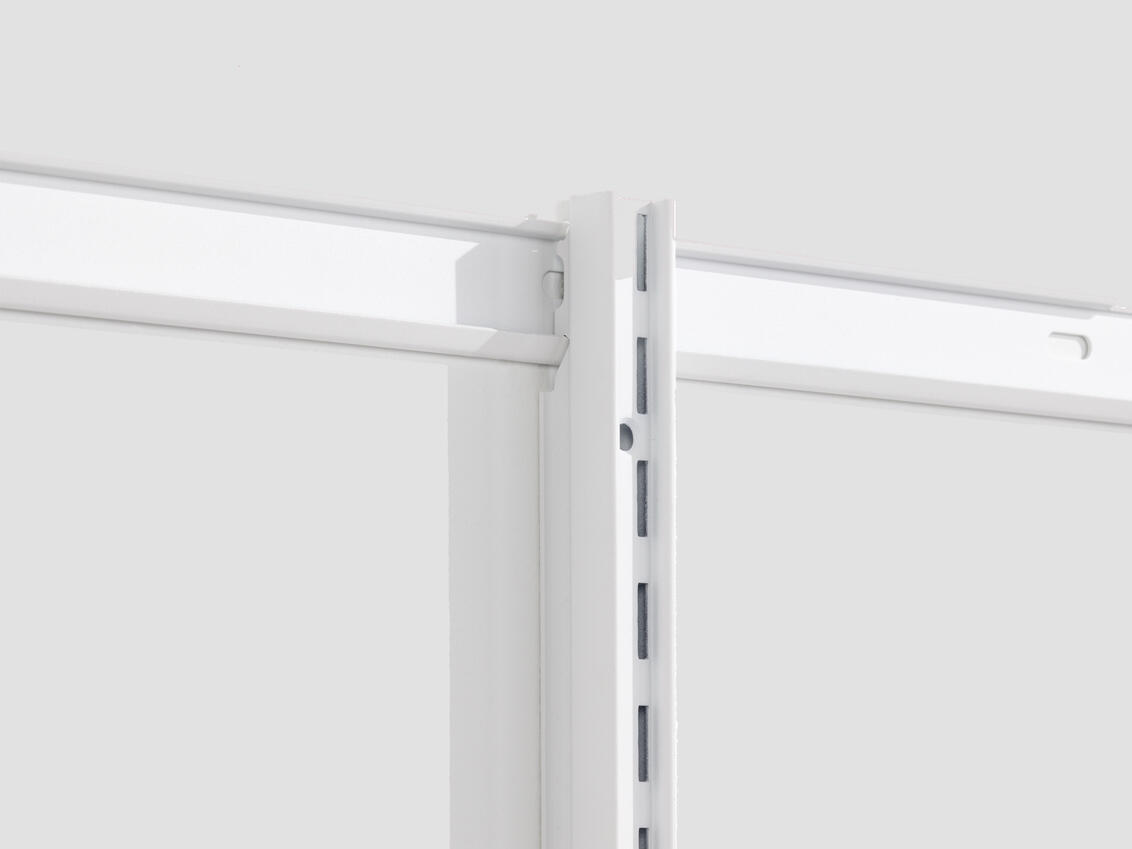
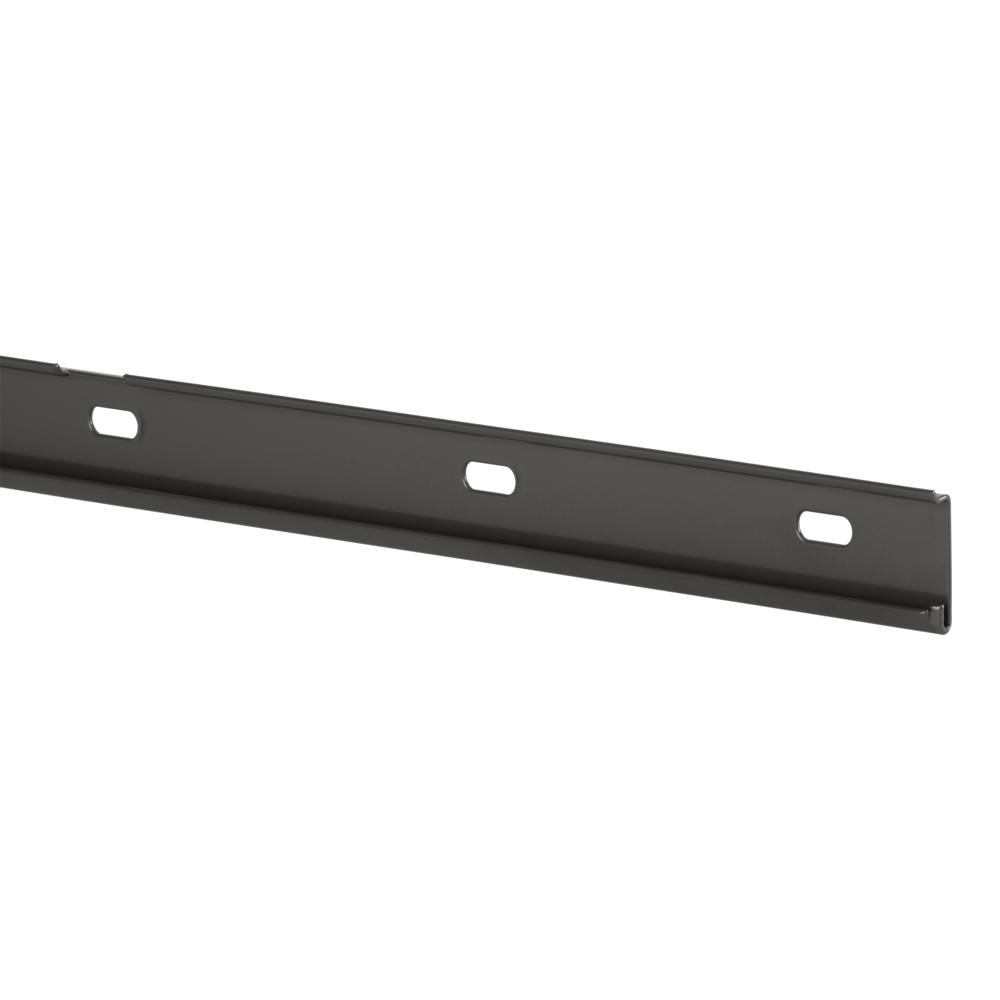
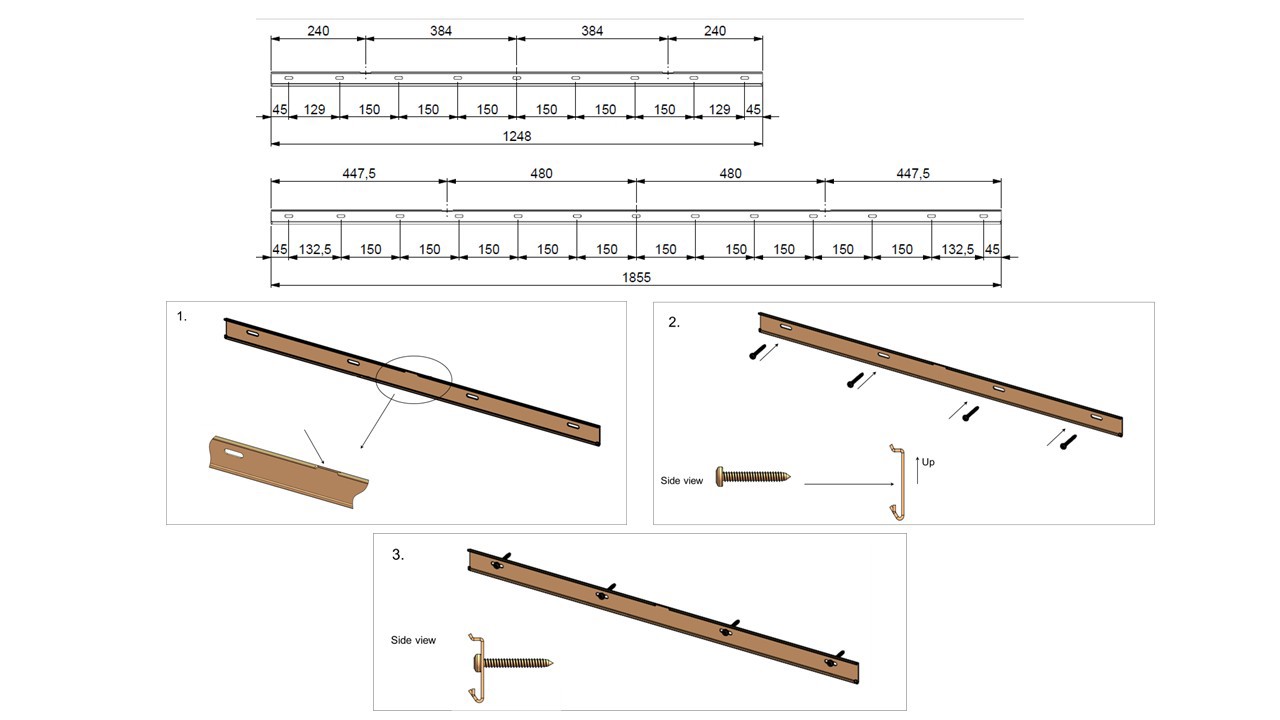
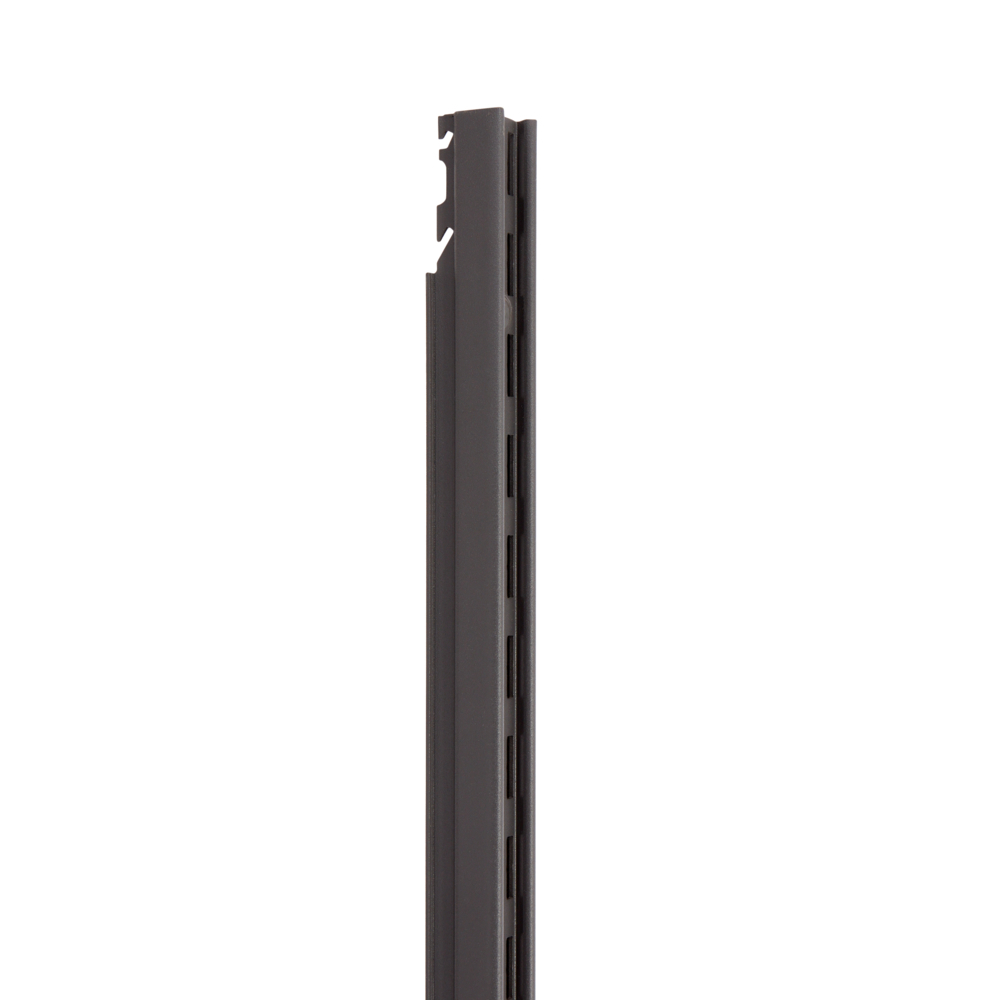
The top track is the foundation of the system and attaches to the wall horizontally. Top tracks are made from high strength steel and are attached to the wall with screws and/or screws and anchors. There are two "lips" on the top track onto which the standards attach. These two attachment points prevent standards to move out of the track. There is also a safety function - "end stops" - in either end of the top track, preventing hang standards to move out sideways. The weight of a loaded system pulls the standards down securely onto the top track, and presses them back against the supporting wall, increasing stability and durability at the same time. The bore holes in the top track are oval - width 20 mm (6/8”) and height 7,2 mm (2/8”) for easier positioning towards studs etc.
The amount of screw holes per top track width are: 641 mm (25-1/4"): 5 screw holes 936 mm (36-7/8"): 7 screw holes 1248 mm (49-1/8"): 9 screw holes 1855 mm (73"): 13 screw holes
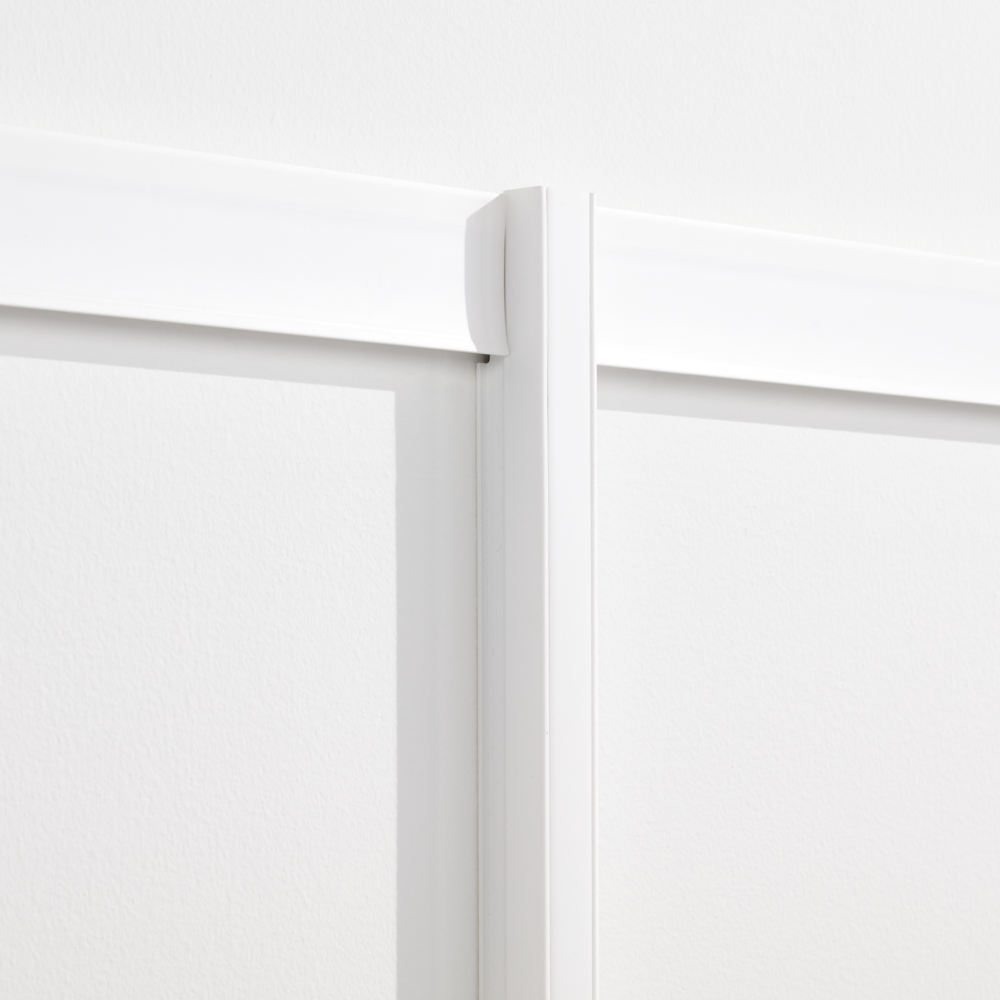
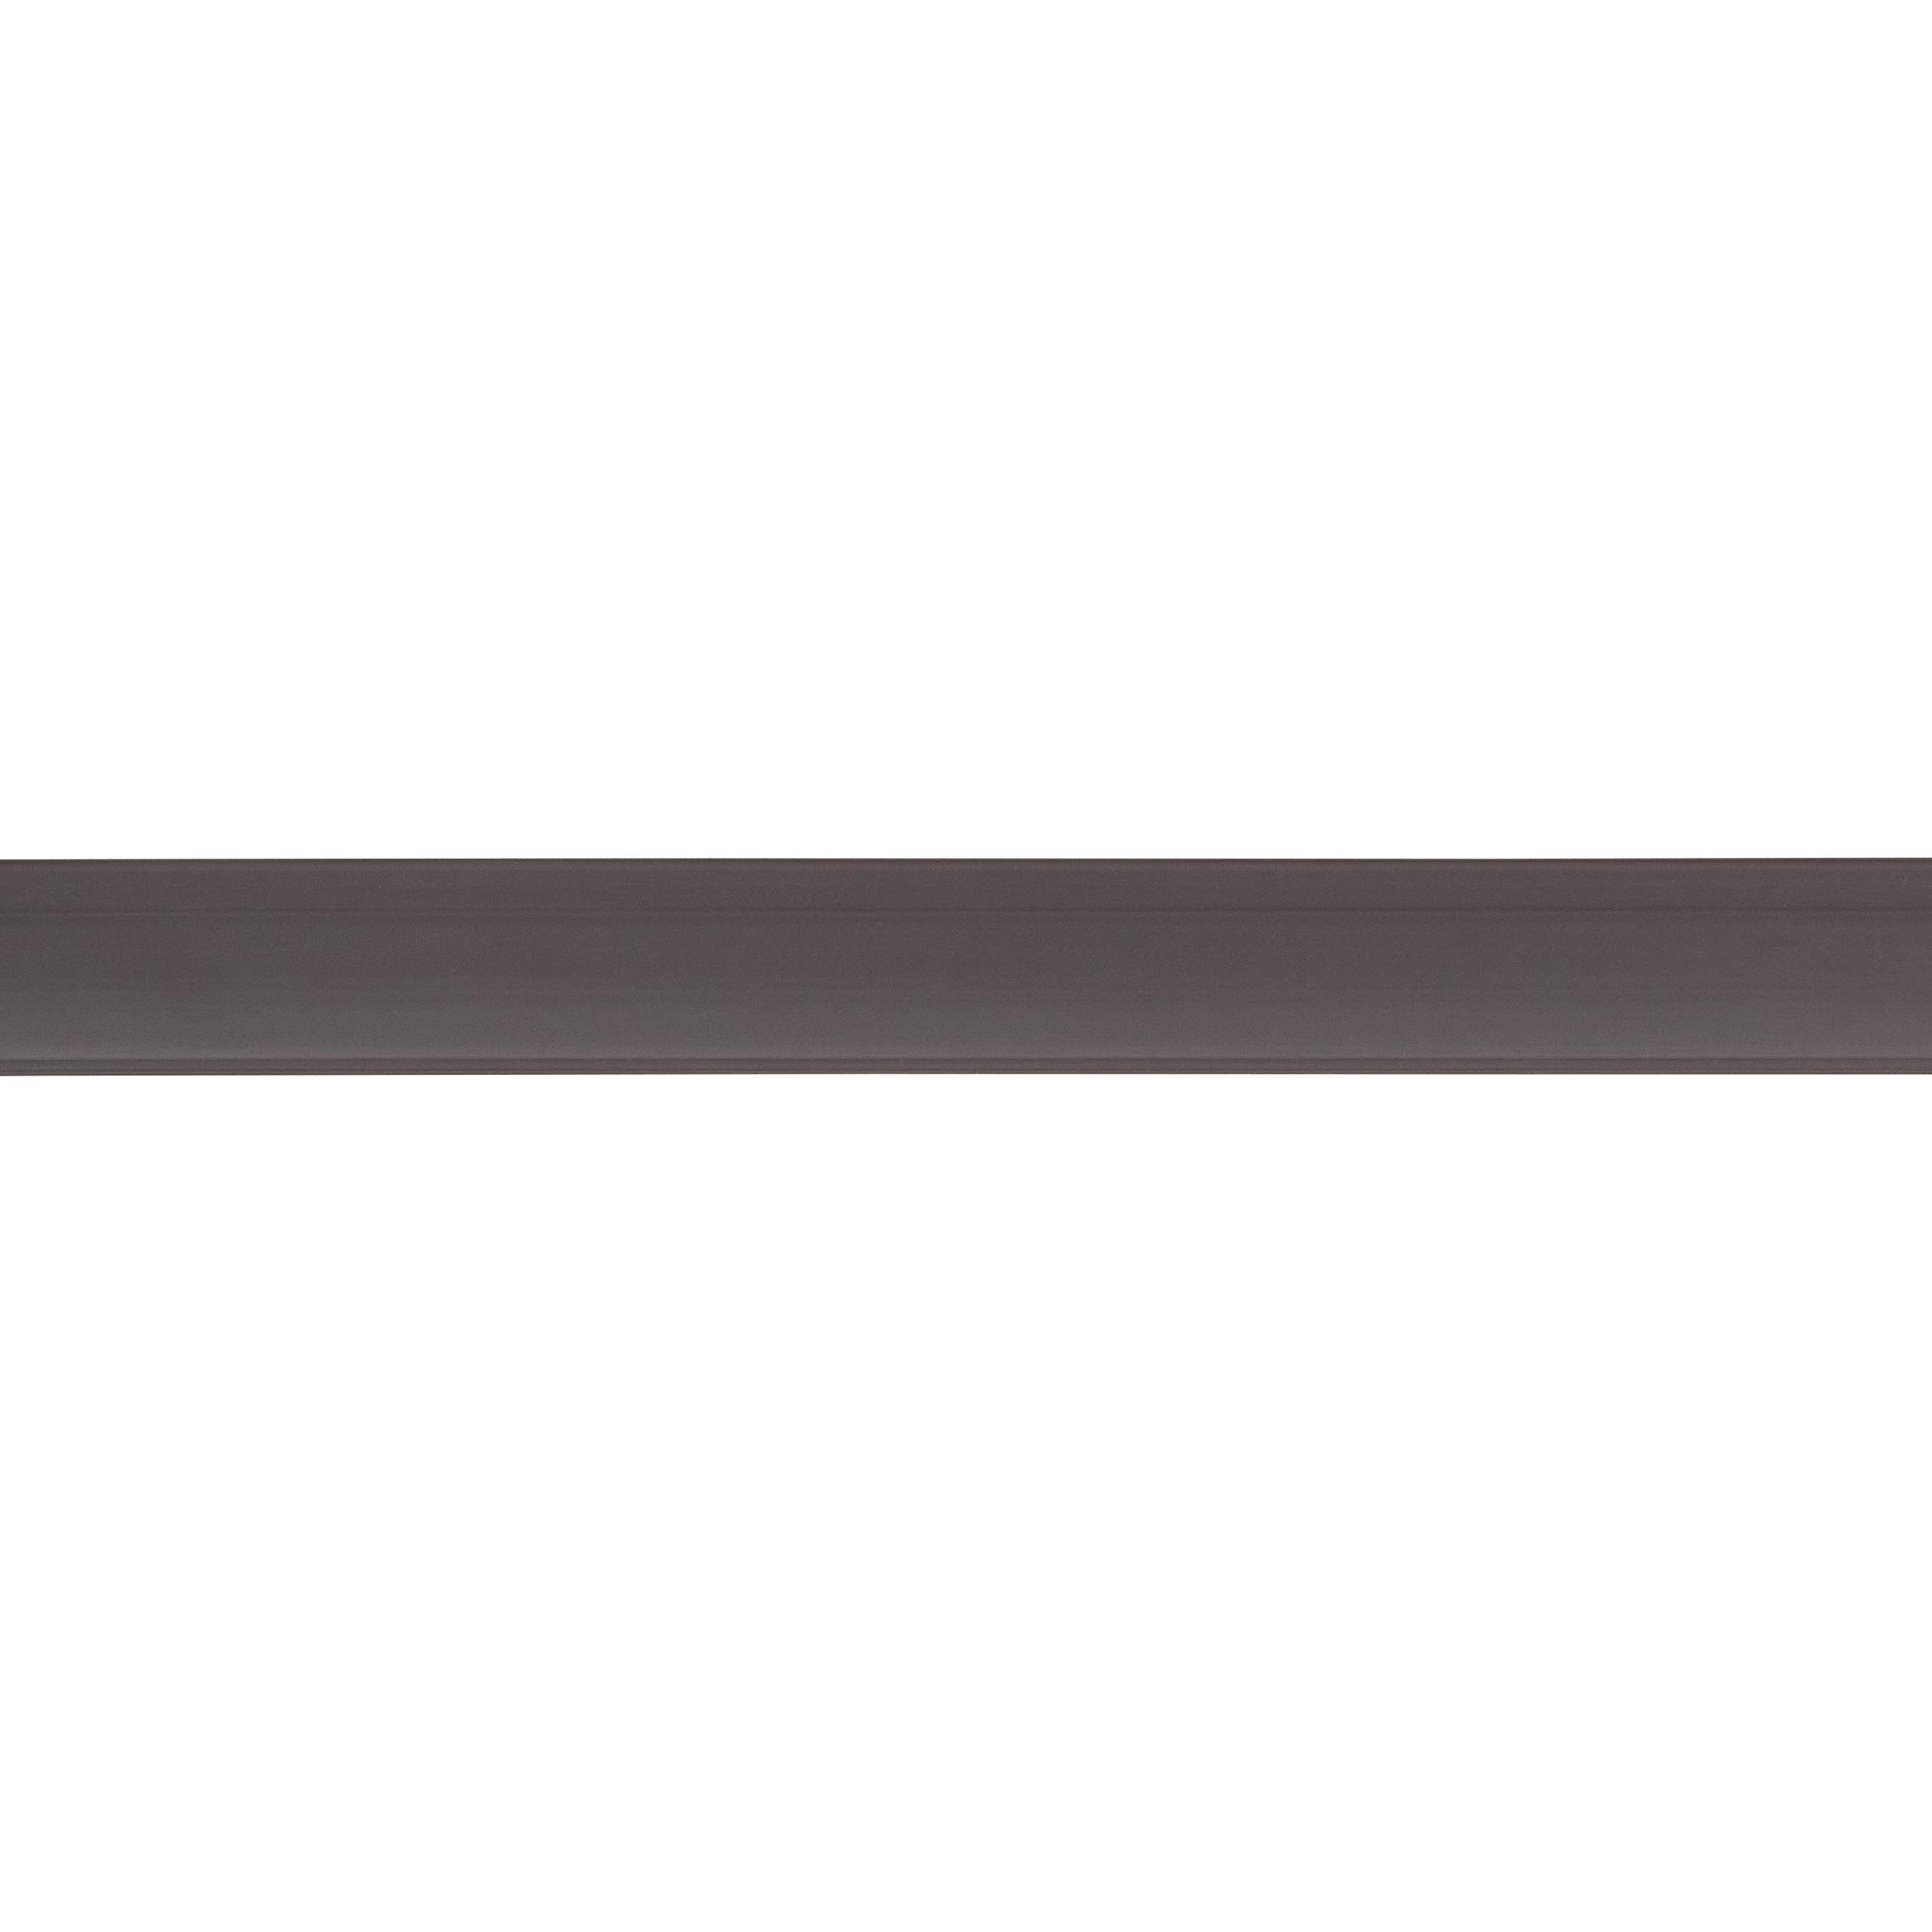
Use a top track cover to cover the screw holes in the top track. 2 unique metal colours: Matte White (polyester colour) NCS S 0300-N, fine texture, gloss 5 Matte Grey (polyester colour) NCS S 7500-N, fine texture, gloss 5
Planning rules
<
Planning rules
The minimum placement (measured from the underside of the top track) from the ceiling is 57 mm (2-1/4"), to ensure that there is sufficient space to be able to hang in hang standards. The widths of the top tracks are designed to fit with standard section widths. Top Tracks are, however, able to be cut when designing a section which differs from the standard widths. Recommendation is to cut the joining top track on the left side in order to keep the end stop at the outer edges of the track. When cutting a top track; make sure to make the cut a minimum 3–5 mm (1/8–1/4") from a bore hole or cut out on the upper side of the top track. Maximum load per section is 240 kg. Do not store too much on each interior product and distribute the weight evenly across the system. Ensure the material and condition of the wall. We recommended that the top track should be fastened to the wall with a screw in all holes in the top track.
Safety and care
<
Safety and care
Warranty & Quality The daily use of Elfa storage solutions requires both materials and craftsmanship of the highest quality. We develop products designed to last, and our 10-year warranty is a promise of exactly that. Elfa products are covered by a 10-year warranty from the date of purchase.
What is covered by the warranty? The warranty covers defects in materials and workmanship under normal residential use. It also covers functional defects in moving components such as wheels, soft-close mechanisms, and pull-out functions. This commercial warranty does not affect your statutory rights under applicable consumer protection legislation.
Warranty Provider The warranty provider is Elfa International AB, Sweden.
How to make a claim If there is an issue with your product, contact the retailer/store where you made your purchase and bring your receipt. The store will then inform Elfa. We at Elfa will do everything we can to provide a response to your claim as quickly as possible. However, it is important that you report any defect promptly, and therefore we recommend that you unpack and inspect your delivery immediately. If you cannot bring the product to the store, please take a photo showing the defect. Take one photo from approximately 1 metre away and one close-up photo with a nearby object (for example, a matchbox or pen) for size comparison in the case of surface damage.
How we help you In the event of an approved claim, Elfa undertakes, at no cost to you as a consumer, to repair or replace the defective product or component. Repair or replacement of individual parts is prioritised in order to extend the product's lifespan. If this is not possible, the product will be replaced with a new or equivalent item.
Limitations Naturally, we expect that you take good care of your Elfa products. A product that has been stored, assembled, or used incorrectly is not covered by the warranty. External damage and consequential damage occurring after your delivery has been accepted are not covered by the warranty.
Assembly Instructions
<
Assembly Instructions
You need the following to assemble: Screwdriver/drilling machine, metal saw (if adding top tracks and/or adjusting top track widths), leveller.
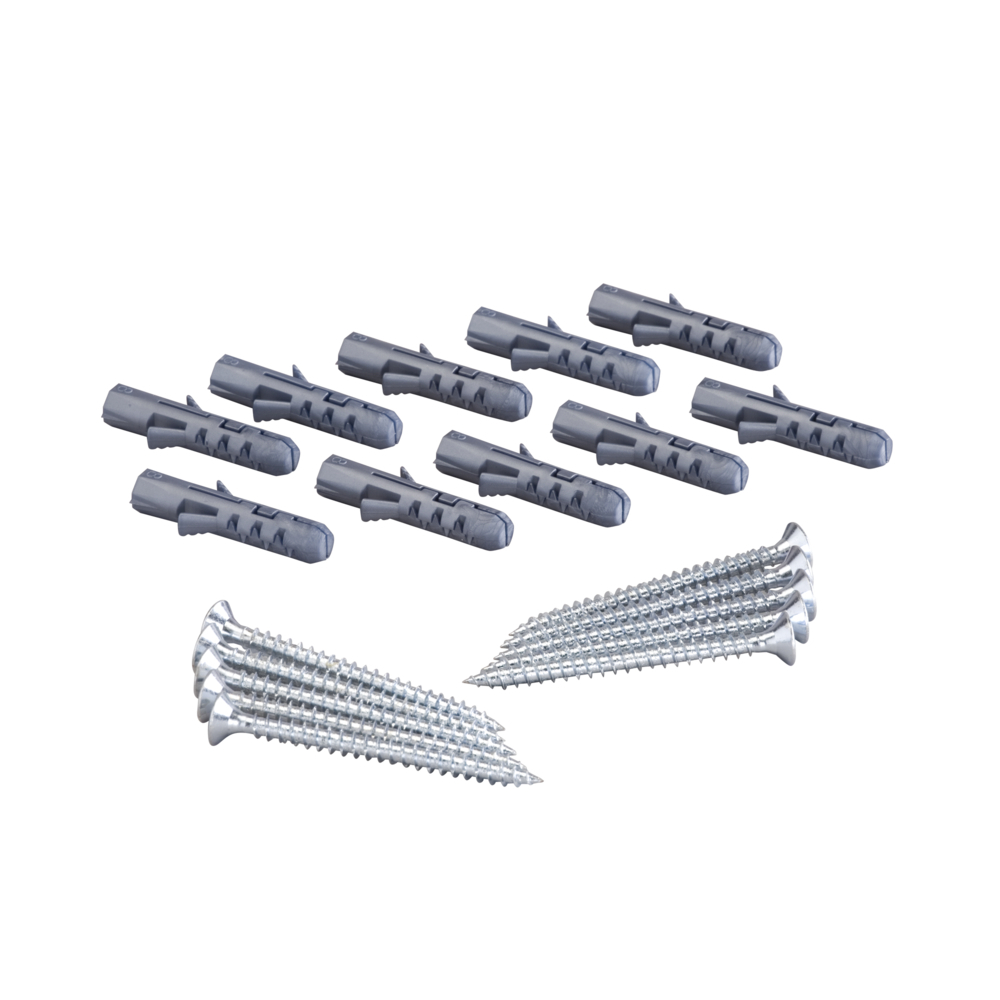
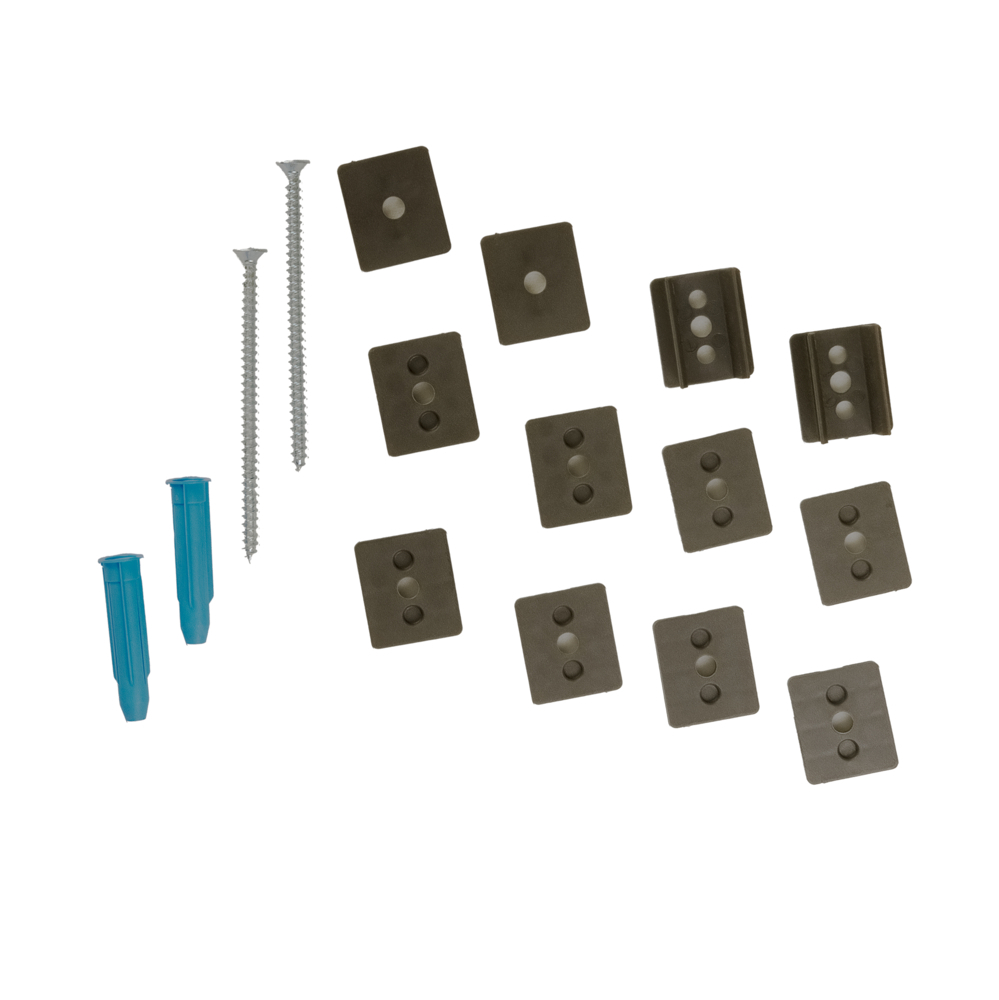
Before you start: Make sure you have chosen the right screw/plug for your wall type.The recommendation, when mounting the top track, is to use Elfa hardware. We recommended that a screw should be placed in every hole, for maximum saftey. The screw holes in the top track are shaped oval, in order to increase the probability to find studs to mount in.
Important NOTE: Be careful not to drill into any electrical wires, ductwork, plumbing or other damagable components. If you have any questions on the locations of these wires or lines, please contact a professional electrician or plumber before drilling.
Step 1: Place the top track at the desired height and mark one hole in the middle.
Step 2: Begin drilling the marked hole with a 3 mm (1/8") drill bit. If you hit a stud, continue drilling the entire length of the bit. If you hit the hollow part of the wall, enlarge the hole with a 10 mm (3/8") drill bit for anchors.
Step 3: Fasten the top track with a screw and tighten it enough to hold the top track against the wall. Place a leveller on the top of the top track and adjust it as required. Mark all remaining holes.
If you wish to connect two top tracks: Start by mounting the longer piece of track on the far left. Before you mount the connecting top track, you’ll need to cut and remove the end stop on the left side of the track – there’s a marking 28 mm from the edge on the back side of the top track indicating where to make the cut. Use a metal saw to get a clean cut.
When splicing/joining 2 top tracks, and there is no room for protrusions (for example when mounting a system wall-to-wall), the joining/additional top tracks needs to be cut/trimmed (we recommend cutting the left side).
The minimum possible width of a cut top track is 184 mm (7-1/4"). And in this case, the cut needs to be on either end of the top track so that 2 screw holes remain. Also, when cutting a top track, the cut needs to be minimum 3–5 mm (1/8"-1/4") from a screw hole or cut out.
Recommended price (Prices may vary between retailers)
24,80
Upgrade your closet organization with the versatile Décor+ top track. This essential component serves as the backbone of the system, providing support for the standards. Easily mounted on the wall, it ensures flexibility and minimizes wall holes. Customize your setup by choosing from different widths and the option to cut. Pair with a top track cover for a polished appearance.
Backbone for a flexible storage solution.
Achieve organization without excessive wall damage, thanks to flexible wall-mounting.
Choose from different widths or customize to your needs.
Upgrade your closet organization with the versatile Décor+ top track. This essential component serves as the backbone of the system, providing support for the standards. Easily mounted on the wall, it ensures flexibility and minimizes wall holes. Customize your setup by choosing from different widths and the option to cut. Pair with a top track cover for a polished appearance.
The top track is the foundation of the system and attaches to the wall horizontally. Top tracks are made from high strength steel and are attached to the wall with screws and/or screws and anchors. There are two "lips" on the top track onto which the standards attach. These two attachment points prevent standards to move out of the track. There is also a safety function - "end stops" - in either end of the top track, preventing hang standards to move out sideways. The weight of a loaded system pulls the standards down securely onto the top track, and presses them back against the supporting wall, increasing stability and durability at the same time. The bore holes in the top track are oval - width 20 mm (6/8”) and height 7,2 mm (2/8”) for easier positioning towards studs etc.
The amount of screw holes per top track width are: 641 mm (25-1/4"): 5 screw holes 936 mm (36-7/8"): 7 screw holes 1248 mm (49-1/8"): 9 screw holes 1855 mm (73"): 13 screw holes
Use a top track cover to cover the screw holes in the top track. 2 unique metal colours: Matte White (polyester colour) NCS S 0300-N, fine texture, gloss 5 Matte Grey (polyester colour) NCS S 7500-N, fine texture, gloss 5
Planning rules
<
Planning rules
The minimum placement (measured from the underside of the top track) from the ceiling is 57 mm (2-1/4"), to ensure that there is sufficient space to be able to hang in hang standards. The widths of the top tracks are designed to fit with standard section widths. Top Tracks are, however, able to be cut when designing a section which differs from the standard widths. Recommendation is to cut the joining top track on the left side in order to keep the end stop at the outer edges of the track. When cutting a top track; make sure to make the cut a minimum 3–5 mm (1/8–1/4") from a bore hole or cut out on the upper side of the top track. Maximum load per section is 240 kg. Do not store too much on each interior product and distribute the weight evenly across the system. Ensure the material and condition of the wall. We recommended that the top track should be fastened to the wall with a screw in all holes in the top track.
Safety and care
<
Safety and care
Warranty & Quality The daily use of Elfa storage solutions requires both materials and craftsmanship of the highest quality. We develop products designed to last, and our 10-year warranty is a promise of exactly that. Elfa products are covered by a 10-year warranty from the date of purchase.
What is covered by the warranty? The warranty covers defects in materials and workmanship under normal residential use. It also covers functional defects in moving components such as wheels, soft-close mechanisms, and pull-out functions. This commercial warranty does not affect your statutory rights under applicable consumer protection legislation.
Warranty Provider The warranty provider is Elfa International AB, Sweden.
How to make a claim If there is an issue with your product, contact the retailer/store where you made your purchase and bring your receipt. The store will then inform Elfa. We at Elfa will do everything we can to provide a response to your claim as quickly as possible. However, it is important that you report any defect promptly, and therefore we recommend that you unpack and inspect your delivery immediately. If you cannot bring the product to the store, please take a photo showing the defect. Take one photo from approximately 1 metre away and one close-up photo with a nearby object (for example, a matchbox or pen) for size comparison in the case of surface damage.
How we help you In the event of an approved claim, Elfa undertakes, at no cost to you as a consumer, to repair or replace the defective product or component. Repair or replacement of individual parts is prioritised in order to extend the product's lifespan. If this is not possible, the product will be replaced with a new or equivalent item.
Limitations Naturally, we expect that you take good care of your Elfa products. A product that has been stored, assembled, or used incorrectly is not covered by the warranty. External damage and consequential damage occurring after your delivery has been accepted are not covered by the warranty.
Assembly Instructions
<
Assembly Instructions
You need the following to assemble: Screwdriver/drilling machine, metal saw (if adding top tracks and/or adjusting top track widths), leveller.
Before you start: Make sure you have chosen the right screw/plug for your wall type.The recommendation, when mounting the top track, is to use Elfa hardware. We recommended that a screw should be placed in every hole, for maximum saftey. The screw holes in the top track are shaped oval, in order to increase the probability to find studs to mount in.
Important NOTE: Be careful not to drill into any electrical wires, ductwork, plumbing or other damagable components. If you have any questions on the locations of these wires or lines, please contact a professional electrician or plumber before drilling.
Step 1: Place the top track at the desired height and mark one hole in the middle.
Step 2: Begin drilling the marked hole with a 3 mm (1/8") drill bit. If you hit a stud, continue drilling the entire length of the bit. If you hit the hollow part of the wall, enlarge the hole with a 10 mm (3/8") drill bit for anchors.
Step 3: Fasten the top track with a screw and tighten it enough to hold the top track against the wall. Place a leveller on the top of the top track and adjust it as required. Mark all remaining holes.
If you wish to connect two top tracks: Start by mounting the longer piece of track on the far left. Before you mount the connecting top track, you’ll need to cut and remove the end stop on the left side of the track – there’s a marking 28 mm from the edge on the back side of the top track indicating where to make the cut. Use a metal saw to get a clean cut.
When splicing/joining 2 top tracks, and there is no room for protrusions (for example when mounting a system wall-to-wall), the joining/additional top tracks needs to be cut/trimmed (we recommend cutting the left side).
The minimum possible width of a cut top track is 184 mm (7-1/4"). And in this case, the cut needs to be on either end of the top track so that 2 screw holes remain. Also, when cutting a top track, the cut needs to be minimum 3–5 mm (1/8"-1/4") from a screw hole or cut out.