Storage inspiration for every room – with smart solutions that combine style and function. Create a home where every surface becomes a storage opportunity.
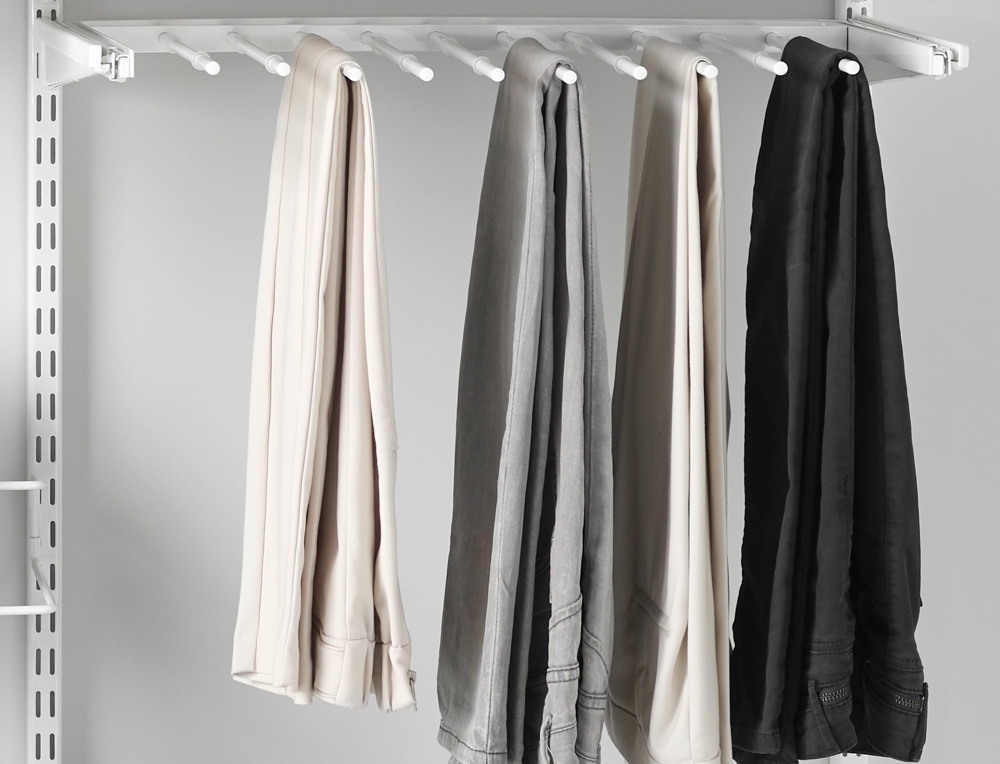
Upgrade your wardrobe with our gliding pant rack, the perfect solution for organized and accessible pant storage. This rack is designed to create a clear overview and ensure easy access to your pants collection. Featuring non-slip rings, it keeps your pants neatly in place. Simply click it in place between two bracket click-in D: 40 / 16".
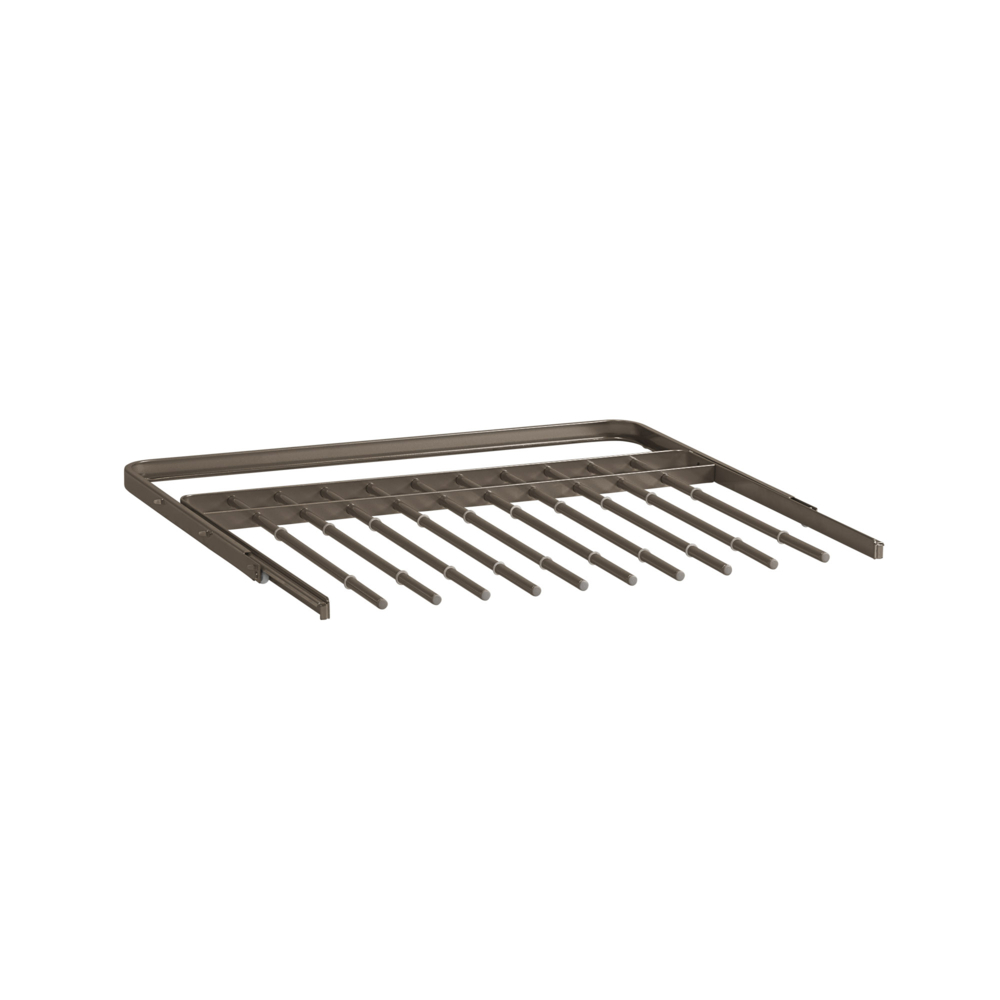
The gliding pant rack is designed for storing pants and creates a good overview and easy access. It easily clicks into place between two bracket click-in D: 40 / 16", with no tools needed. Integrated wheels allow it to glide quietly and effortlessly. Integrated stops ensure it stays in place while in use. Features non-slip rubber rings to keep pants in place. Can hang up to ten pairs of pants. 2 metal colours: White, close to NCS S 0300-N, gloss around 85 “Graphite”, a unique finish close to NCS S 8000-N, gloss around 50 Note: as our finishes are metallic/mixed powder, the NCS codes/gloss aren’t exact.
Planning rules
<
Planning rules
The gliding rack can hold 10 (W: 60 / 2') or 6 (W: 45 / 18") pairs of pants/skirts. Multiple gliding pant racks can be placed next to eachother, sharing the same bracket, but can not be placed next to products that require 1 slot (such as angled shelf, storing board etc.). When planning gliding pant racks above eachother, leave at least 10-12 pairs of free slots between them in order to have sufficient space for your pants/skirts. Also, leave sufficient space in front of a solution containing gliding functions. A D: 40 / 16" gliding function requires 290 mm (11-3/8") additional free space in front of it, in order to be able to extend fully. Total solution depth for a click-in system with fully extended gliding functions D: 40 / 16" is 740 mm (29-1/8") from the back wall.
Safety and care
<
Safety and care
Warranty & Quality The daily use of Elfa storage solutions requires both materials and craftsmanship of the highest quality. We develop products designed to last, and our 10-year warranty is a promise of exactly that. Elfa products are covered by a 10-year warranty from the date of purchase.
What is covered by the warranty? The warranty covers defects in materials and workmanship under normal residential use. It also covers functional defects in moving components such as wheels, soft-close mechanisms, and pull-out functions. This commercial warranty does not affect your statutory rights under applicable consumer protection legislation.
Warranty Provider The warranty provider is Elfa International AB, Sweden.
How to make a claim If there is an issue with your product, contact the retailer/store where you made your purchase and bring your receipt. The store will then inform Elfa. We at Elfa will do everything we can to provide a response to your claim as quickly as possible. However, it is important that you report any defect promptly, and therefore we recommend that you unpack and inspect your delivery immediately. If you cannot bring the product to the store, please take a photo showing the defect. Take one photo from approximately 1 metre away and one close-up photo with a nearby object (for example, a matchbox or pen) for size comparison in the case of surface damage.
How we help you In the event of an approved claim, Elfa undertakes, at no cost to you as a consumer, to repair or replace the defective product or component. Repair or replacement of individual parts is prioritised in order to extend the product's lifespan. If this is not possible, the product will be replaced with a new or equivalent item.
Limitations Naturally, we expect that you take good care of your Elfa products. A product that has been stored, assembled, or used incorrectly is not covered by the warranty. External damage and consequential damage occurring after your delivery has been accepted are not covered by the warranty.
Assembly Instructions
<
Assembly Instructions
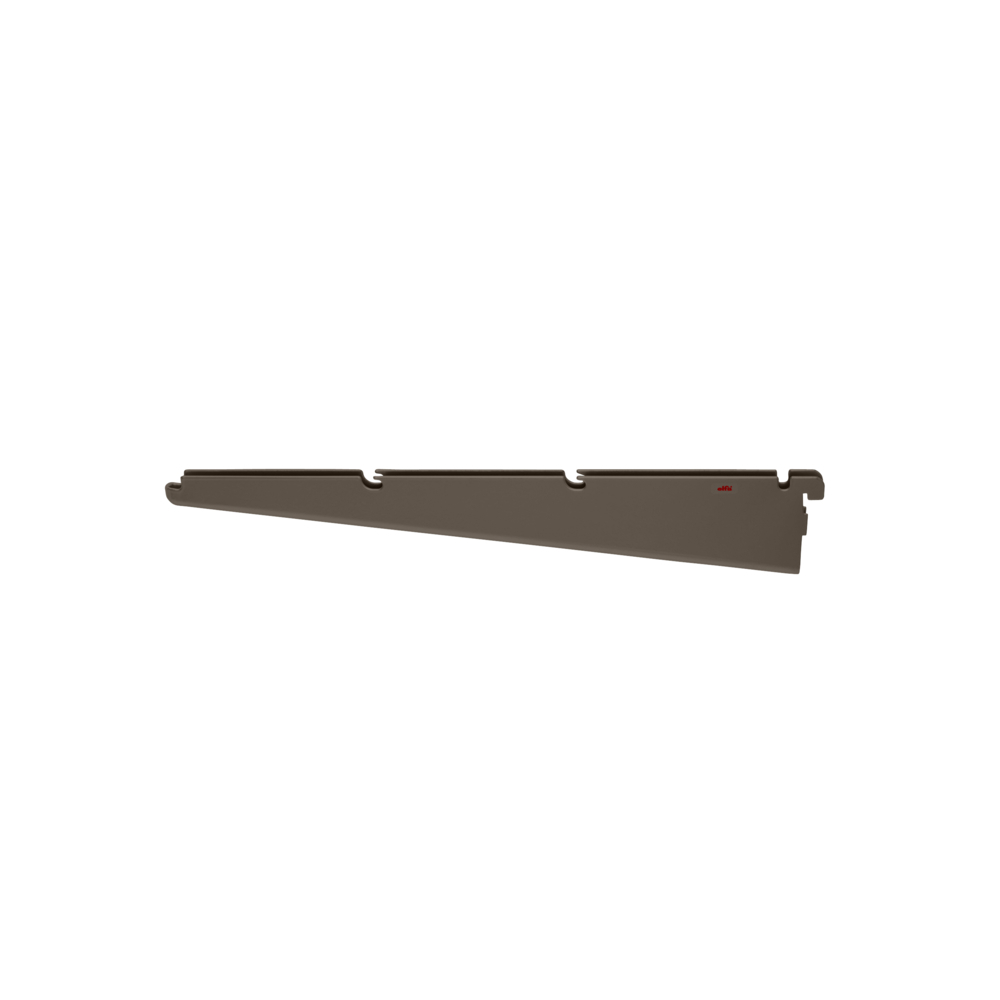
Before you start: Mount the brackets. Step 1: The gliding pant rack consists of a U-shaped part (A) and a gliding part (B). Begin by separating the two parts from eachother before proceeding. Step 2: The U-shaped part has three metal tabs and a metal knob on each side, located at the top (C) that locks the U-shaped part into the bracket click-in. Step 3: Begin with the left bracket click in. Align the metal tabs on the U-shaped part with the cut-out notches (D) of the bracket click-in. When aligned, hold the front of the bracket and press on the frame at the back rounded corner until you hear it lock into place. Repeat on the right side. To reposition the U-shaped part: it is not necessary to remove the frame from the brackets. Simply tilt up the front of both brackets and remove them from the hang standards. Place in the desired location. Step 4: When the U-shaped part is mounted, insert the gliding part with the part rack rods (E). Align the rollers on each side of the frame with the openings in the U-shaped part. Slide the pant rack rod part of the frame into the U-shaped part. NOTE: To remove the U-shaped part from the brackets: insert and twist a small/flat object (for example a bracket cover, no metal) between the bracket and the frame in front of the knob holding the frame in place. At the same time, place one hand at the back of the frame. With your thumb on the hang standard, gently push the frame forward with your fingers. The frame should now pop out of the bracket. Repeat on the other side.
Recommended price (Prices may vary between retailers)
71,00
Upgrade your wardrobe with our gliding pant rack, the perfect solution for organized and accessible pant storage. This rack is designed to create a clear overview and ensure easy access to your pants collection. Featuring non-slip rings, it keeps your pants neatly in place. Simply click it in place between two bracket click-in D: 40 / 16".
Designed for storing and accessing pants with ease.
Features non-slip rings to prevent pants from slipping.
Clicks in place between two Click-in bracket D: 40.
Upgrade your wardrobe with our gliding pant rack, the perfect solution for organized and accessible pant storage. This rack is designed to create a clear overview and ensure easy access to your pants collection. Featuring non-slip rings, it keeps your pants neatly in place. Simply click it in place between two bracket click-in D: 40 / 16".
The gliding pant rack is designed for storing pants and creates a good overview and easy access. It easily clicks into place between two bracket click-in D: 40 / 16", with no tools needed. Integrated wheels allow it to glide quietly and effortlessly. Integrated stops ensure it stays in place while in use. Features non-slip rubber rings to keep pants in place. Can hang up to ten pairs of pants. 2 metal colours: White, close to NCS S 0300-N, gloss around 85 “Graphite”, a unique finish close to NCS S 8000-N, gloss around 50 Note: as our finishes are metallic/mixed powder, the NCS codes/gloss aren’t exact.
Planning rules
<
Planning rules
The gliding rack can hold 10 (W: 60 / 2') or 6 (W: 45 / 18") pairs of pants/skirts. Multiple gliding pant racks can be placed next to eachother, sharing the same bracket, but can not be placed next to products that require 1 slot (such as angled shelf, storing board etc.). When planning gliding pant racks above eachother, leave at least 10-12 pairs of free slots between them in order to have sufficient space for your pants/skirts. Also, leave sufficient space in front of a solution containing gliding functions. A D: 40 / 16" gliding function requires 290 mm (11-3/8") additional free space in front of it, in order to be able to extend fully. Total solution depth for a click-in system with fully extended gliding functions D: 40 / 16" is 740 mm (29-1/8") from the back wall.
Safety and care
<
Safety and care
Warranty & Quality The daily use of Elfa storage solutions requires both materials and craftsmanship of the highest quality. We develop products designed to last, and our 10-year warranty is a promise of exactly that. Elfa products are covered by a 10-year warranty from the date of purchase.
What is covered by the warranty? The warranty covers defects in materials and workmanship under normal residential use. It also covers functional defects in moving components such as wheels, soft-close mechanisms, and pull-out functions. This commercial warranty does not affect your statutory rights under applicable consumer protection legislation.
Warranty Provider The warranty provider is Elfa International AB, Sweden.
How to make a claim If there is an issue with your product, contact the retailer/store where you made your purchase and bring your receipt. The store will then inform Elfa. We at Elfa will do everything we can to provide a response to your claim as quickly as possible. However, it is important that you report any defect promptly, and therefore we recommend that you unpack and inspect your delivery immediately. If you cannot bring the product to the store, please take a photo showing the defect. Take one photo from approximately 1 metre away and one close-up photo with a nearby object (for example, a matchbox or pen) for size comparison in the case of surface damage.
How we help you In the event of an approved claim, Elfa undertakes, at no cost to you as a consumer, to repair or replace the defective product or component. Repair or replacement of individual parts is prioritised in order to extend the product's lifespan. If this is not possible, the product will be replaced with a new or equivalent item.
Limitations Naturally, we expect that you take good care of your Elfa products. A product that has been stored, assembled, or used incorrectly is not covered by the warranty. External damage and consequential damage occurring after your delivery has been accepted are not covered by the warranty.
Assembly Instructions
<
Assembly Instructions
Before you start: Mount the brackets. Step 1: The gliding pant rack consists of a U-shaped part (A) and a gliding part (B). Begin by separating the two parts from eachother before proceeding. Step 2: The U-shaped part has three metal tabs and a metal knob on each side, located at the top (C) that locks the U-shaped part into the bracket click-in. Step 3: Begin with the left bracket click in. Align the metal tabs on the U-shaped part with the cut-out notches (D) of the bracket click-in. When aligned, hold the front of the bracket and press on the frame at the back rounded corner until you hear it lock into place. Repeat on the right side. To reposition the U-shaped part: it is not necessary to remove the frame from the brackets. Simply tilt up the front of both brackets and remove them from the hang standards. Place in the desired location. Step 4: When the U-shaped part is mounted, insert the gliding part with the part rack rods (E). Align the rollers on each side of the frame with the openings in the U-shaped part. Slide the pant rack rod part of the frame into the U-shaped part. NOTE: To remove the U-shaped part from the brackets: insert and twist a small/flat object (for example a bracket cover, no metal) between the bracket and the frame in front of the knob holding the frame in place. At the same time, place one hand at the back of the frame. With your thumb on the hang standard, gently push the frame forward with your fingers. The frame should now pop out of the bracket. Repeat on the other side.