Storage inspiration for every room – with smart solutions that combine style and function. Create a home where every surface becomes a storage opportunity.
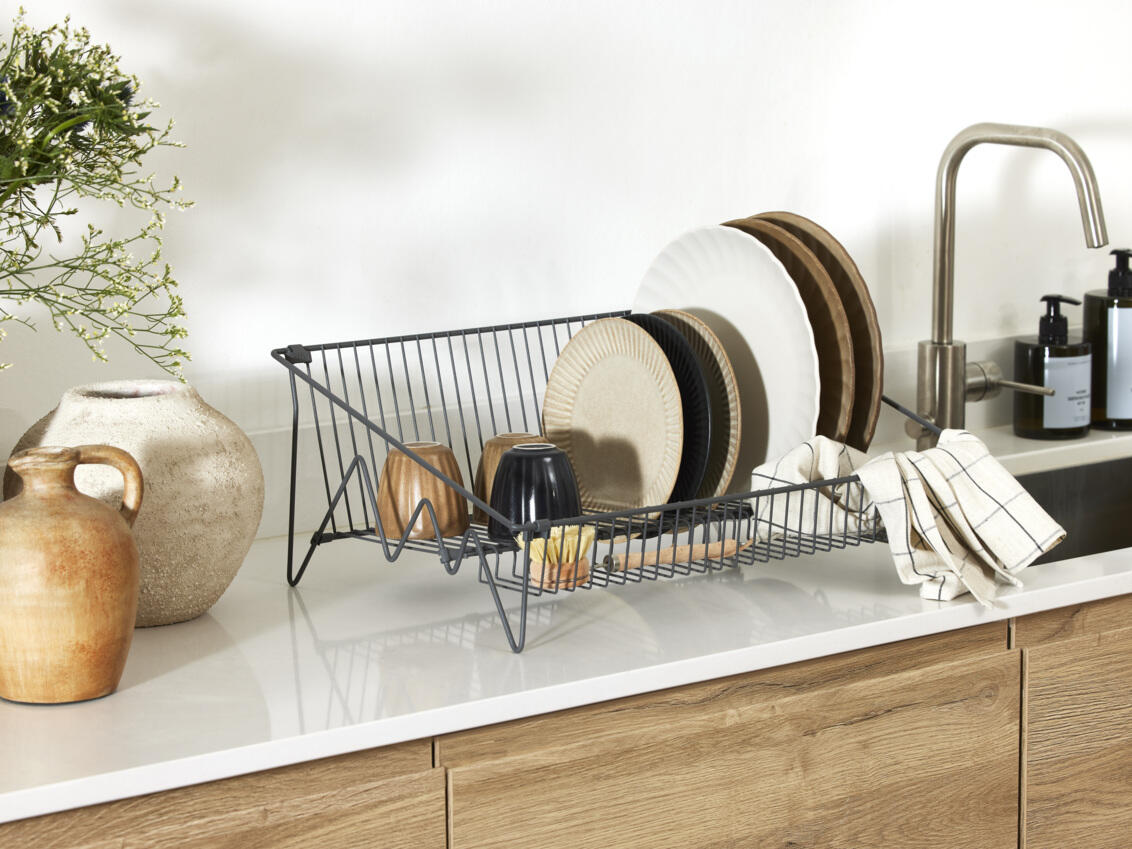
Efficiently dry and store dishes with our classic dish rack. A modern, easy-to-assemble, version of the original 1948 design, designed for efficient drying of plates, glasses, and mugs. Keep your kitchen clutter-free and your dishes organized with this timeless and functional piece.
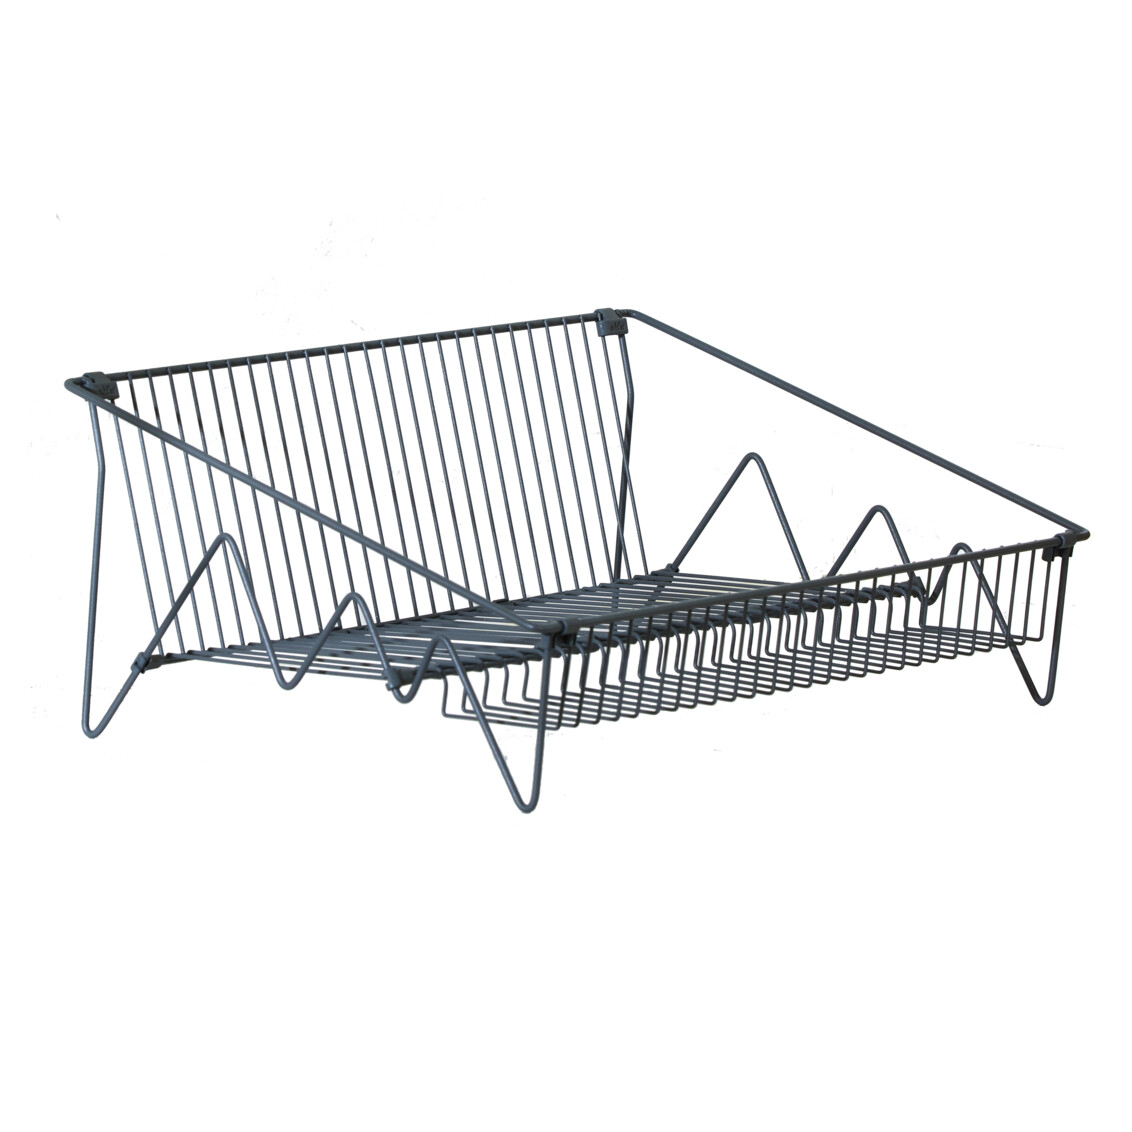
Freestanding dish rack based on the original design from 1948.
Can easily be moved since it is freestanding. Practical to store or move as it can be deassembled and can be stored flat.
Can hold up to 26 small plates.
Made from durable epoxy-bonded steel.
Metal colour:
Matte Grey (polyester colour) NCS S 7500-N, fine texture, gloss 5
Planning rules
<
Planning rules
Can be placed anywhere in adjacency to the sink. There is no direct connection to an Elfa system.
The dish rack can hold up to 26 small plates.
Safety and care
<
Safety and care
Safety
Note! Do not place Elfa products in direct contact with water.
Care
Wipe clean with a cloth dampered with a mild cleaner. Wipe dry with a clean cloth.
Assembly Instructions
<
Assembly Instructions
Position the three pieces of the dish rack as shown in the illustration - the actual rack in the middle and the two carrying legs on each side, with the plastic fittings on top facing inwards.
Step 1: Hook the lower back left part of the rack over the back lower part of the left leg.
Step 2-3: Insert the upper back left part of the rack (B) into the plastic fitting on the upper back part of the left leg. Lock the fitting.
Step 4: Snap the middle crosswire part of the rack with the plastic fitting onto the left leg (in the position shown in the illustration).
Step 5-6: Insert the front left part of the rack into the plastic fitting on the lower front part of the left leg. Lock the fitting.
Repeat the process on the right side.
Efficiently dry and store dishes with our classic dish rack. A modern, easy-to-assemble, version of the original 1948 design, designed for efficient drying of plates, glasses, and mugs. Keep your kitchen clutter-free and your dishes organized with this timeless and functional piece.
Efficient drying and storage for plates, glasses and mugs., Incorporates the timeless original 1948 design in a modern version., Easy to assemble.
Color
Size
Width: 500 mm Depth: 363 mm
<
Select size
Width (mm): 500
Depth (mm): 363
Height: 207
48,40
Specification
<
Specification
Efficiently dry and store dishes with our classic dish rack. A modern, easy-to-assemble, version of the original 1948 design, designed for efficient drying of plates, glasses, and mugs. Keep your kitchen clutter-free and your dishes organized with this timeless and functional piece.
Freestanding dish rack based on the original design from 1948.
Can easily be moved since it is freestanding. Practical to store or move as it can be deassembled and can be stored flat.
Can hold up to 26 small plates.
Made from durable epoxy-bonded steel.
Metal colour:
Matte Grey (polyester colour) NCS S 7500-N, fine texture, gloss 5
Planning rules
<
Planning rules
Can be placed anywhere in adjacency to the sink. There is no direct connection to an Elfa system.
The dish rack can hold up to 26 small plates.
Safety and care
<
Safety and care
Safety
Note! Do not place Elfa products in direct contact with water.
Care
Wipe clean with a cloth dampered with a mild cleaner. Wipe dry with a clean cloth.
Assembly Instructions
<
Assembly Instructions
Position the three pieces of the dish rack as shown in the illustration - the actual rack in the middle and the two carrying legs on each side, with the plastic fittings on top facing inwards.
Step 1: Hook the lower back left part of the rack over the back lower part of the left leg.
Step 2-3: Insert the upper back left part of the rack (B) into the plastic fitting on the upper back part of the left leg. Lock the fitting.
Step 4: Snap the middle crosswire part of the rack with the plastic fitting onto the left leg (in the position shown in the illustration).
Step 5-6: Insert the front left part of the rack into the plastic fitting on the lower front part of the left leg. Lock the fitting.
Repeat the process on the right side.