
Products
Functional storage makes your everyday life easier. Elfa has different product lines adapted to different storage needs.

Note! Do not place Elfa products in direct contact with water.
Wipe clean with a cloth dampered with a mild cleaner. Wipe dry with a clean cloth.
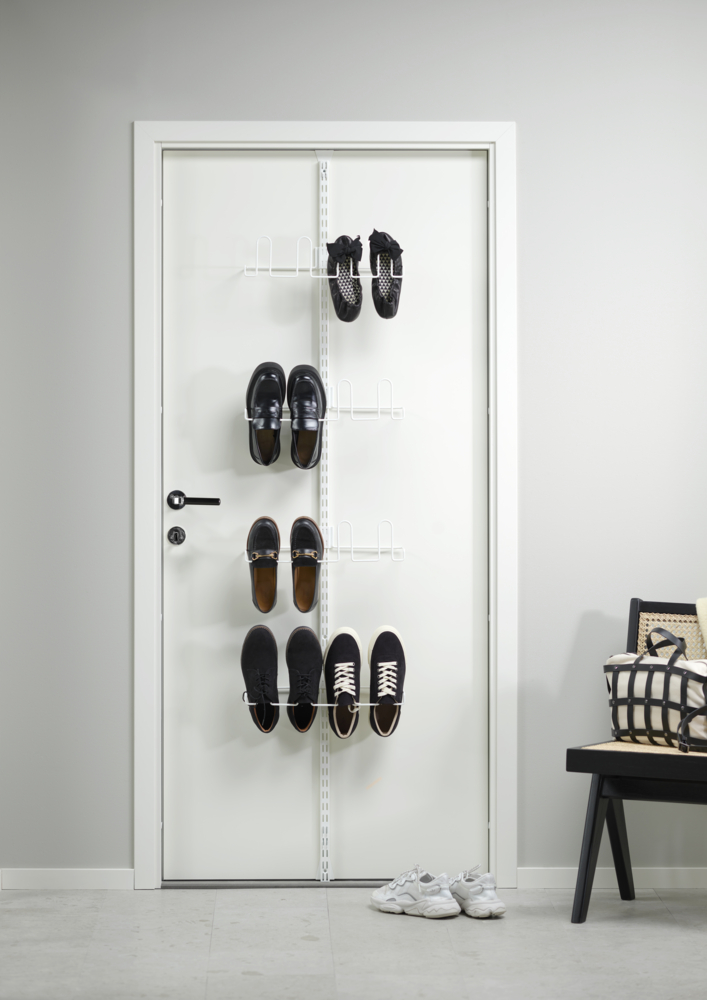
Create the perfect shoe storage on inner doors with our on door shoe storage kit. This all-in-one solution kit contains everything you need to organize and store your shoes on inner doors. It includes four shoe racks designed to hold up to eight pairs of shoes, a wallband and an over door hook.
Color
Size
Width (mm): 435
Depth (mm): 155
Height: 1980
77,10
Needs To Have
Sparring by Elfa
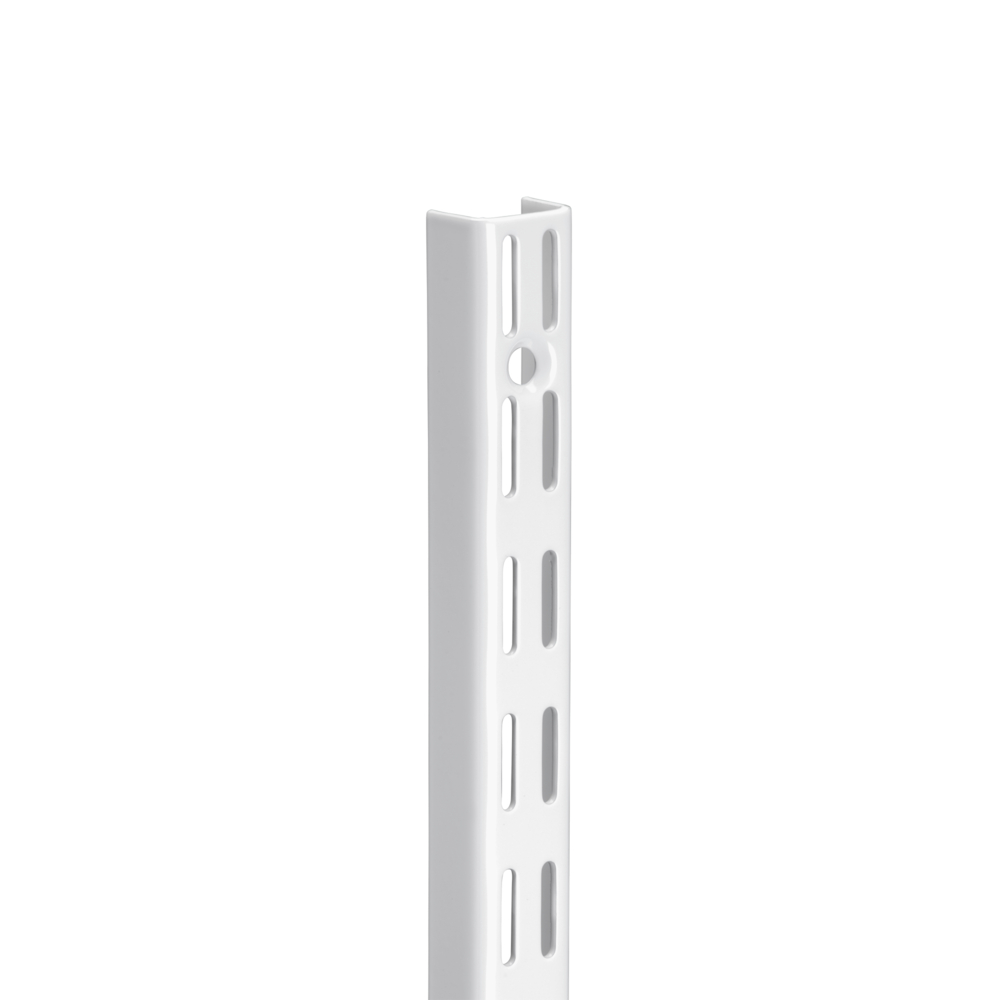
Wallband
Price from 4,80
Classic by Elfa
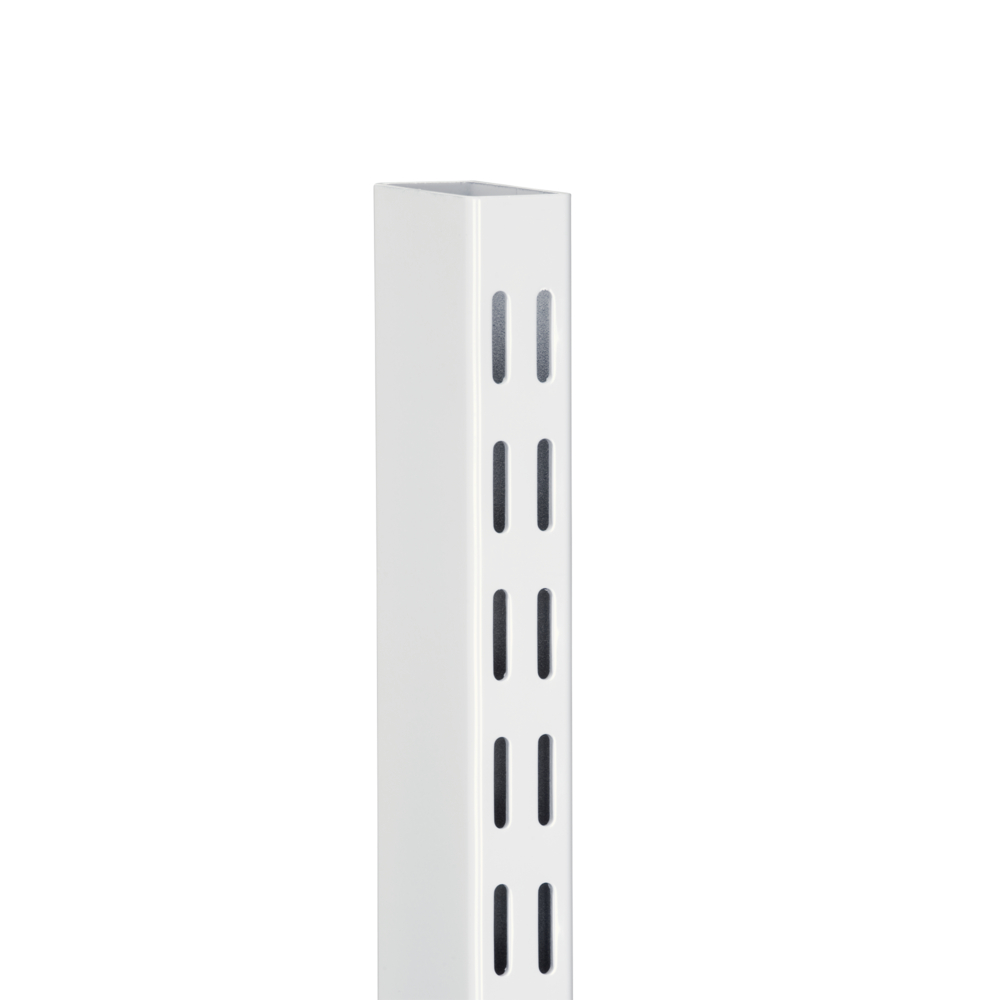
Freestanding upright
Price from 34,00
Classic by Elfa
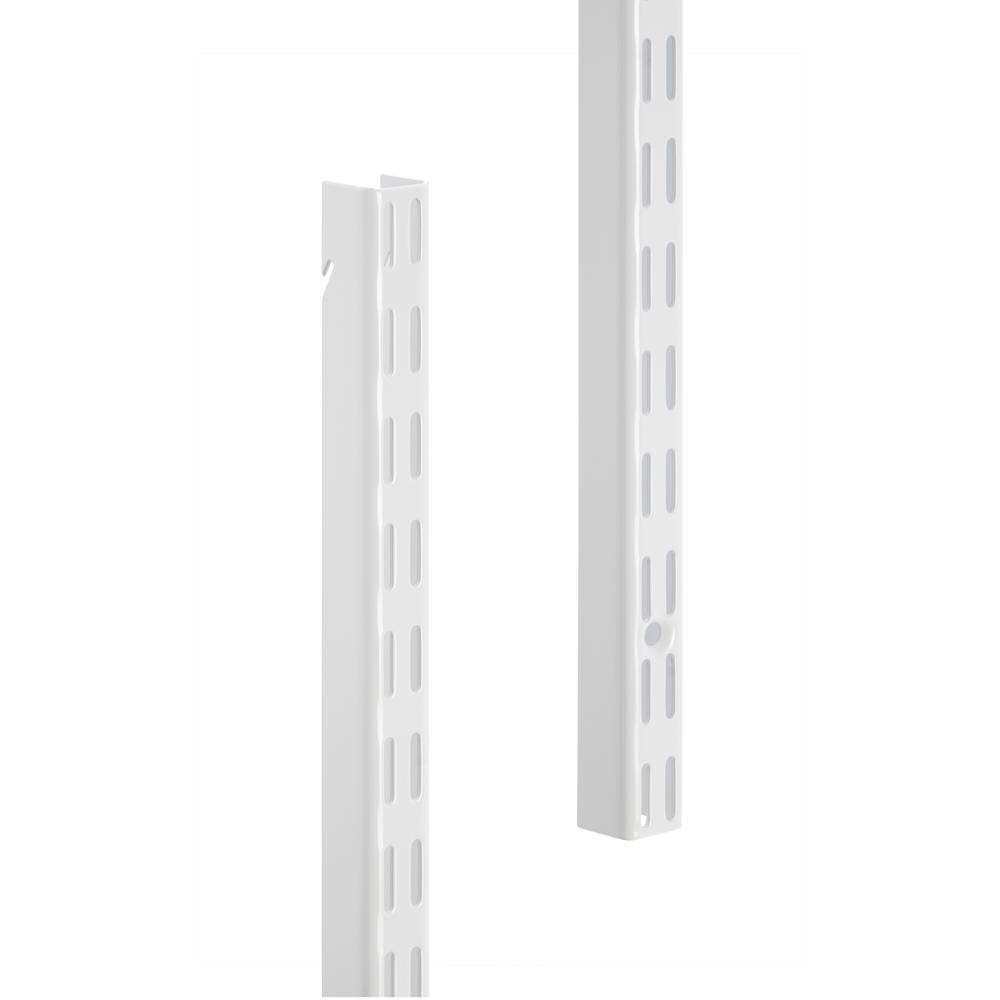
Hang standard
Price from 10,60
Note! Do not place Elfa products in direct contact with water.
Wipe clean with a cloth dampered with a mild cleaner. Wipe dry with a clean cloth.